
In the next article we are going to take a look at Alacarte. If you've ever wanted to edit, delete or create application shortcuts in Ubuntu, but you are not sure how to do it, this application may help you. In the following lines we are going to see how they can be edit, create or delete application shortcuts in Ubuntu application menu.
Alacarte, previously called Simple Edit Menu for GNOME, is part of this desktop since version 2.16. Alacarte's menu editor, despite its age, works on all flavors of Ubuntu, not just in the main version. It will also work on other Ubuntu-based Gnu / Linux operating systems. For more information about Alacarte, users can consult man pages.
Install Alacarte on Ubuntu
If we do not have it installed in our system, we can proceed to its installation in our system opening a terminal (Ctrl + Alt + T). Once in it, you just have to use apt to install it:
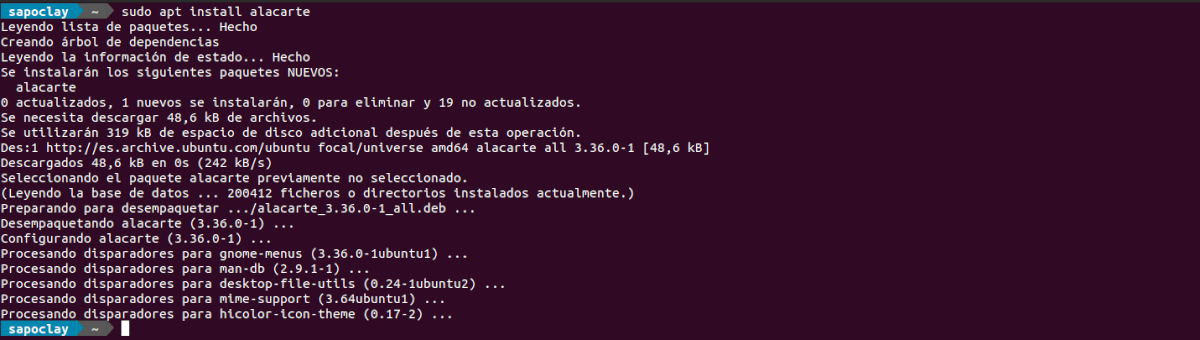
sudo apt install alacarte
If you don't want to use the terminal for installation, you can also open Ubuntu software option. When it finishes loading, we can already search 'alacarte'in the search box.

In the results we will see 'alacarte', even what will appear with the name of «Main Menu«, as you can see in the previous screenshot. If we select it, it will offer us an installation button, on which we will click to start the installation of the program. Before it begins to install, we will see a password request window on the screen. In it we will have to write the password of our current user and press Enter.
When the Alacarte installation is complete, we will be able to search for the program launcher on our computer.

Steps to follow with Alacarte
Edit application shortcuts in the Ubuntu application menu
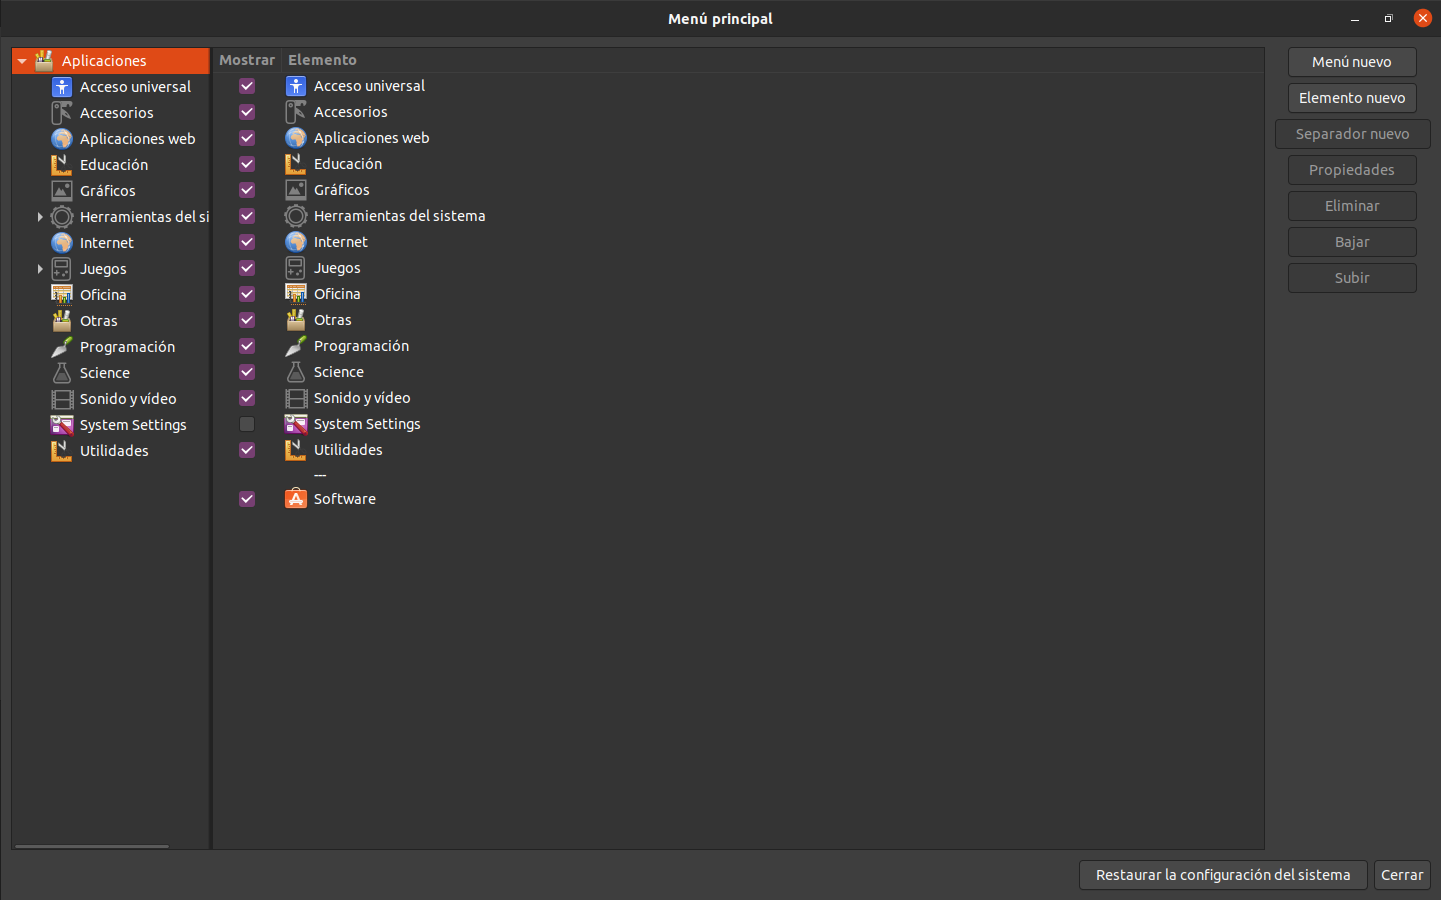
To edit the application shortcuts in the Ubuntu application menu, we will only have to open Alacarte. If for some reason you cannot find Alacarte in the applications menu, press Alt + F2 to open the quick launcher. Then type the command alacarte and press Intro to start the program.
Within Alacarte, you will see the full menu of applications separated into individual categories. There are many different categories available. Look at the categories and click on the one with the shortcut for the application you want to edit.
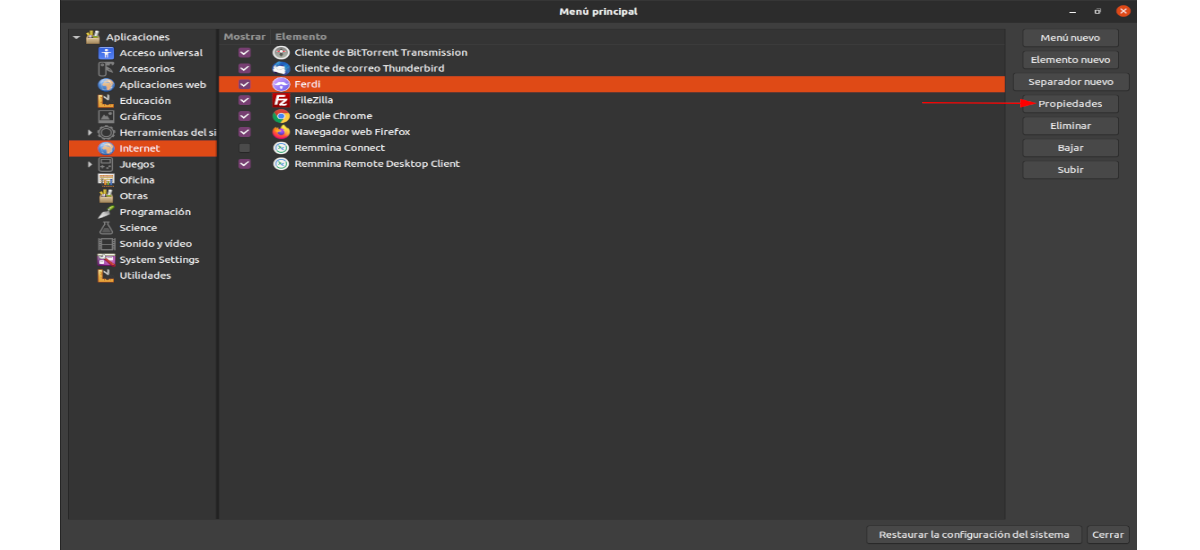
After clicking on the application shortcut, look for the 'buttonProperties'and select it. A window of 'Launcher Properties'.
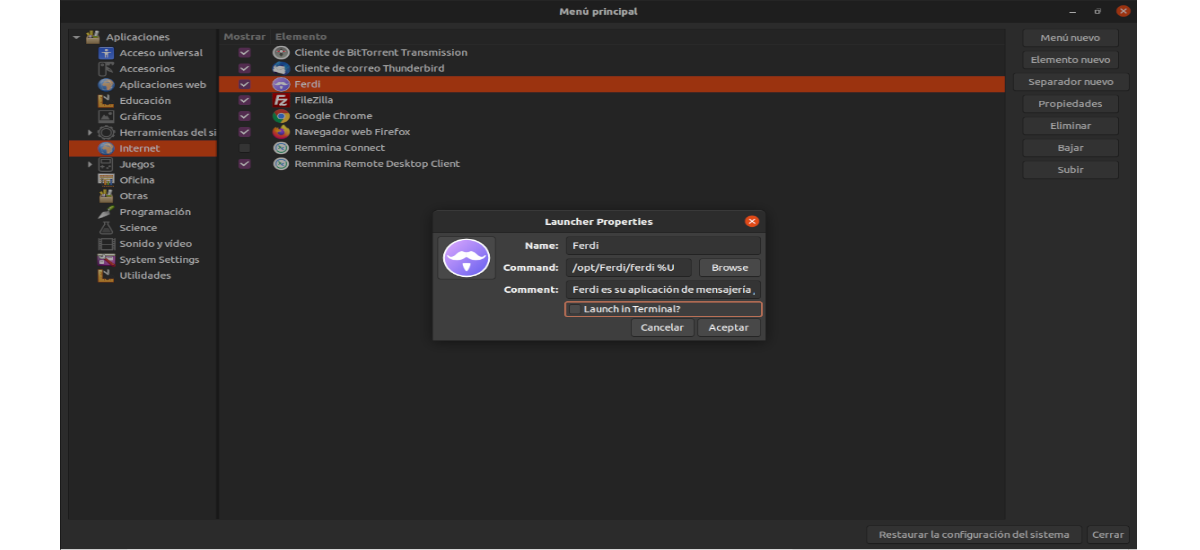
Within this window, it will be where we can make the modifications on the launcher. To change the name of a program, just go to the option 'Name'and change the name in the text box. We can also change the command by clicking on the box 'Command'or searching for the executable file using the' buttonBrowse'. Another thing that we can modify is the program icon by clicking on the existing icon.
When we finish the modifications, all you have to do is click the button 'Accept'. Ubuntu should automatically update the changes made.
Remove app shortcuts
You may want to remove an application from the Ubuntu application menu directly so that it no longer appears. This is easy to do with Alacarte.
We just have to open the program and search through the categories the application we want to remove from the application menu. There we will have to select the shortcut with the mouse.
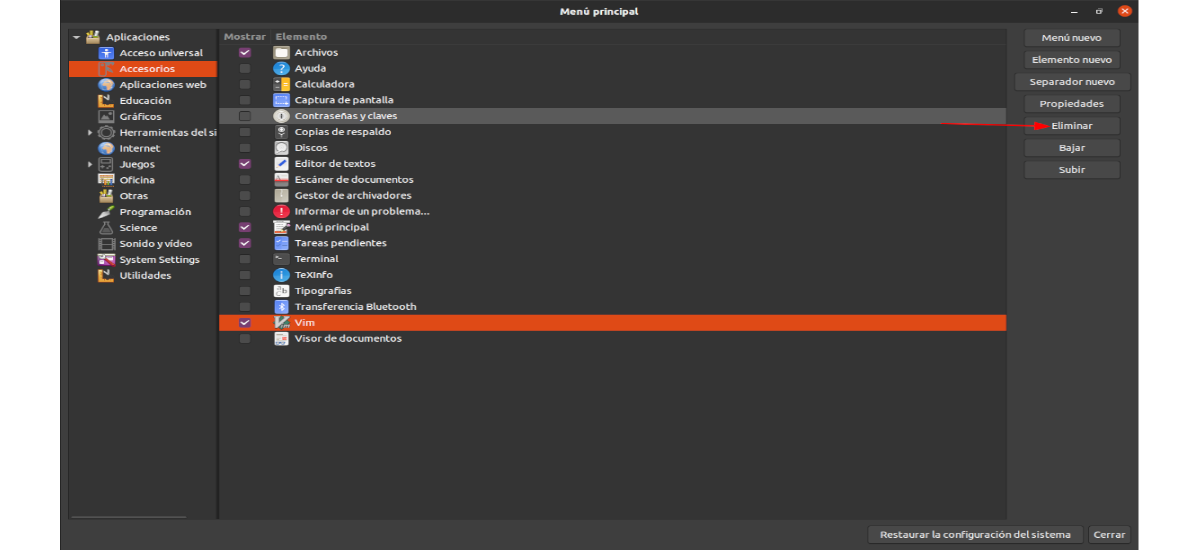
Once selected we will find the 'buttonDelete' On the right side and click the mouse to remove the shortcut from the application menu. We can repeat this process to remove as many shortcuts as we want.
Create new shortcuts
If you are interested in creating a new shortcut to an application in the applications menu, open the program and click on the category in which you want to create the new launcher. Once the category is selected, look for the button 'New item'and click the mouse.
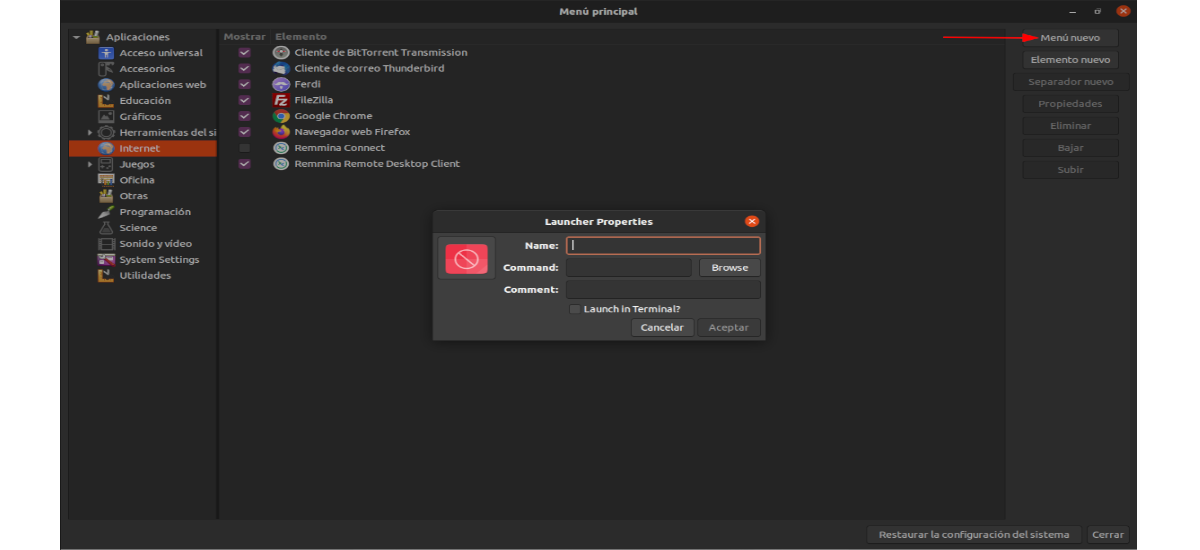
A window will open before us from which we can create a new shortcut. Fill in the fields and click on 'Accept' when you're done to save the new shortcut.