In the next article we are going to take a look at 2 easy ways to install Android Studio on Ubuntu 22.04 LTS. We can use the Snap package, or use the manual installation option with which we are going to download the program from the project website.
Many Android apps today are developed using Android Studio. In this software users can find many features that provide a development environment fast and stable. In addition, it has a robust testing framework, which supports multi-display support, emulators, and much more.
Install Android Studio on Ubuntu 22.04
Requirements
Before proceeding to the installation, it is necessary to take into account the minimum requirements necessary for this program to work correctly. To install Android Studio on your Ubuntu system we must have at least 2 GB of RAM (even though 8 GB is recommended). More than 4 GB of free disk space and a resolution of 1920 x 1080 pixels are also recommended for optimal viewing results.
You need the Java development kit and Java runtime environment (JRE). Android emulator hardware acceleration requires an Intel processor (even though this is optional) that supports Intel VT-x, Intel EM64T, and Execute Disable functionality technologies (XD) Bit. Without such a processor, Android apps can run on the emulator, but execution will be much slower.
Update Ubuntu 22.04 LTS
The first step we need to perform for the installation is update Ubuntu repositories and update installed packages. For this, in a terminal (Ctrl+Alt+T) it will only be necessary to write:
sudo apt update; sudo apt upgrade
Install Android Studio
There are two simple ways with which we can install Android Studio on Ubuntu 22.04 LTS. The first is going to be using the SNAP package manager, and the other is going to be downloading the Android Studio package manually. Here that everyone uses the one that seems most appropriate.
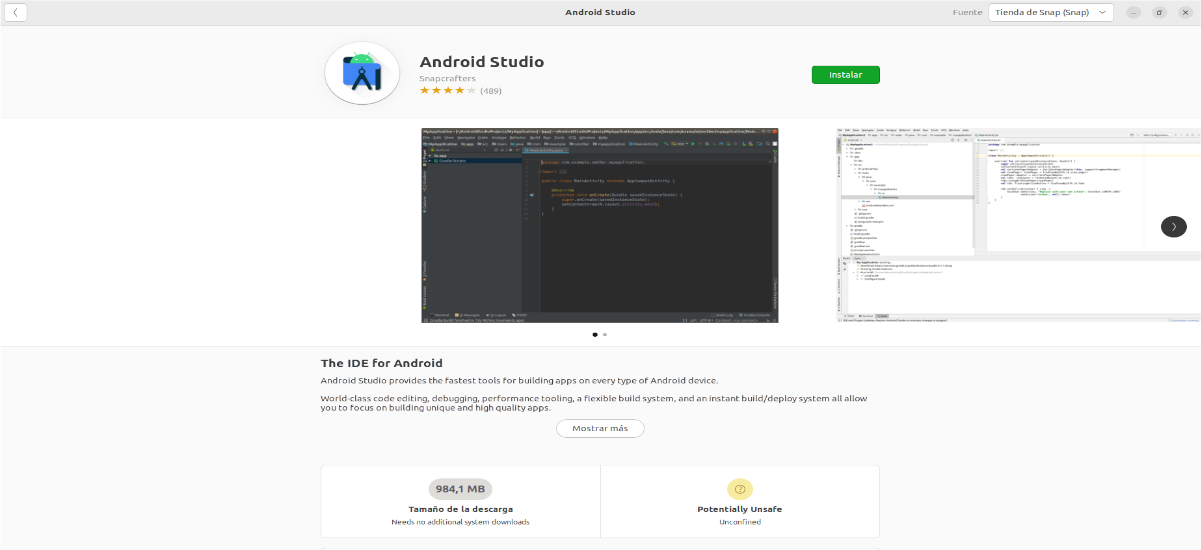
Using SNAP
This is without a doubt the easiest method to install this development platform. The latest version of this program can be found available in Snapcraft. In addition we can execute in a terminal (Ctrl + Alt + T) the following install command:

sudo snap install android-studio --classic
In case you don't want to use the command line, you can also open Ubuntu Software Center and install Android Studio.
Using manually downloaded package
If you don't want to use SNAP, you can also manually download its files to use this program in Ubuntu 22.04.
Since Android Studio requires JDK to work properly, we'll start with install latest version of Open JDK using APT as follows:

sudo apt install default-jdk
Once the installation is finished, we only have check the installed version typing in the terminal:

java --version
Download the Android Studio package
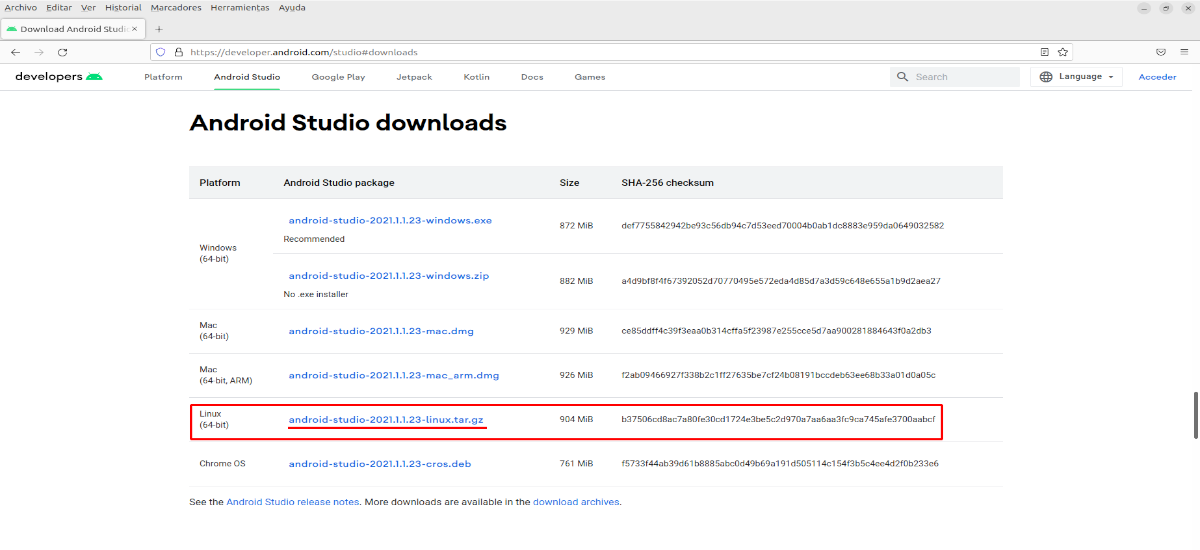
As I said above, it is possible obtain this software intended to be installed on Gnu/Linux directly from your Official website.
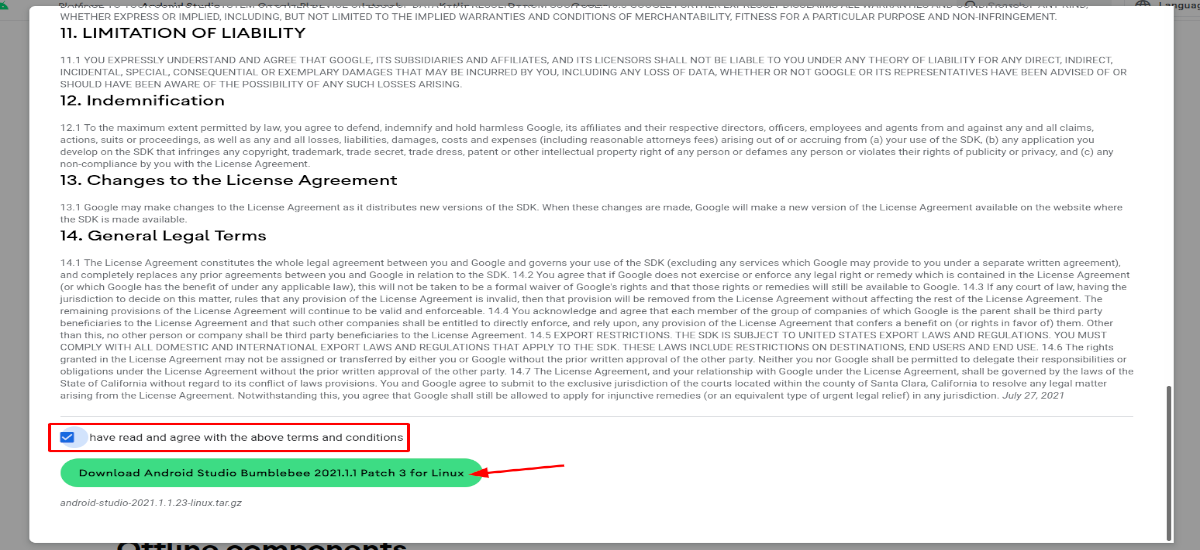
Before downloading, we will have to accept the terms and conditions by clicking on the check located at the bottom of the window.
Unzip the file
Once the .tar.gz file for Gnu/Linux has been downloaded, it is time to uncompress it. To do this, you need go to the folder in which we have saved the package:
cd Descargas
The next step will be unzip the file to the folder / usr / local with the command:

sudo tar -xvf android-studio-*.*-linux.tar.gz -C /usr/local/
Run the Android Studio setup script
After extracting the package and moving it to the local folder, Let's run the script to install and configure Android with the command:

sudo sh /usr/local/android-studio/bin/studio.sh
In case you already have some previous configuration or installation folder, we can select it, otherwise we can leave the default option.
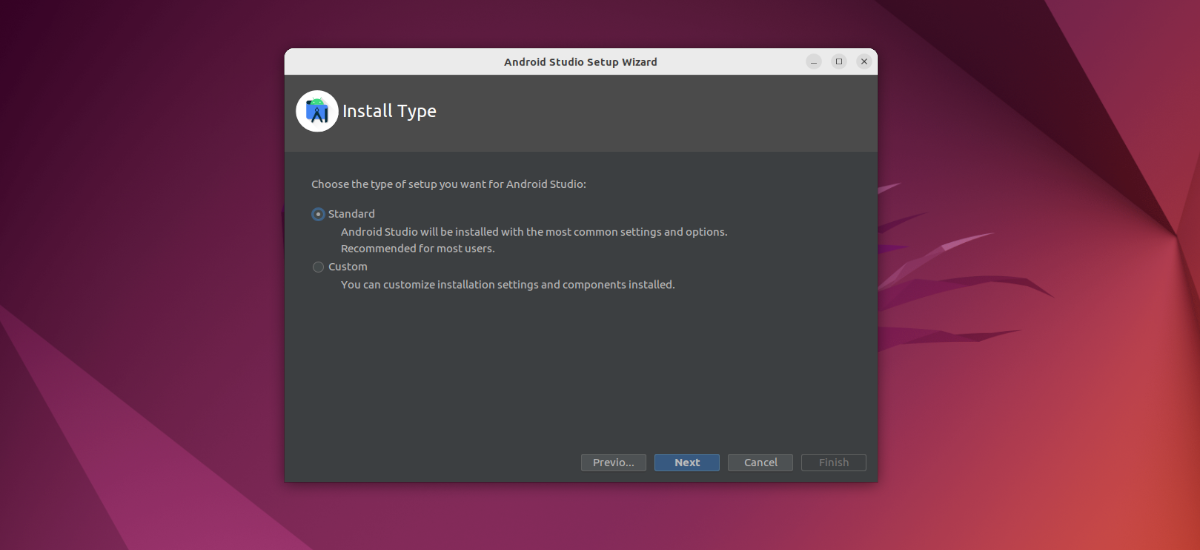
The next window will allow us select the way we want to configure the development environment for Android Studio in Ubuntu 22.04. To install only the components that interest us, we will select the option «Custom«. Otherwise, leave the option "Standar«.
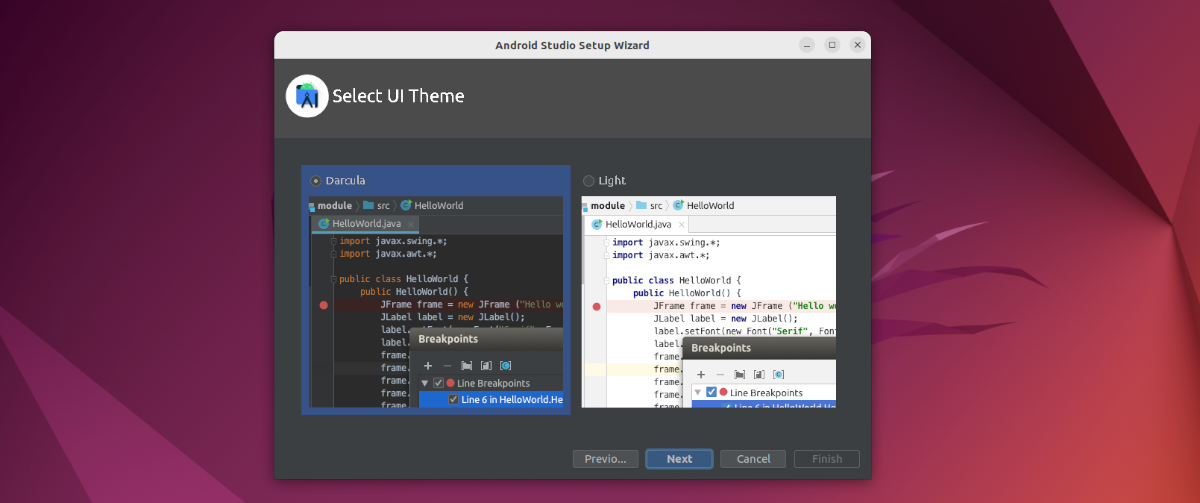
Although we can also configure it later, we can select a dark or light theme to work with.
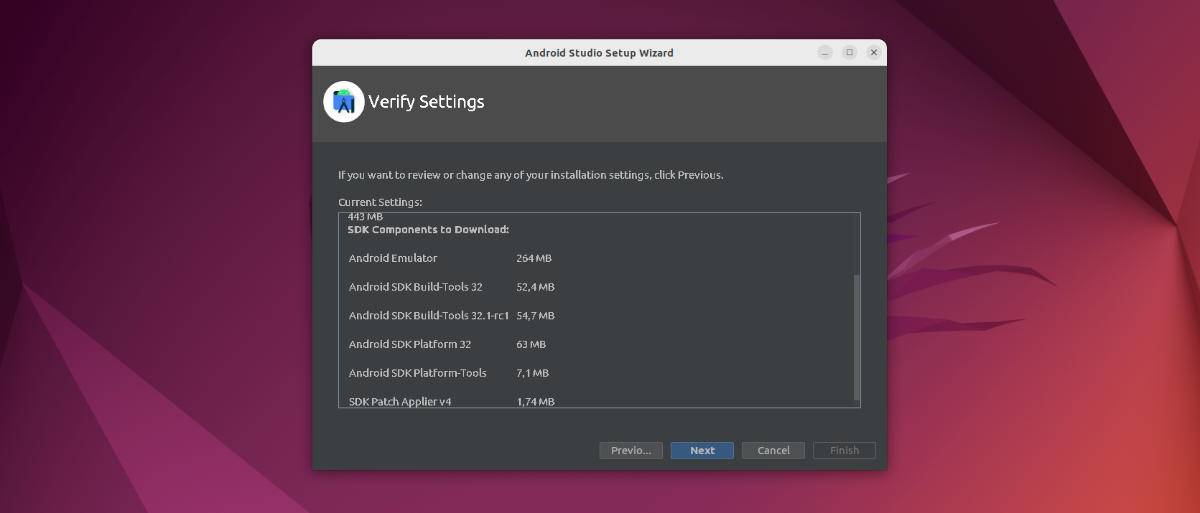
The next step will be confirm everything Android Studio is going to install in our team.
Create Android Studio desktop shortcut and command line input
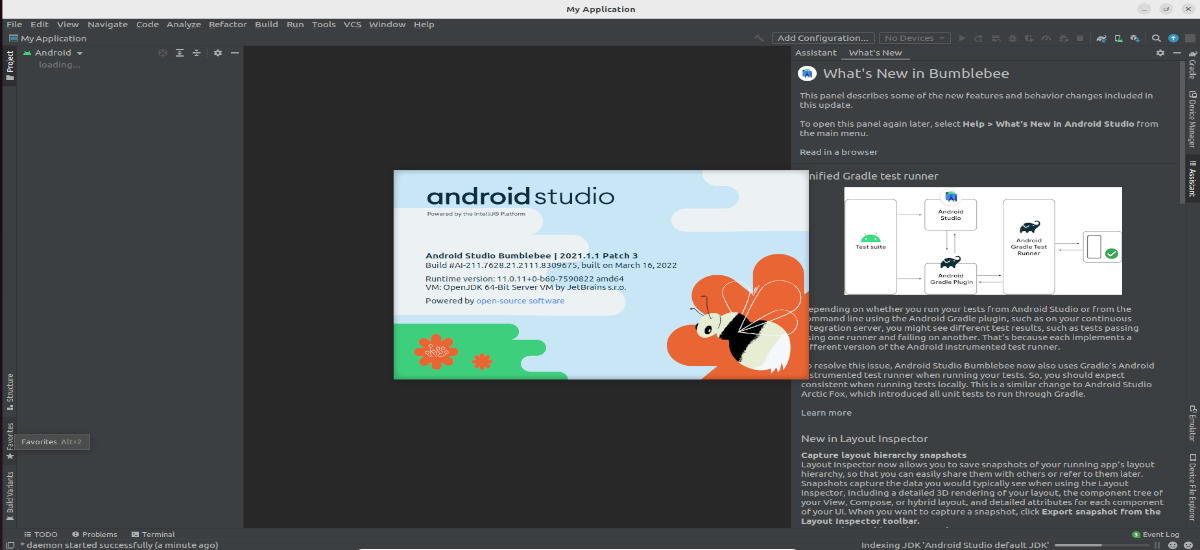
Once the installation is done, we will see that Android Studio will create a new project and allow us to give it a name. Then we will find ourselves on the main screen of this application development platform.
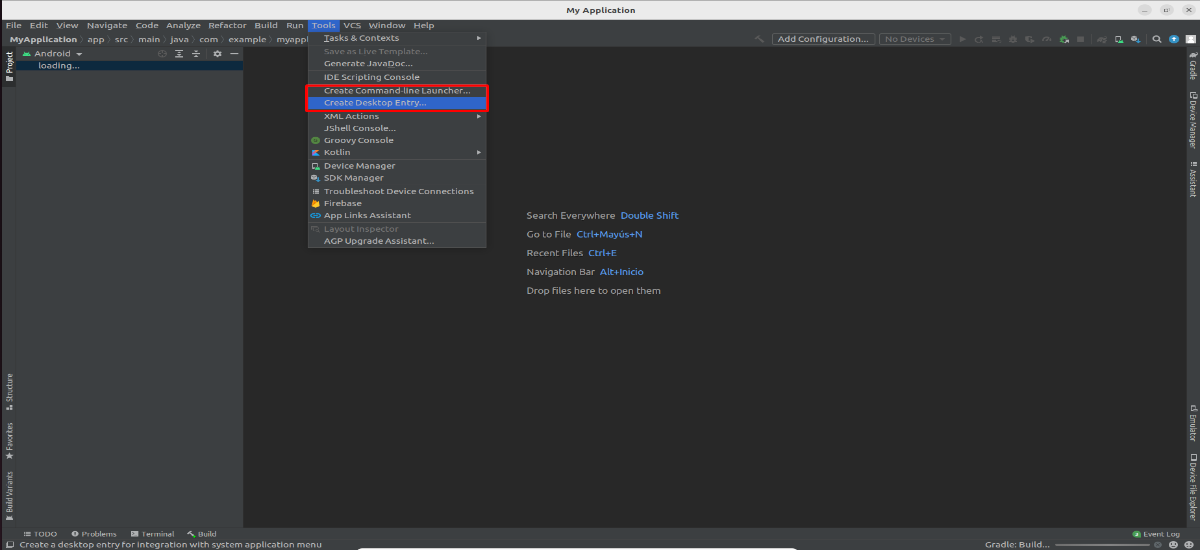
Si we click on «Tools» and select the option «Create Desktop Entry«, a shortcut will be created with which to easily access Android Studio from the system application launcher.

To run this program from the command line, we can select «Create Command line Launcher«. Once this is done, we can start the platform simply by typing in the terminal (Ctrl+Alt+T):
studio
It can be obtained more information about Android Studio, in the user guide that they offer in the website of this project.
By doing sudo sh /usr/local/android-studio/bin/studio.sh the installation is associated to the root user.