
In the next article we are going to take a look at FFmpeg. This is one command line software collection, free and open source, to work with multimedia files. Contains a set of audio and video libraries, as they are: libavcodec, libavformat and libavutil among others. With FFmpeg, anyone can convert between various video and audio formats, set sample rates, resize videos, or record your computer's desktop. About the latter already a colleague spoke to us some time ago.
In the following lines we are going to see the necessary steps to install FFmpeg on Ubuntu 18.04. We will see how we can install the current stable version or the latest version available. The same instructions can be applied to Ubuntu 16.04 and any Ubuntu-based distribution, including Linux Mint and Elementary OS.
FFmpeg on Ubuntu
Install FFmpeg 3.X
In Ubuntu official repositories we can find FFmpeg, and we can install easily with apt package manager. This is the fastest and easiest way to install FFmpeg on Ubuntu. However, the version included in the repositories may not be the latest version available.
As I write these lines, the current stable version available in the Ubuntu 18.04 repositories is 3.4.4. If you are interested in having this version, you just have to follow the following steps to install it in Ubuntu 18.04.
We will start by opening a terminal (Ctrl + Alt + T). In it we will write the following to update the list of available packages:
sudo apt update
Then we can install FFmpeg typing the following command:
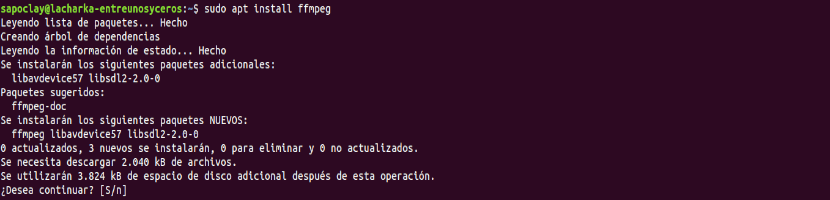
sudo apt install ffmpeg
After the installation, to validate that the package is installed correctly, we can use following command. This will print something like the following:

ffmpeg -version
To consult all encoders and decoders available, we can write:
ffmpeg -encoders
ffmpeg -decoders
With all of the above, we will have installed and verified the installation of FFmpeg 3.X on our Ubuntu system. Now we can start using it.
Install FFmpeg 4.X
If we prefer install a newer versionWith the following instructions we will be able to install FFmpeg version 4.x in Ubuntu 18.04.
Version 4.X of this software suite adds a host of new filters, encoders, and decoders. This version is available in Jonathon F's PPA. The steps below describe how to install FFmpeg 4.x on Ubuntu 18.04.
We start by opening a terminal (Ctrl + Alt + T). In it we are going to write the following to add the necessary PPA:

sudo add-apt-repository ppa:jonathonf/ffmpeg-4
Once you have added the PPA to your system, you can install the necessary package typing:
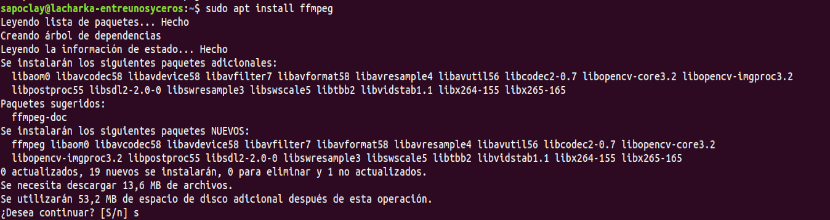
sudo apt install ffmpeg
With this, you will have version 4.X installed on the system and ready to be used. You can check installed version with the same command that we use with version 3.X:
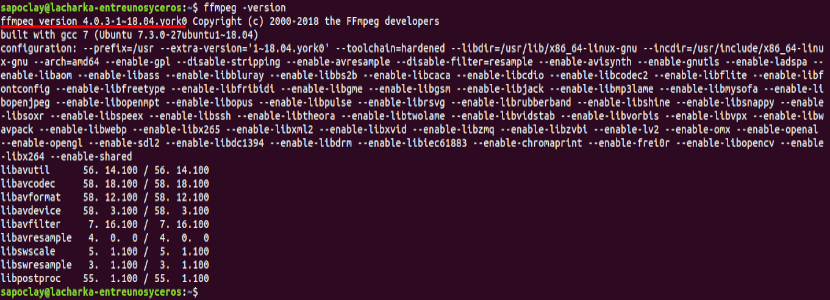
ffmpeg -version
Examples
When converting audio and video files with FFmpeg, you don't have to specify the input and output formats. The input file format and the output format are placed from the file extension.
If we wanted convert video file from mp4 to webm, you should write something like:
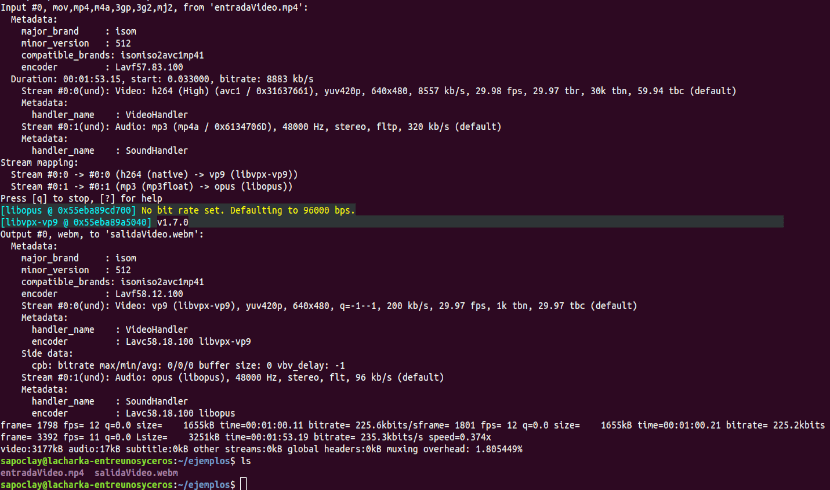
ffmpeg -i entradaVideo.mp4 salidaVideo.webm
In case we are interested convert mp3 audio file to ogg, the instruction will be like the following:
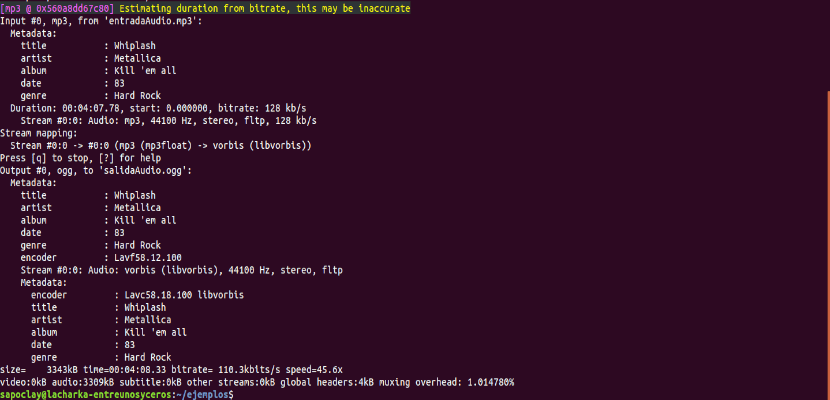
ffmpeg -i entradaAudio.mp3 salidaAudio.ogg
When converting files, we will be able specify the codecs we want to use with the -c option. The codec can be the name of any supported decoder / encoder.
If we wanted convert video file from mp4 to webm using libvpx video codec and libvorbis audio codec. We will have to use an order like the following:
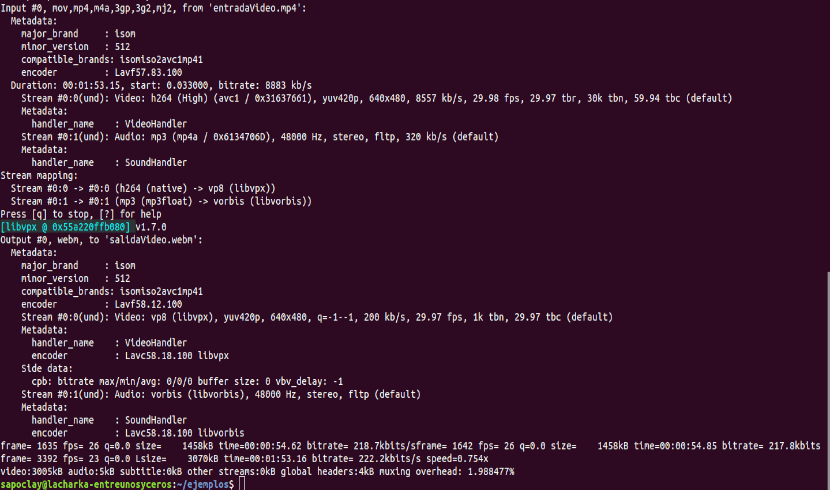
ffmpeg -i input.mp4 -c:v libvpx -c:a libvorbis output.webm
In case of wanting convert an audio file from mp3 to ogg encoded with the libopus codec. The command to use would be something like the following:
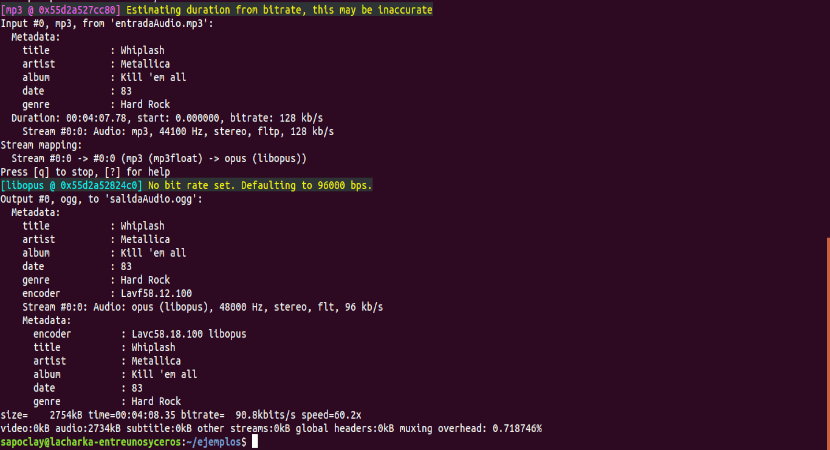
ffmpeg -i entradaAudio.mp3 -c:a libopus salidaAudio.ogg
More information about how to use this software suite can be found consulting the official documentation by FFmpeg.
I had some problems playing mp4 videos on Ubuntu 20.10, but I found the solution here. A million thanks!