In the next article we are going to take a look at GitEye. This is a graphical client to work with Git, which can be found available for Gnu/Linux, Windows and OSX, which is also available in 32 and 64 bit versions. The program offers a desktop application to manage projects Go in an easy but graphical way, with distributed version control functions in the interface.
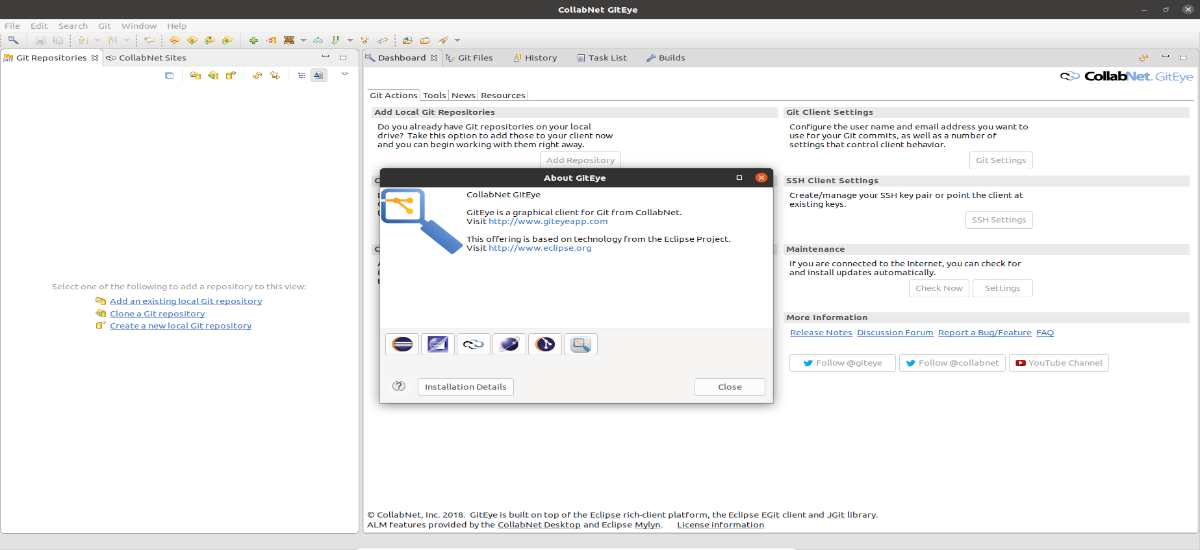
CollabNet is the developer behind GitEye. This program is a desktop for Git, which works with TeamForge, CloudForge and other Git services. GitEye combines an easy-to-use graphical Git client with essential developer tasks.
GitEye General Features
- The program offers a GUI to manage changes and conflicts.
- The user can send selected and modified files locally.
- It will also allow us upload them to a repository.
- The program interface It's only available in English.
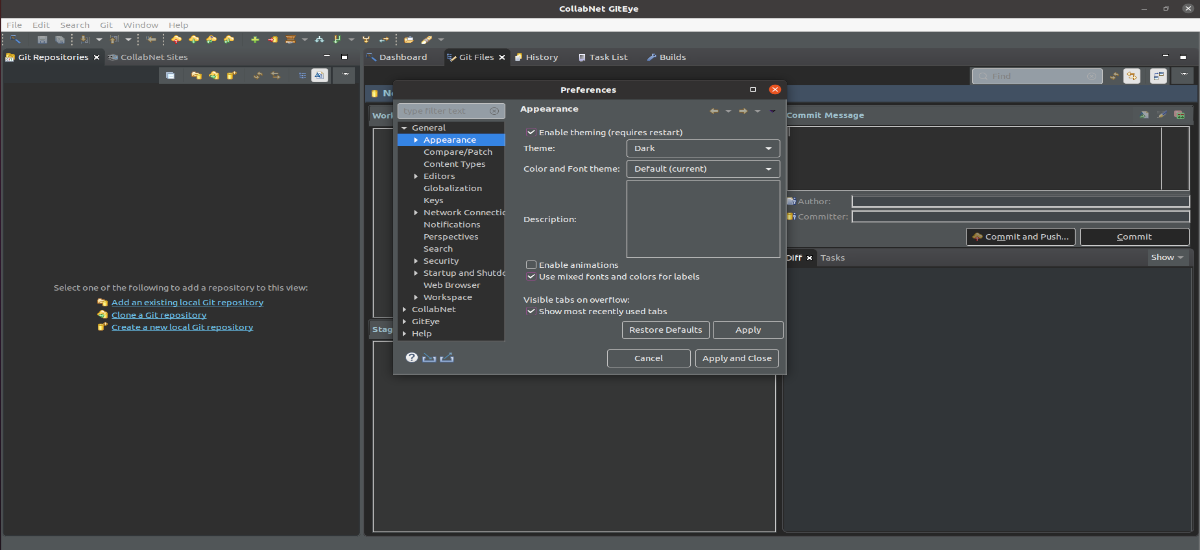
- It will allow us to use different topics.
- All the agile development tools, such as bug trackers (Bugzilla, Trac and JIRA), continuous integration systems (Jenkins), scrum backlog, and code review tools (Gerrit), integrate with GitEye.
Install GitEye on Ubuntu 22.04 or 20.04 LTS
The steps that we are going to follow are applicable to other operating systems such as Debian, Linux Mint, POP OS, MX Linux, etc …
There are some things that should be in our system before starting the installation:
- Have Ubuntu 20.04/22.04.
- Oracle or OpenJDK Java 8 or later installed.
- Have at least 1 GB of RAM available.
Install OpenJDK Java
How to Live Aligned with we need java installed on our system to run GitEye properly, we are first going to install it with the commands:

sudo apt update; sudo apt install default-jdk
Download GitEye for Linux
GitEye is not available through the default Ubuntu repository. For this reason we must download it manually. To get hold of the package, we only need to open the browser and visit the download section of this project.
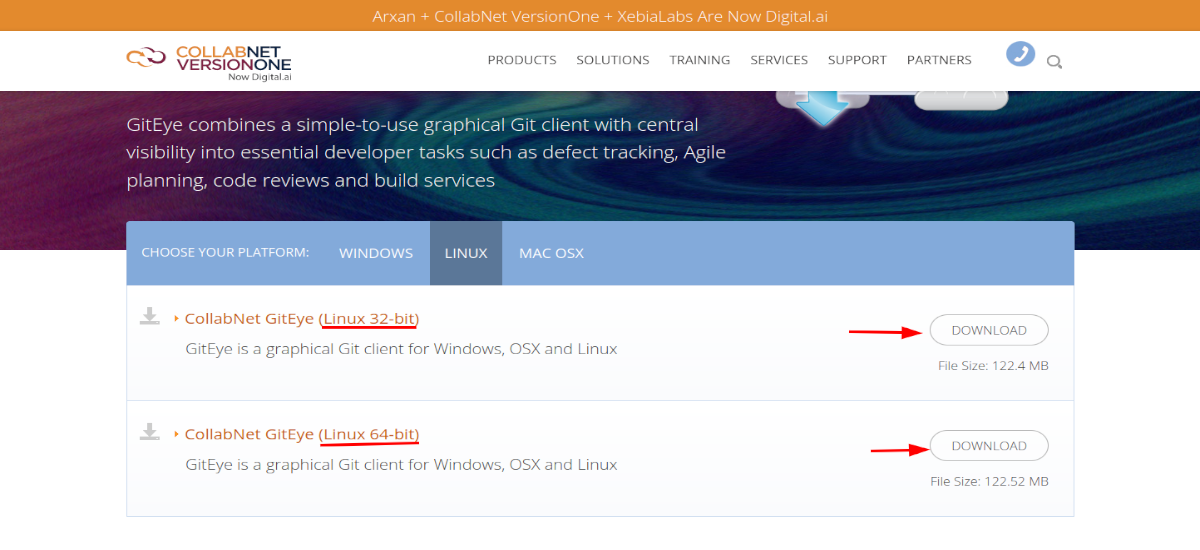
On this web page, there are two versions of this GIT client: one is for 32-bit systems and the other is for 64-bit systems.
Unzip the downloaded file
When the download is finished, we will find the file in compressed format, therefore, first we must unzip it using unzip to extract the executable file from GitEye and then move it to some safe directory. If you don't have this program, you can install it with the command (Ctrl+Alt+T):
sudo apt install unzip
The next step will be to create a folder in which we are going to save the content of the file that we are going to decompress below:
sudo mkdir /opt/giteye
Now we can unzip the downloaded file, inside the directory we just created. To do this, from the folder in which we have saved the file, we will only need to use the command:

sudo unzip GitEye-*-linux.x86_64.zip -d /opt/giteye
Start GitEye
Once the previous steps are finished, we can start Git Eye using the terminal (Ctrl+Alt+T) the command:
/opt/giteye/./GitEye
However, if you don't want to have to type the full path every time you want to start the application, just we will need to add the folder in which we have the program to the system path. This can be done with the command:
echo 'export PATH="$PATH:/opt/giteye/"' >> ~/.bashrc
The next step will be reload bash:
source ~/.bashrc
After the previous command, in the terminal, regardless of the directory we are in, we can run this program by typing:
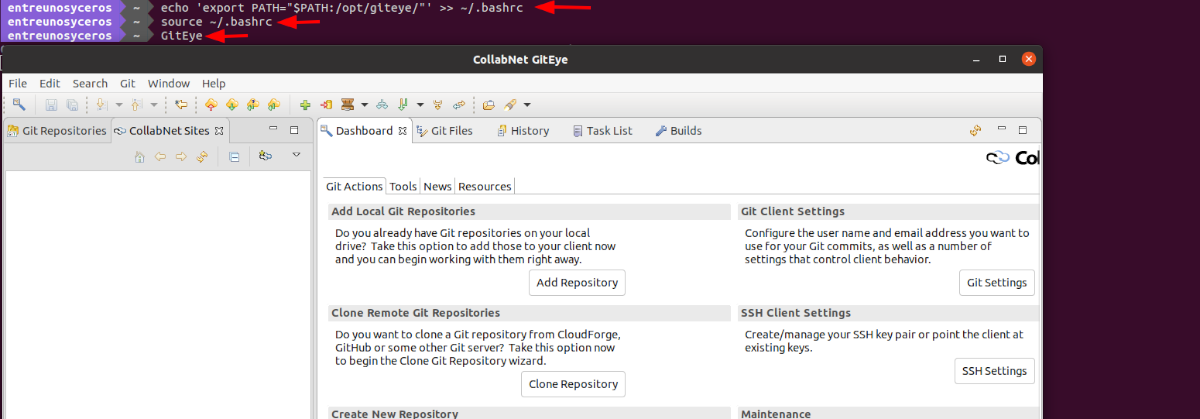
GitEye
Create a shortcut
Something that we will not find available either, is a shortcut on the desktop by default to access the application. Creating one is as simple as following the steps that we are going to see below.
With our favorite editor, let's edit shortcut:
vim ~/Escritorio/Giteye.desktop
And inside the file, let's paste the following content:

[Desktop Entry]
Version=1.0
Type=Application
Name=GitEye
Comment=GIT GUI
Exec=/opt/giteye/./GitEye
Icon=/opt/giteye/icon.xpm
Terminal=false
StartupNotify=false
Once pasted, we save the file and go back to the terminal. Now is the time to copy the shortcut that appears in the applications menu:
sudo cp ~/Escritorio/Giteye.desktop /usr/share/applications/
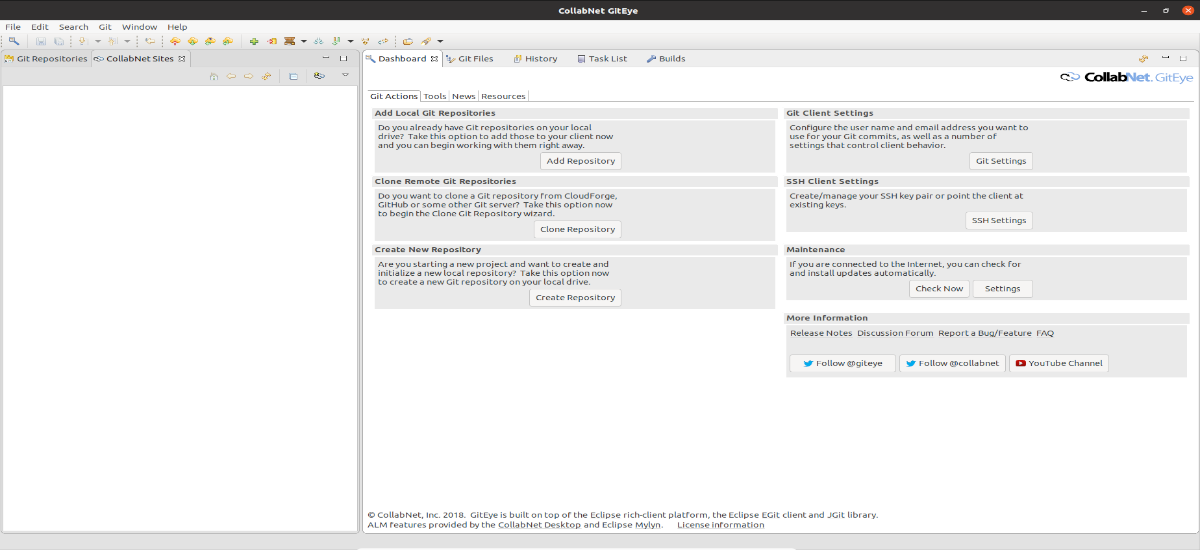
Now we can start the program and start executing and adding the existing Git repository, Cloning Repos or creating our own local one using the graphical interface of the program.
To know more about this program, users can consult the information that appears in the project website.