The firewall it is the important parts in a system to allow, limit, encrypt or decrypt traffic between the different domains on the basis of a set of standards and other criteria. East is designed to block unauthorized access, while allowing authorized communications. The firewall can be implemented by hardware or software or a combination of both.
This is frequently used to prevent unauthorized Internet users from accessing private networks connected to the Internet, especially intranets. All messages entering or leaving the intranet pass through the Firewall, which examines each message and blocks those that do not meet the specified security criteria.
Many Linux distributions do not have a firewall configured by default, since Linux has a higher security than Windows and Mac, although this is not an indication that it is not vulnerable.
The truth is that Ubuntu, for most users, you may not need a firewall, but for those who want extra security, they can install and configure a firewall system.
For this we are going to use the GUFW firewall, which make setting up essential protection incredibly simple.
GUFW is a front-end system for the UFW Command Line Firewall on Linux. It is available to all Ubuntu users through the major Ubuntu software sources.
Installation
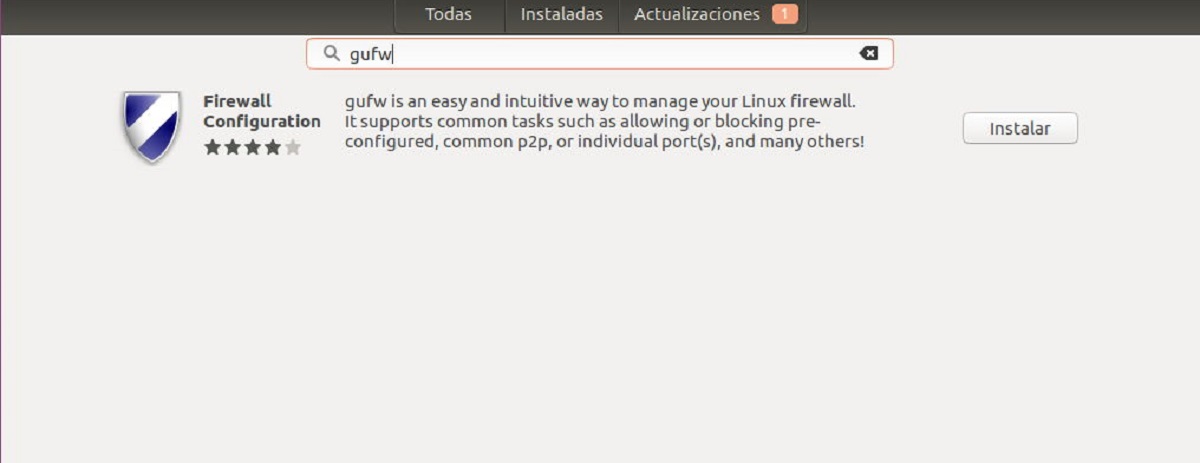
To install the software, they can do it from the Ubuntu Software Center in which in the search engine we are going to write «gufw» and press Enter.
Here The application will appear and we will see a button which says "install", we are going to press it and we will be asked for our user password to perform the installation.
Now, for those who prefer to use the terminal, they can install GUFW with the following command:
sudo apt install gufw -y
GUFW configuration in Ubuntu
With GUFW installed in the systemIt is time to enable the firewall, for this we must open the application which we can find within our applications menu. With GUFW open, first instance We will see that it is «deactivated». To change this, in the options we will see that there is one called "status" and it has a button which we are going to press to switch from “OFF” to “ON”.

Done this, We can activate any of the three pre-established security profiles. These security profiles come with preconfigured filter rules that take care of all the tedious security rules.
HOME
The default security profile that GUFW uses when its status is changed from "disabled" to "enabled". This profile has standard security rules and allows users to have more ports open for use, this is usually the right profile for those who do not need much security.
To switch to this profile, just change the option "Profile" and select "HOME".
PUBLIC
The "Public" security profile it is the strictest security profile available for the GUFW firewall system. Comes with rigorous filtering characteristics and it is generally an option for those who use Ubuntu on a laptop and usually connect to public networks.
To switch to this profile, click on "Profile" and select "Public".
OFFICE
The "Office" security profile for GUFW is almost the same as «Home». This is good for setting special rules in your workplace.
To switch to this profile they must select "Office".
Allow or deny traffic
Another of the configurations for GUFW is to allow traffic through the firewall. we are going to position in the “Rules” option and we are going to select it.
Done this we will click on the "+" button at the bottom left of the application window.
After that we will Click on the "Preconfigure" tab and here we are going to look for the "Politic" option and we configure in «Allow» or in the case of wanting to deny the access we configure in "Deny"
Here we are going to search for "Direction" and set it to "In", "out" or "Both", according to your needs.
After that we go to «Application» and we will be shown a list from the menu to allow a particular application to be configured on the firewall.
Finally we are going to select "add" to add the new rule to the GUFW firewall.