In the following tutorial, we are going to explain, trying to do it in a simple way, how to achieve install a theme in our operating system Ubuntu. The first thing we have to say is that what is stated here is valid for the main version, the one used by GNOME, and it is valid at the time of writing this article. We also have to say that there will be several changes that will have to be made, that this is not like changing from light to dark theme.
In reality, a theme is composed of at least three parts. On the one hand we have the icon theme, on the other the cursor theme, and finally the GNOME Shell theme. Therefore, if we want to change the appearance of everything we see, what we have to do is find a theme that includes all three parts, or change each one separately.
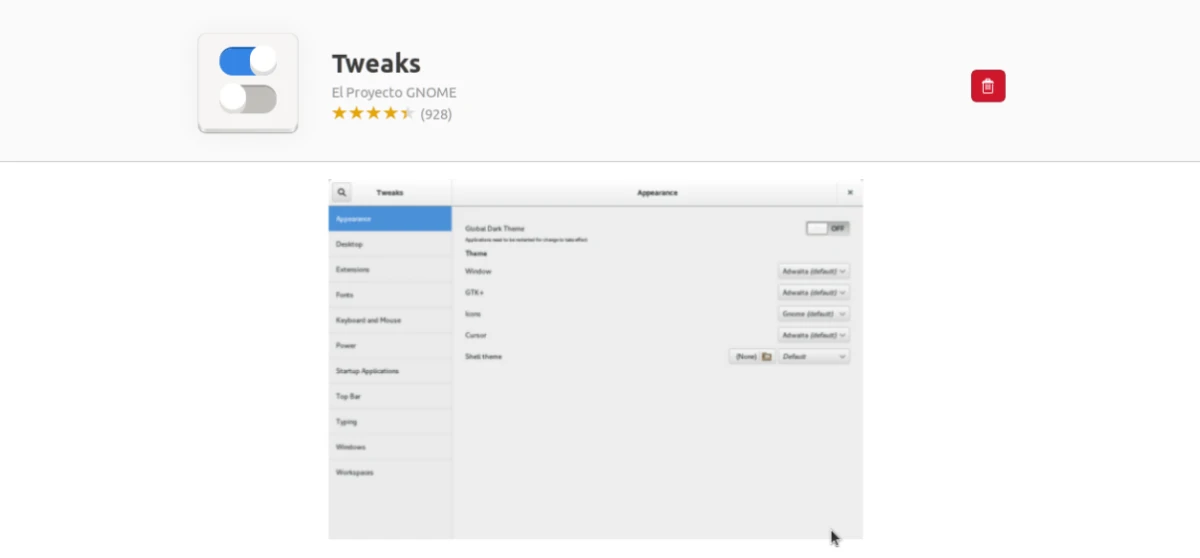
Step One: Install GNOME Tweaks
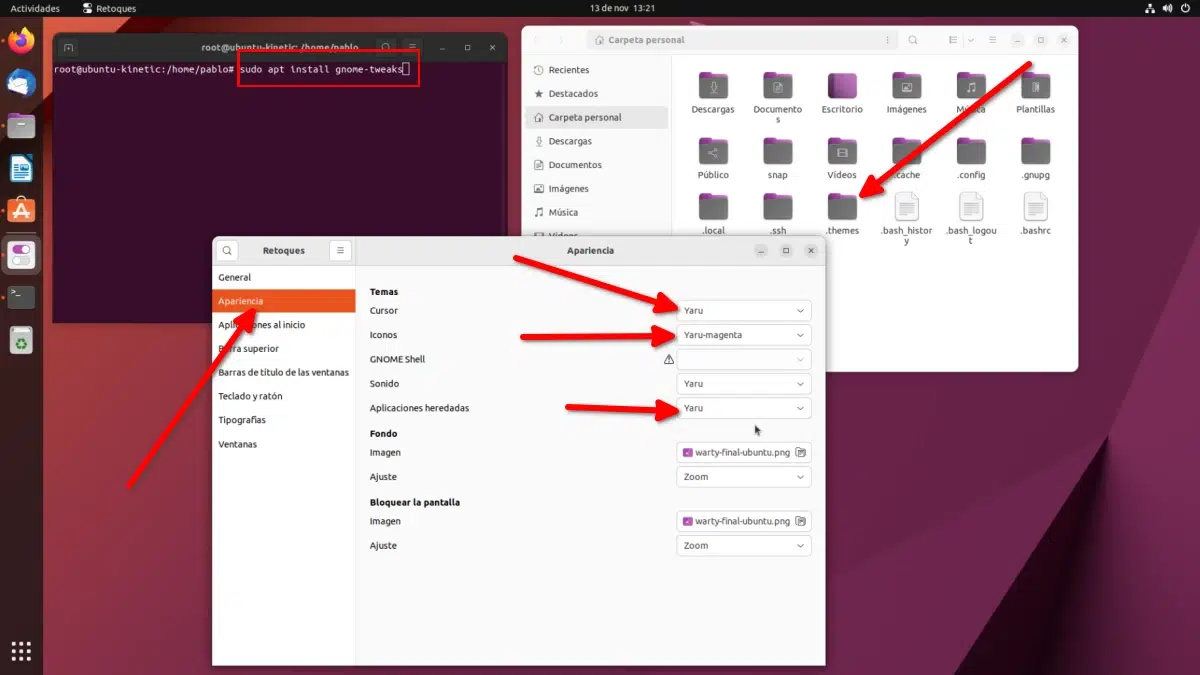
The first of all will be to install this application to control many aspects of our desktop. If we want to do it from the terminal, the package is called gnome-tweak, and it will help us to make tweaks, whether in GNOME, Unity, Budgie or anyone whose base is GNOME. If we want to play it safe, since the package was called gnome-tweak-tool in the past, what we have to do is open the software center, search for “tweaks” or “tweaks” and install the package.
With Retouching installed, now we have to find the files to make these modifications. They can be found by doing an internet search, and there are many ways, but I would recommend searching for them on sites that are specially designed for it, like gnome-look.org. There we have different sections, like those of GNOME Shell or GTK. What we must do is find a theme that we like, download it and see the installation instructions that will be below.
Installing downloaded themes
Although the instructions may vary, as a general rule we will have to follow the same process that is quite simple.
- In our personal folder, we press Ctrl + H to show the hidden files.
- We create a folder called .themes for themes and .icons for icon themes. The point in front is to keep it hidden.
- In this folder we will put the themes that we have downloaded. We have to put the folder; If the file was compressed, you have to uncompress it.
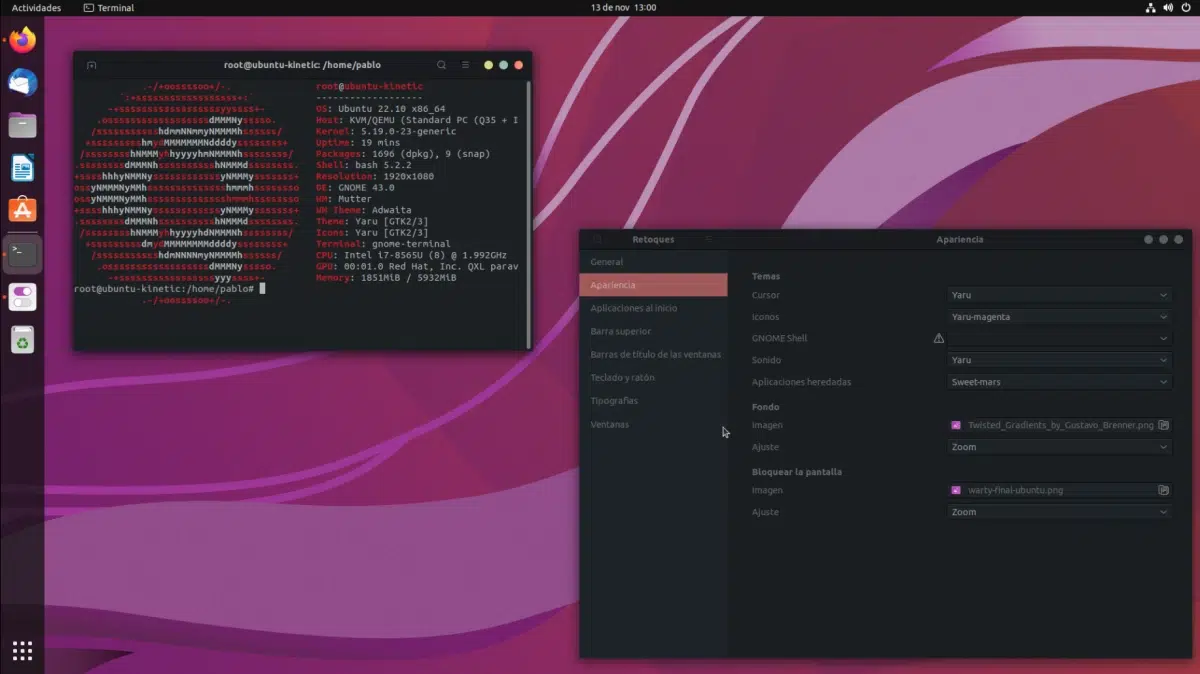
- Finally, we open Retouches (or Tweaks), go to the Appearance section and choose the downloaded theme. We insist that we must change the icons, the cursor, GNOME Shell and, if the option exists, Legacy Applications.
Modifying GNOME Shell Themes
As you can see in the previous screenshot, in “GNOME Shell” you can see the danger icon, warning. By default we cannot change the GNOME Shell themes, but it is possible. What happens is that before we must take some previous steps:
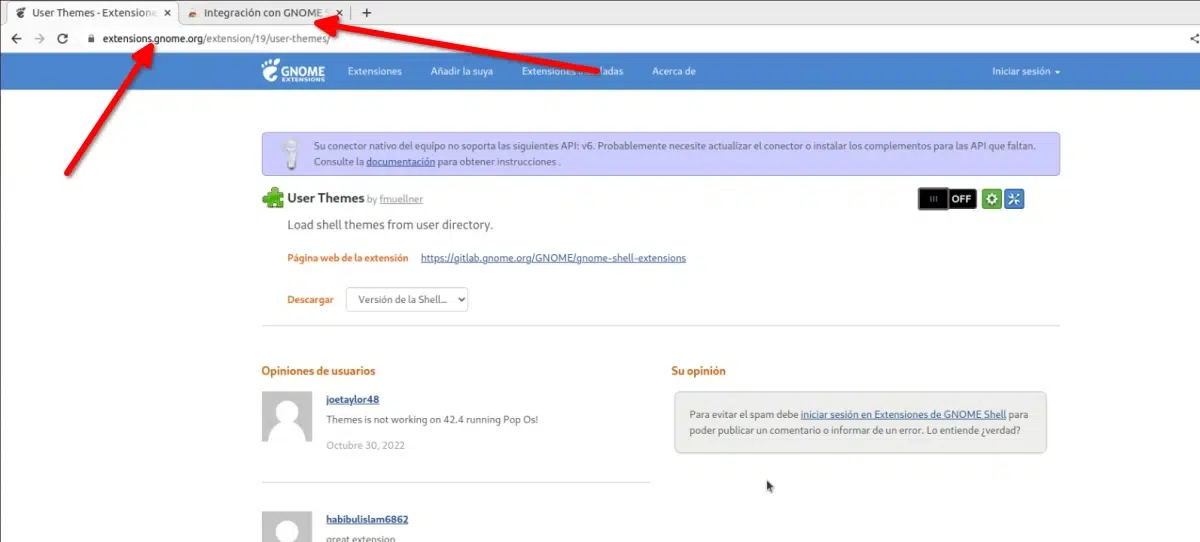
For that icon to go away and we can choose a theme, we have to install the User Themes extension. The first thing will be to search the internet for “gnome integration” or “integration with gnome”. The extension for Chromium-based browsers is this. We also have this for Firefox, which is the same, but in my case it has not worked for me. Unfortunately, Chromium rules the web, and developers care more about that engine. If it doesn't work with Firefox, it does with Chrome, Vivaldi, Brave, etc.
What has to work is that the switch should appear as seen above, off at first, but can be activated. Once it is activated, and we accept the confirmation message, the “User Themes” extension is installed, and it is at this moment that we can change the GNOME Shell theme from Tweaks.
The process will be the same as with the icons: we will look for a theme that we like and we will install it as indicated by the instructions. Keep in mind that to complete a theme you have to change the three options, and, for example, if we download a GNOME Shell theme with an Apple-type theme, then we will have to change the dock below manually, but everything can be modified as and as we have explained here. Or do you prefer Ubuntu by default?
I find it more practical and graphical with the ubuntu tweak program
Do you have to decompress the previously downloaded theme somewhere? because he doesn't read me the topic and I can't change it