When you are considering changing the operating system, it is a good idea to first test that system in a virtual machine. I myself started using Ubuntu natively after a few months on VMware Workstation. When I verified that I had done it and I liked it, I installed it natively. Surely there are many people in my same situation, but the fear of breaking something makes me not take the step. To help these undecided, in this article we are going to teach how to install ubuntu on virtualbox.
Although the most normal thing is that Windows users are the ones who want to install Ubuntu in VirtualBox, this also applies to Linux users. The main difference will be in the way to install VirtualBox, and maybe also the Extension Pack. In order not to mess things up, we will explain the steps to follow that explain how to install Ubuntu in VirtualBox.
We teach you how to install Ubuntu in VirtualBox
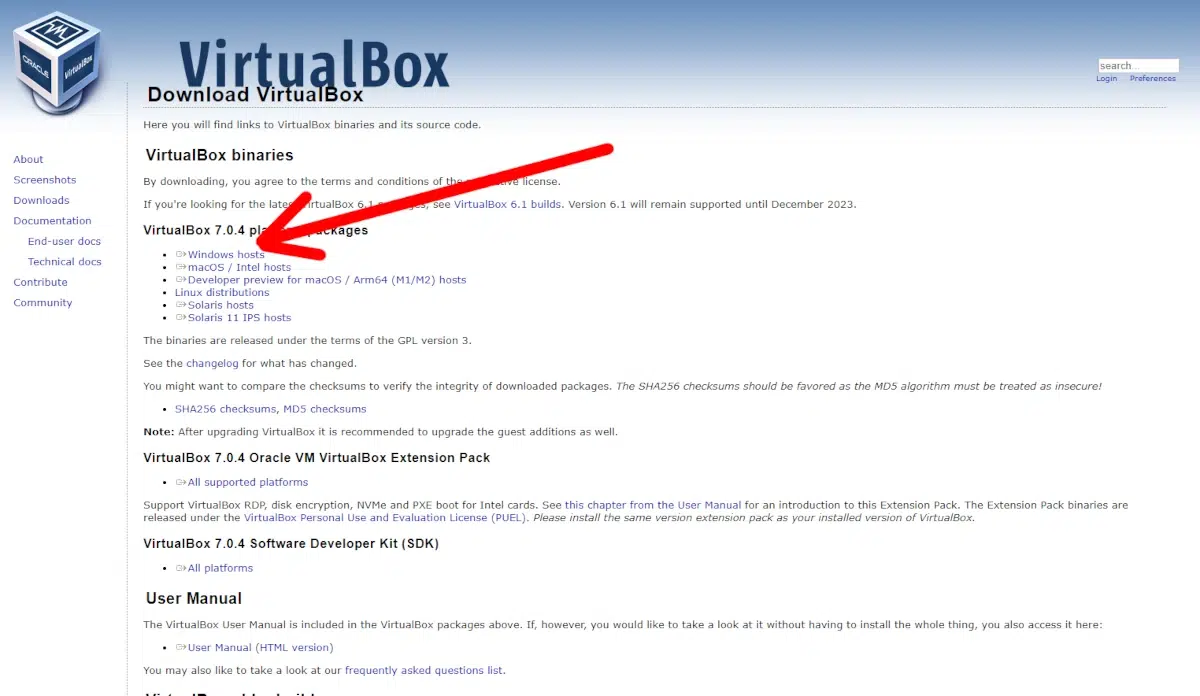
- Let's go to the VirtualBox page (link) and download the installer. If we are on Linux, it is likely that the packages are in the official repositories.
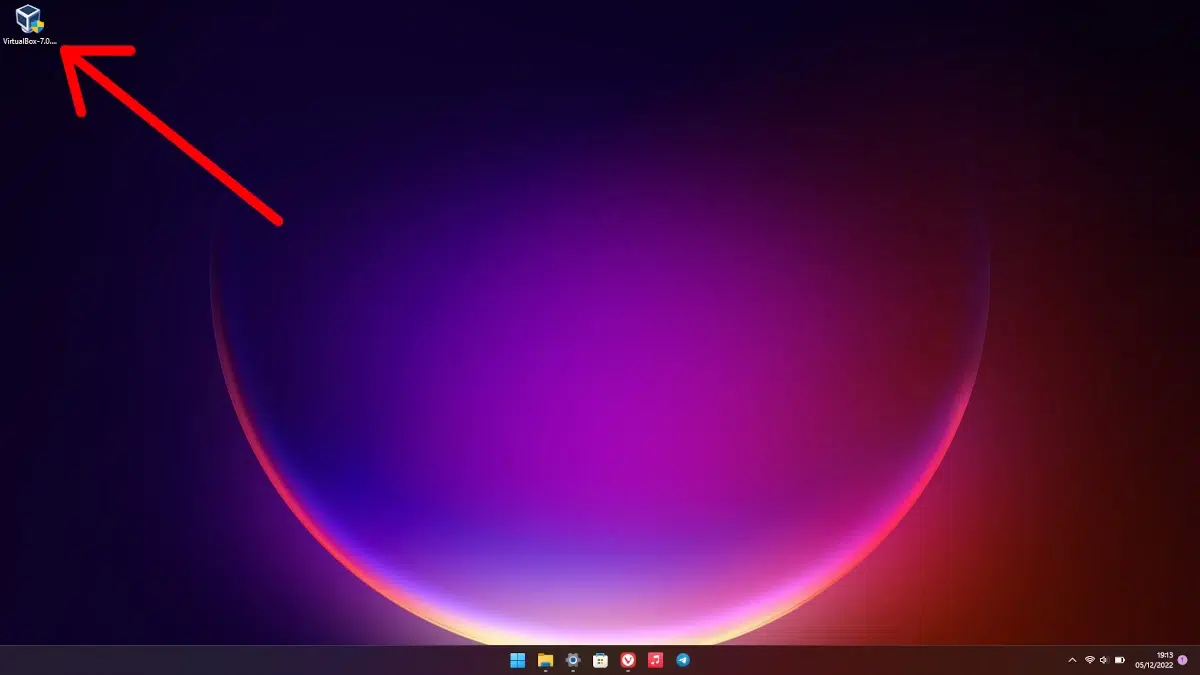
- We double click on the downloaded file to start the installation process.
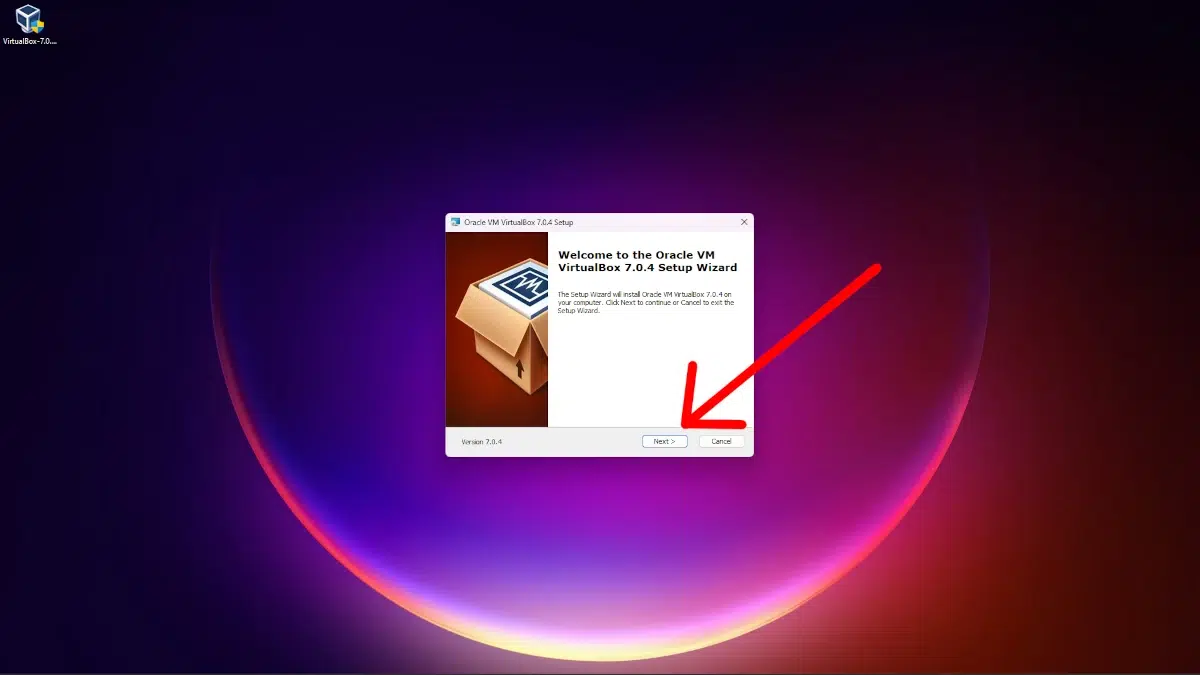
- The installation of the program is very simple. Basically it is accepting until it is installed.
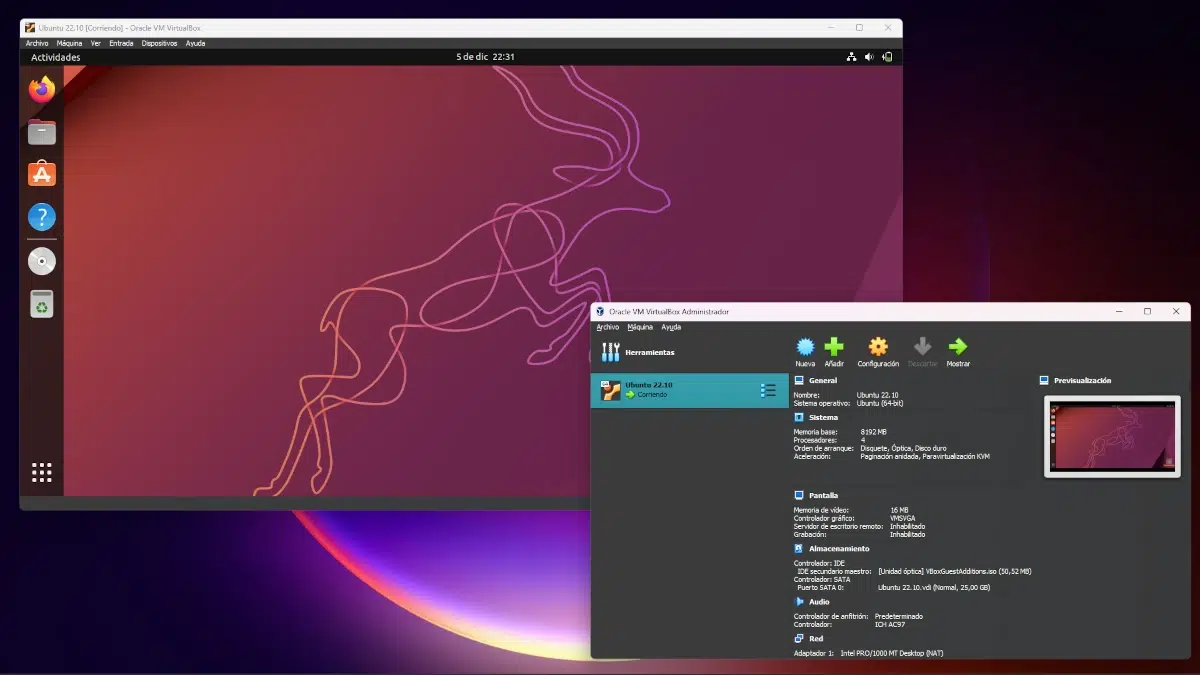
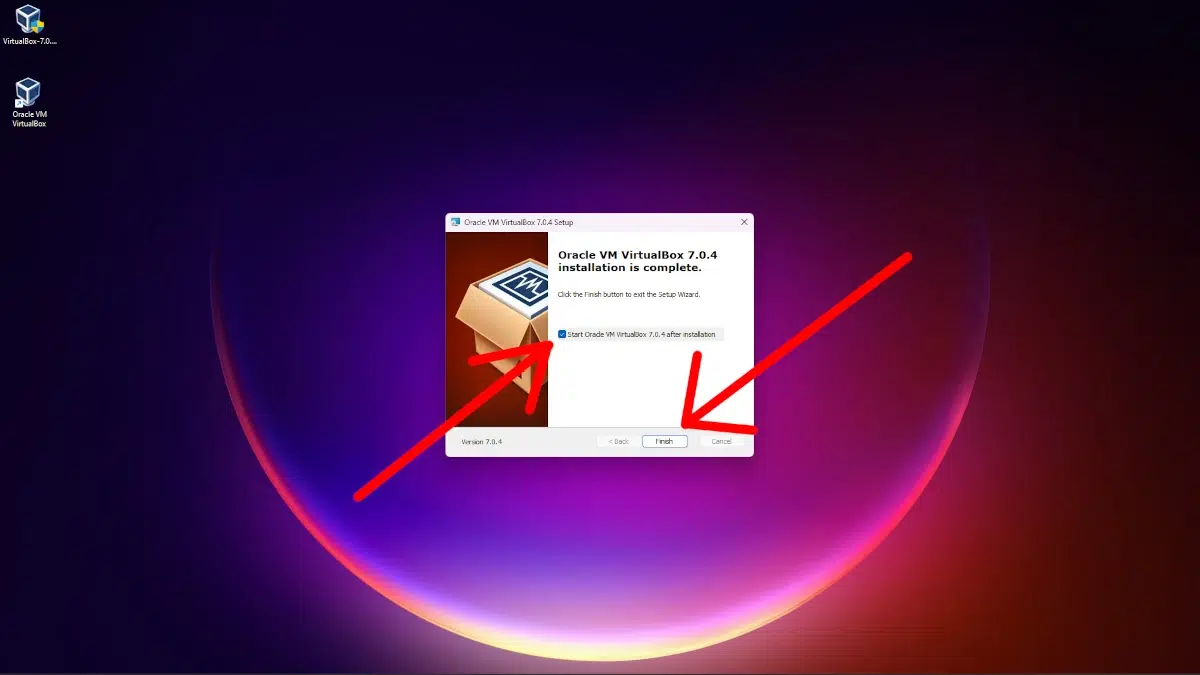
- When we finish installing VirtualBox, we can run the program before exiting. We do.
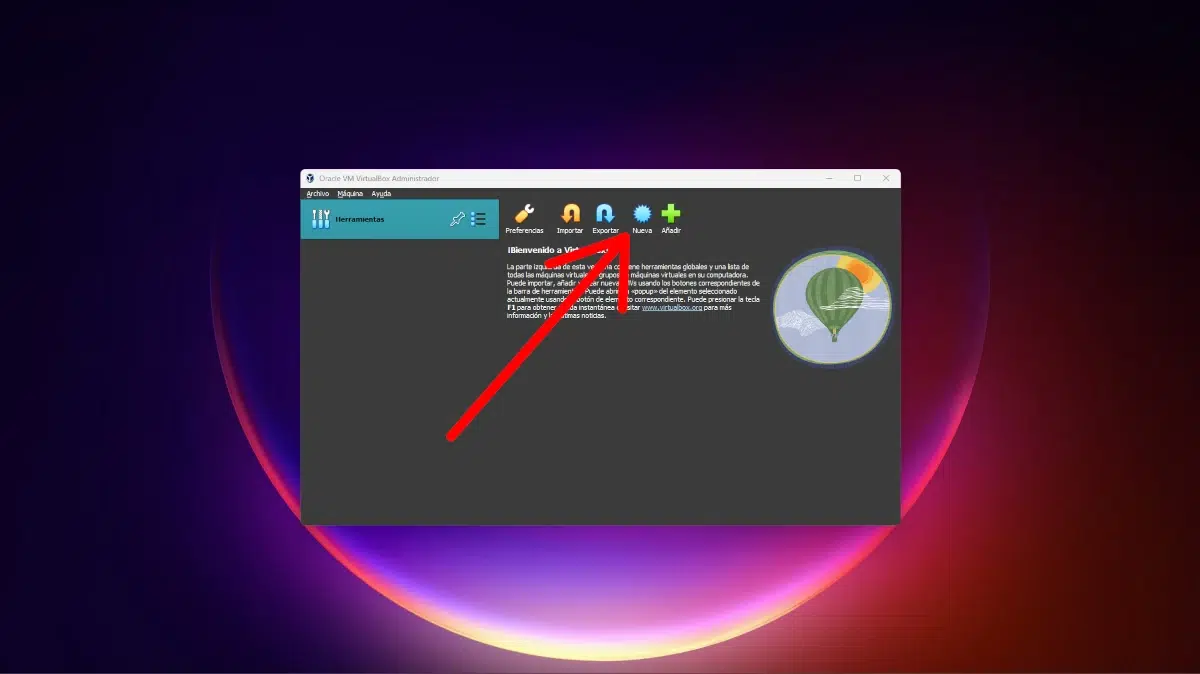
- We click on “New” to create a new virtual machine.
- In the first window, we give it a name, choose "Ubuntu (64-bit)" or a specific version and click "Next", or "Next" if for some reason there are parts that are not in Spanish. In this step you can already add the ISO image, but I prefer to do it later.

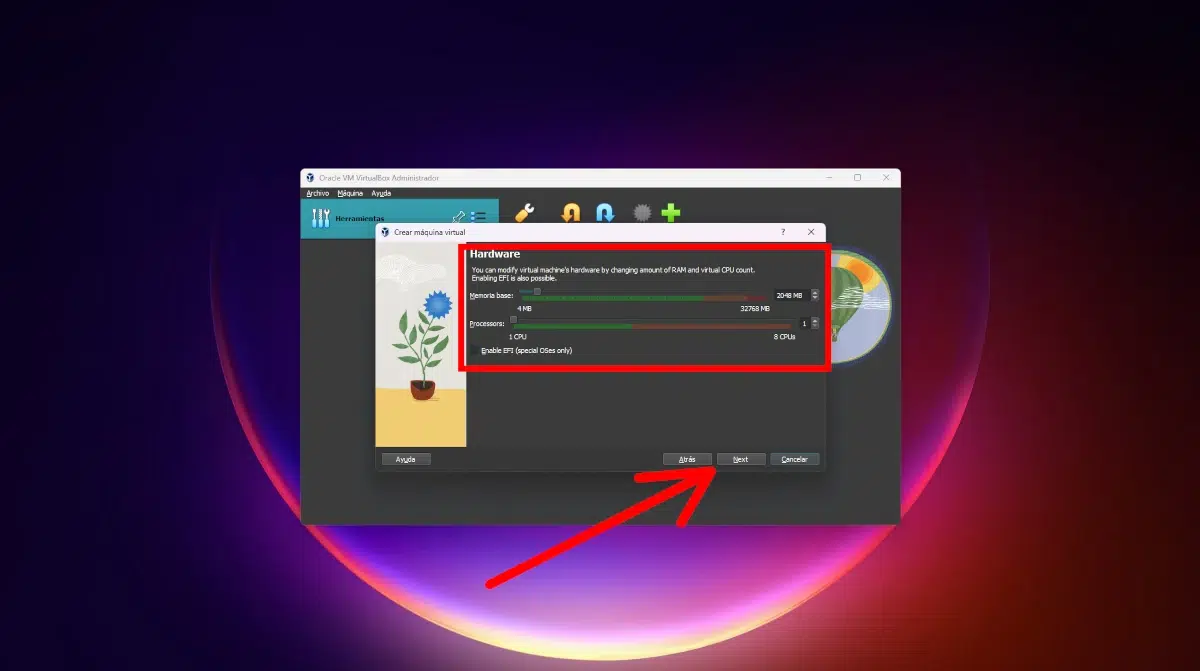
- In the next window we will configure the RAM memory and the number of processors that the virtual machine will use. VirtualBox tells us in green, orange and yellow colors what would be acceptable or go to the limit. The best thing is not to reach orange, but everyone can try what they think is necessary. Once chosen, click on “Next”.
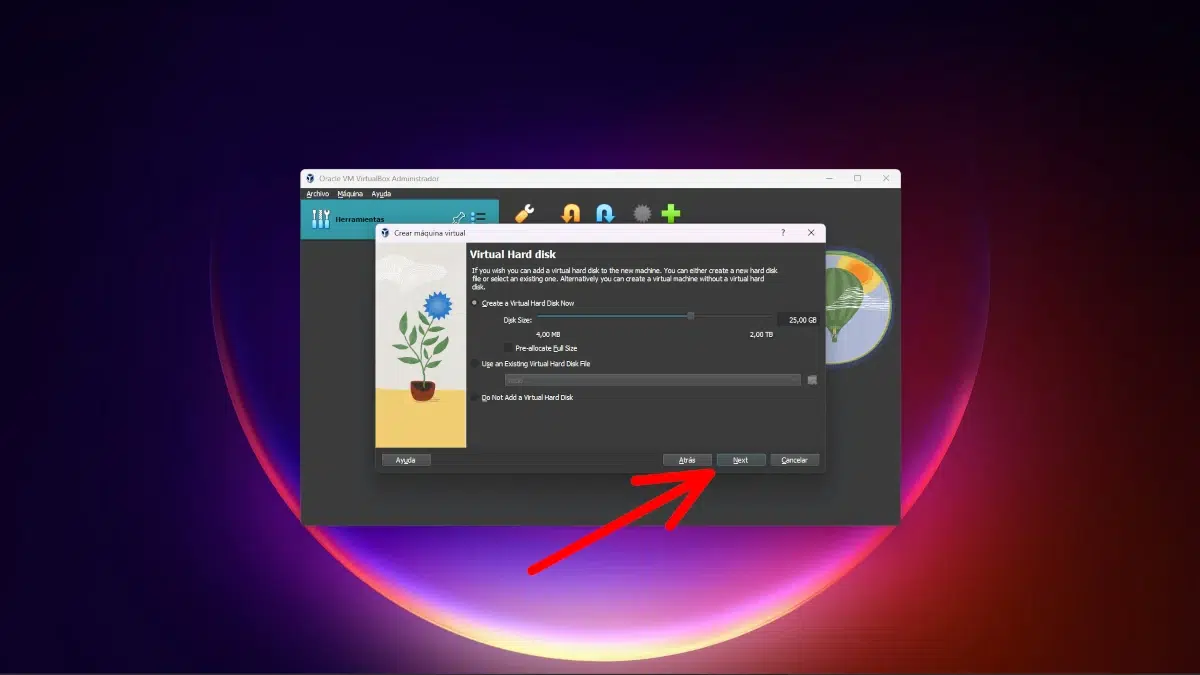
- In the next step, we will configure the size of the disk to suit the consumer. Once the size is set, we click on “Next”.
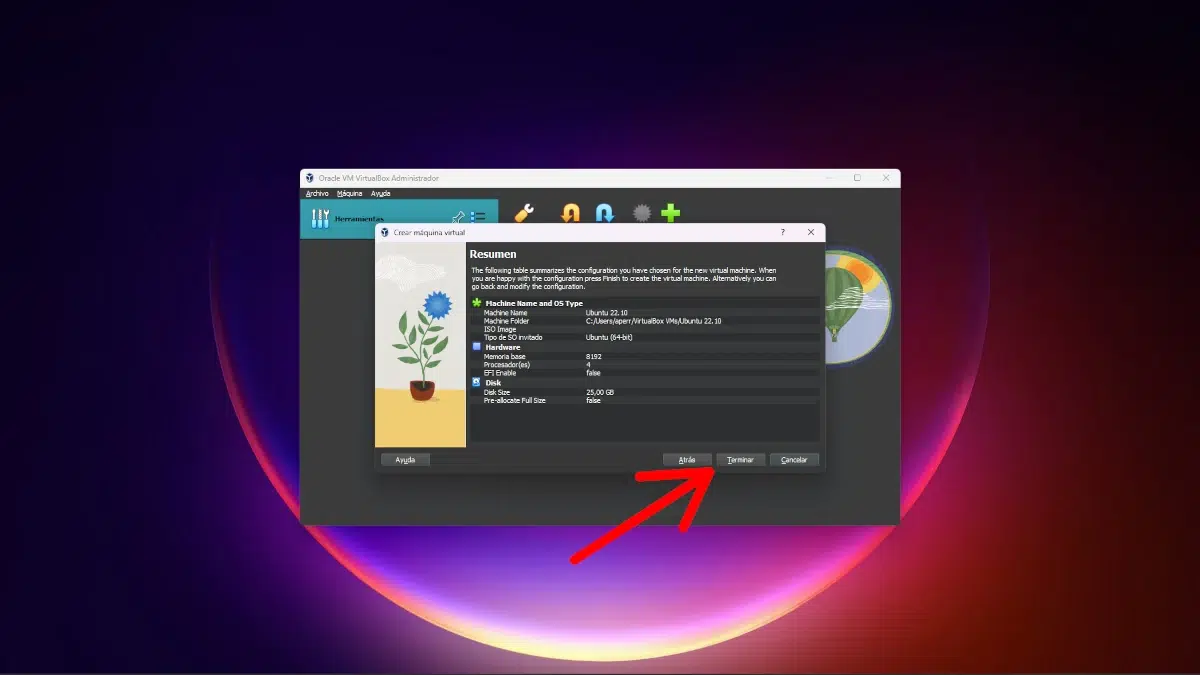
- When we go to the next window, we will see a summary of what we are going to create. If we agree, we click "Finish".
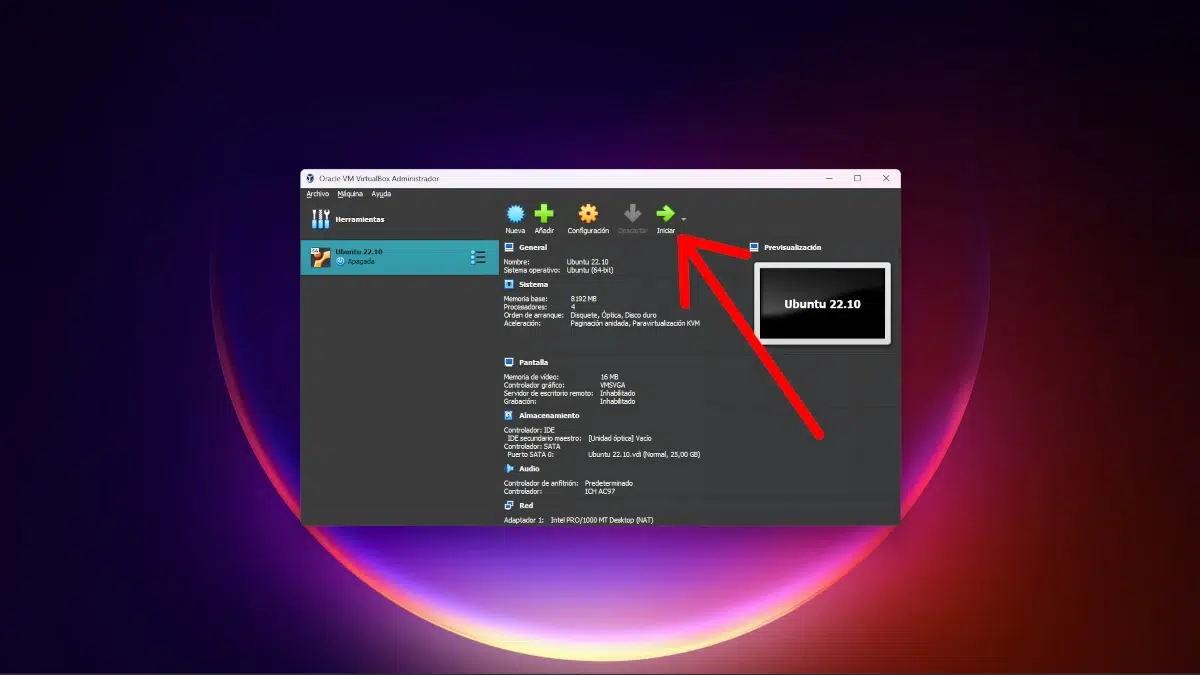
- Now we are going to install the operating system. To do this, we select our virtual machine and click on “Start”.
- There will be nothing to start, so we will see a window like the following, or something similar; It will depend on the version of VirtualBox. In the DVD part, we click and choose the Ubuntu ISO image. If we had not downloaded it, this is a good time. It can be obtained from this link. Once the ISO is chosen, we click on “Mount and try again”. This time it will boot and it will boot from the installation image. The best thing about doing it this way is that we save time, and you don't have to remove the CD after installation either.

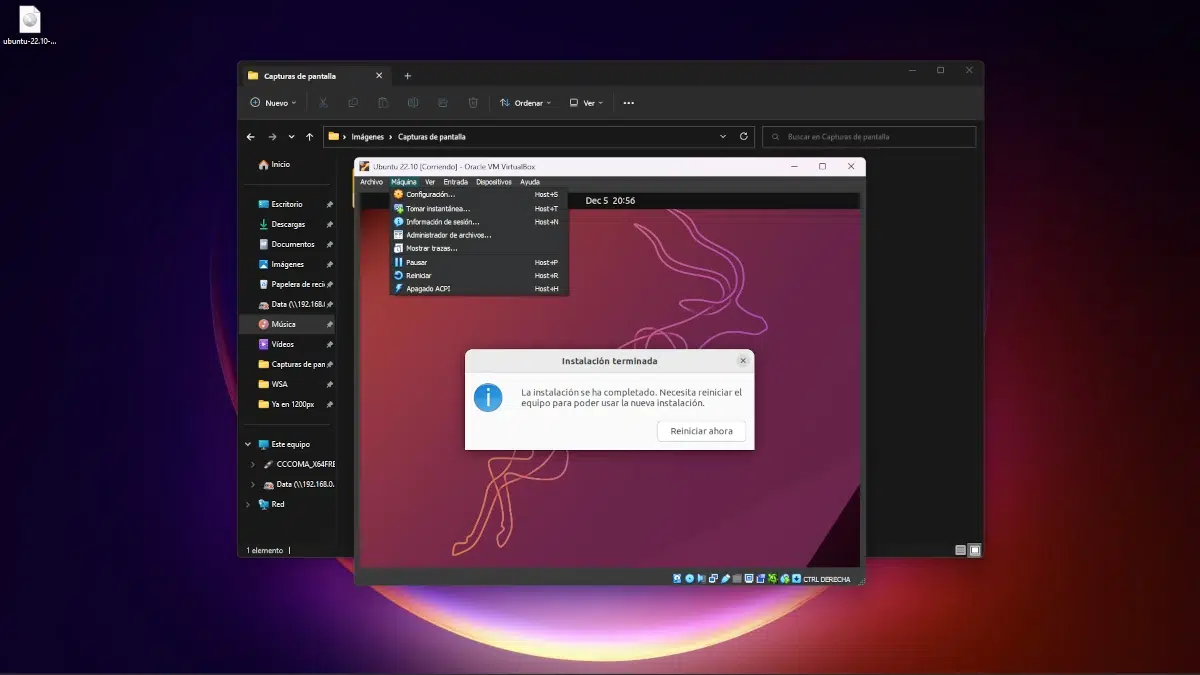
- From here, the installation of Ubuntu is like when we do it on the hard drive. In this link Do you have a detailed tutorial? Once we finish, we can click on the menu Machine/ACPI Shutdown or whatever we want; It doesn't matter because it's all done. We can also exit correctly, for which it will be enough to click on "Restart now".
And that would be all… or almost
Upgrading the virtual machine: Guest Additions and the Extension Pack
Although we already have Ubuntu installed in VirtualBox, things are not as they should. It is one of the main reasons why I opted for GNOME Boxes on Linux: when I put in the ISO, the window already reaches the maximum, but GNOME Boxes is not for Windows and, in addition, VirtualBox makes better use of the computer's hardware.
So that the virtual machine can have the size that interests us, you have to install the Guest Additions, so we continue with another series of steps:
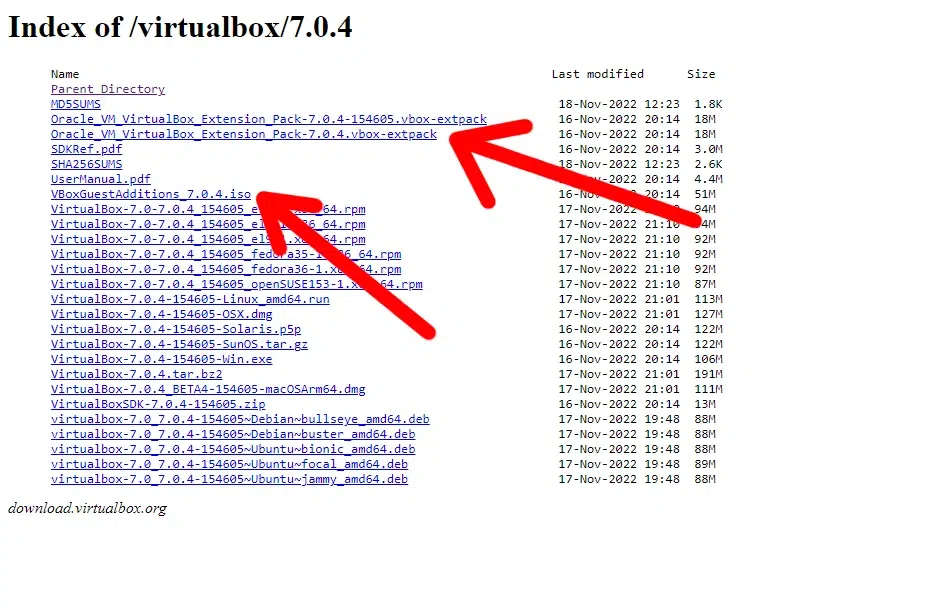
- Let's go to the VirtualBox download page, specifically to this link. There we look for the numbering of our VirtualBox and enter. To find out which version we are using, just go to “Help/About VirtualBox…”. The version appears below in small next to the text "Version".
- From that page we downloaded the Guest Additions ISO and the Extension Pack file.
- Now we start our Ubuntu virtual machine. If we had not completed the initial configuration, now we have to do it.
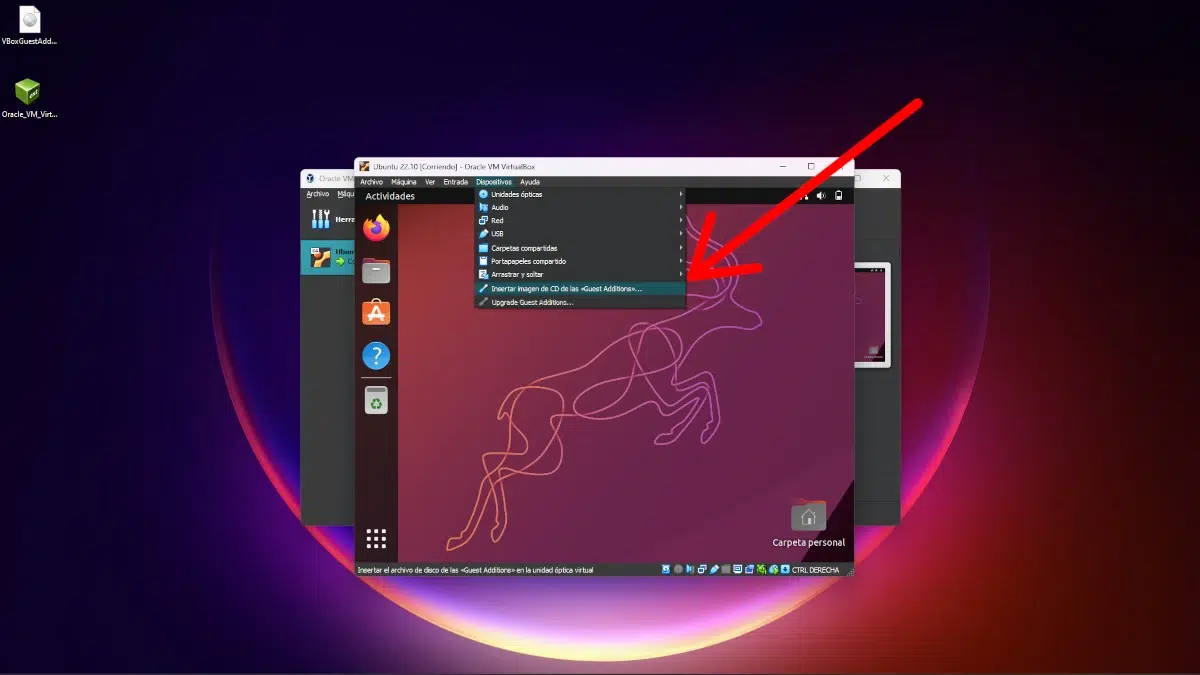
- We go to Devices / Insert CD Image of the "Guest Additions" and choose the previously downloaded ISO. The CD will appear as a new drive.
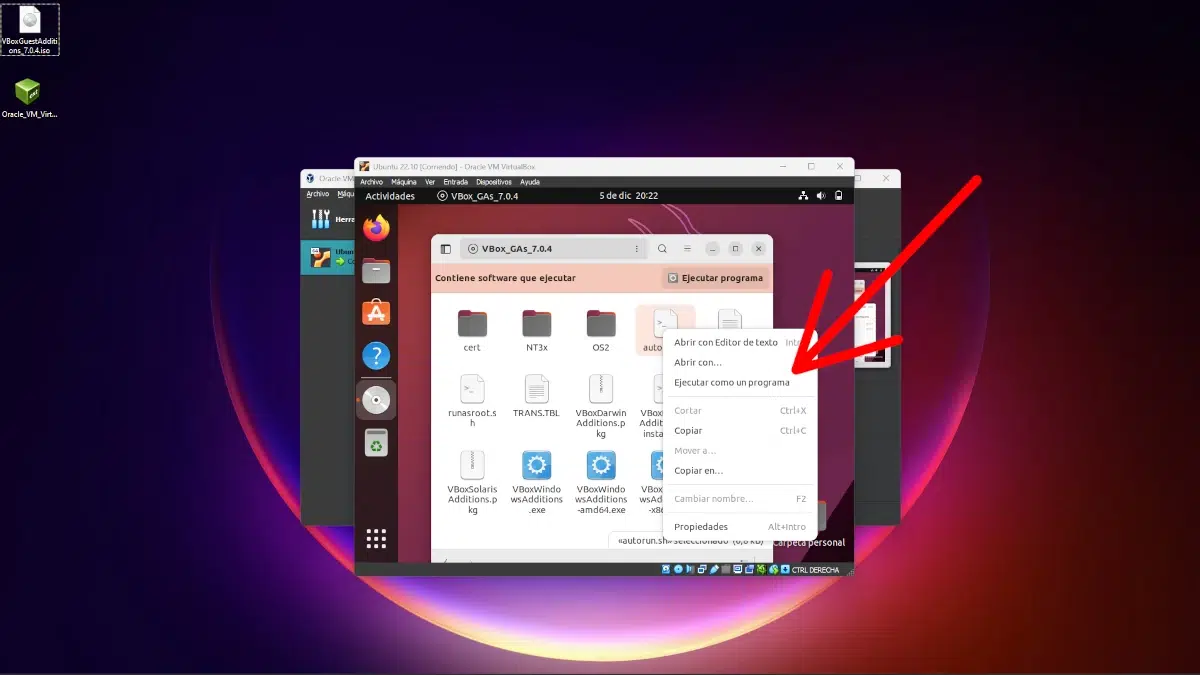
- We open the CD and we will see something like the following. But first, so that it does not give us an error, we have to install the gcc, make and perl packages, so we open a terminal and write (without the quotes) "sudo apt install gcc make perl". Once those packages necessary to compile the Gest Additions are installed, we go to the folder, look for autorun.sh, right click on that file and click on “Run as a program”.
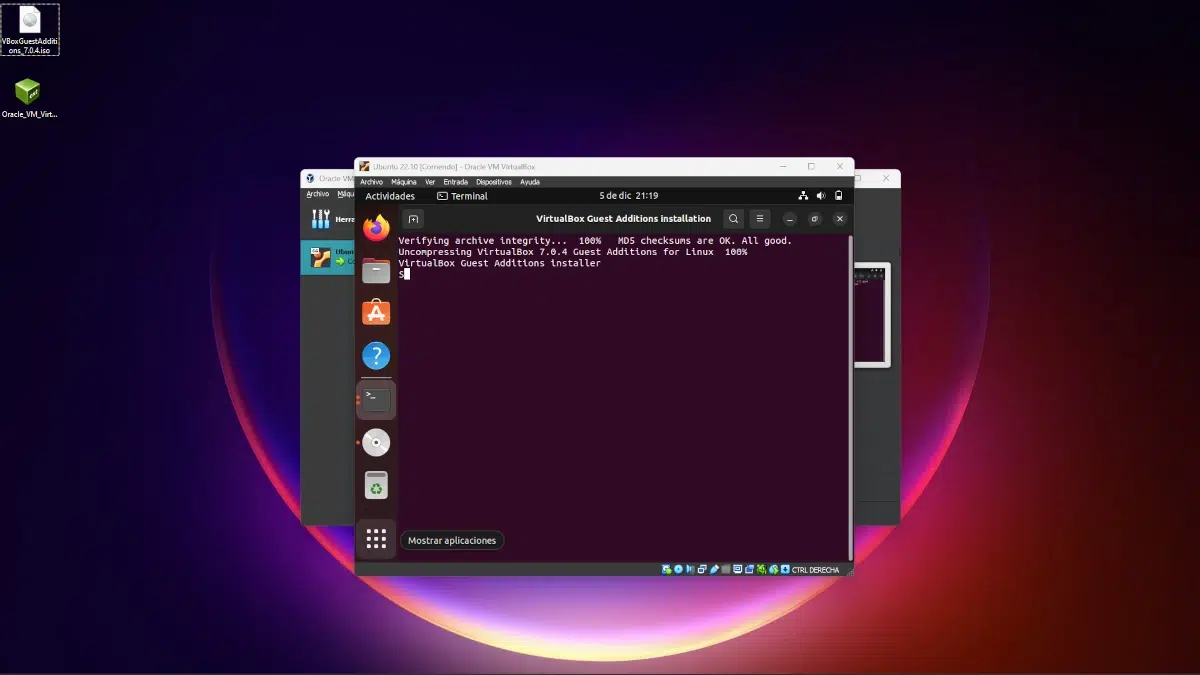
- After entering the password, the installation will begin, and we will only have to wait for the process to finish.
- Once the installation of the Guest Additions is finished, we will restart the virtual machine and we will be able to change the size of the window. If it does not do it automatically, we can do it from Configuration / Monitors.
- Although our virtual machine already seems to be fine, we still won't have access to some of the hardware, such as the webcam and USB ports. For this, you have to install the Extension Pack. We turn off the virtual machine.
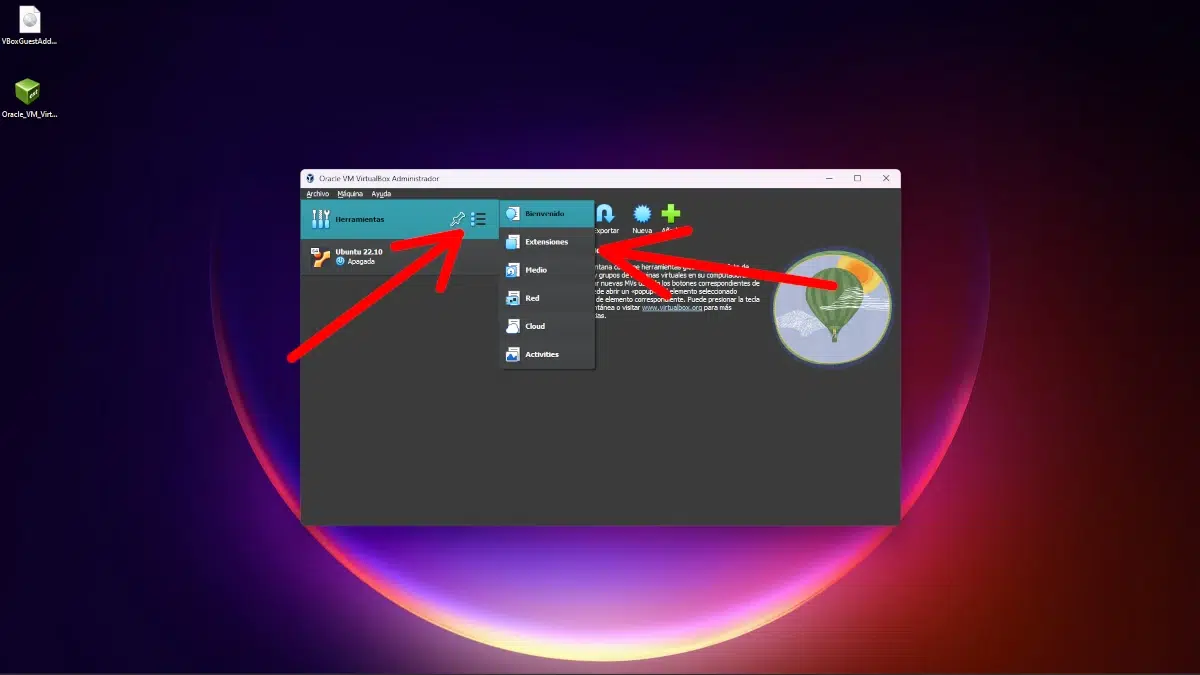
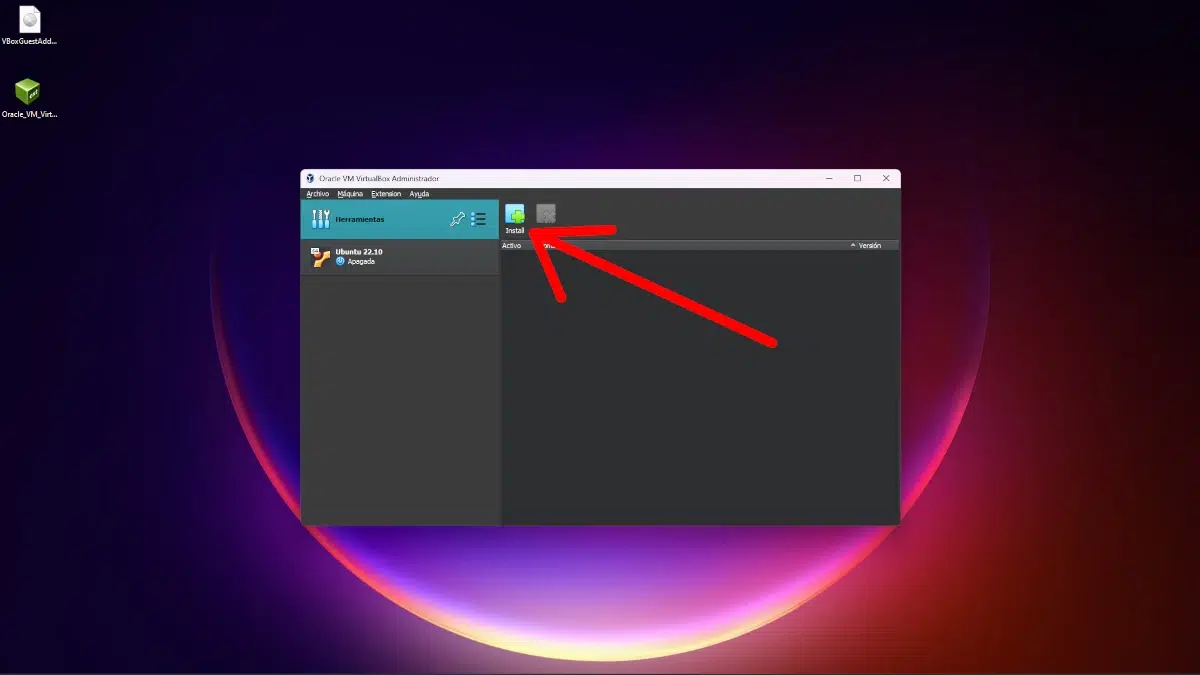
- We click on the list icon in the “Tools” section and then on “Extensions”.
- In the window that opens, we click on “Install”.
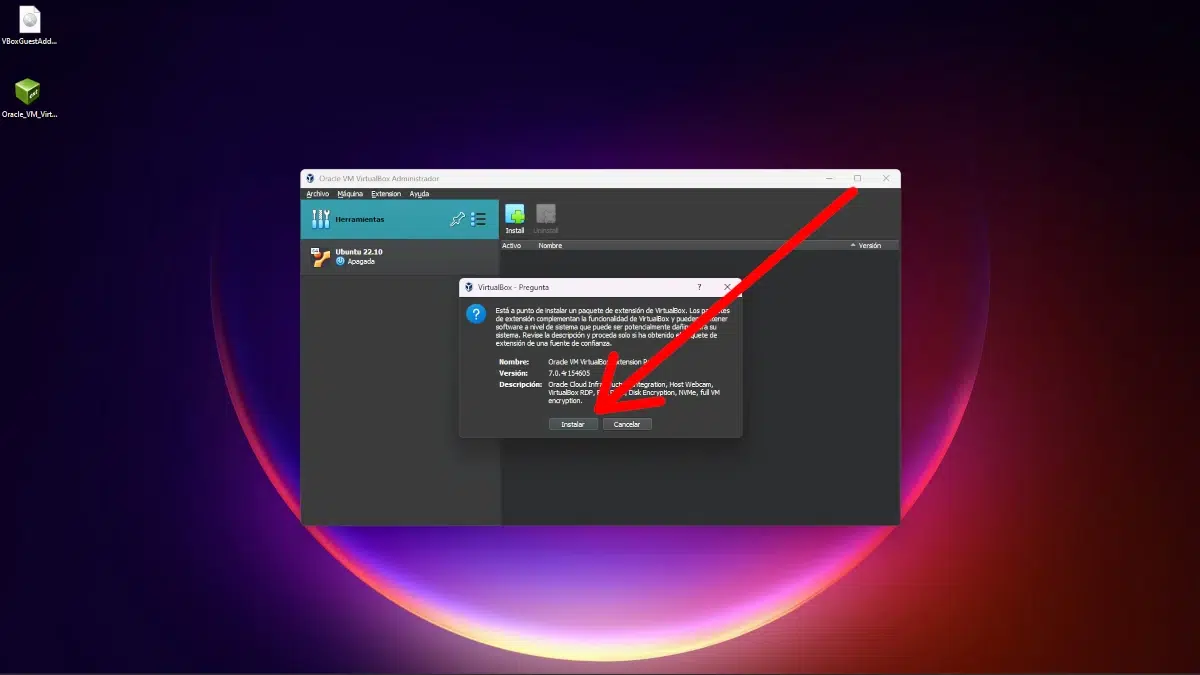
- We select the Extension Pack file that we have downloaded together with the Guest Additions ISO.
- We click on "Install".
- We will see a Terms of Use window. We scroll down, accept and, now, that's it.
So you can install Ubuntu in VirtualBox. For Windows users, I hope this tutorial has helped you, and above all, helped you decide to come to Ubuntu.
Good morning, if I were to use Ubuntu, I would use Linux Mint which was easier for me
regards
SORRY I HAVE NOT BEEN ABLE TO FIND A VIRTUALBOX COMPATIBLE WITH LINUX WIFISLAX 64 BIS