
Default Ubuntu is fast enough, even though this depends largely on the amount of memory RAM and the status of your hard drive, although if you use an SDD you get better efficiency.
As you have noticed, some of the programs or applications in Ubuntu take quite a long time to start. This can be annoying if they use the affected program frequently.
It is therefore so this time we are going to talk about some applications that will help us to be able to accelerate our system and to be able to improve the effectiveness of it in our teams.
One of the applications that will help us in this is Preload.
What is Preload?
The Preload is an application that runs in our system in background like a daemon. This application is responsible for analyzing user behavior in the system and track which apps you run frequently.
Based on these analyzes, Preload create an app list that the user executes most frequently and with this it is in charge of having those binaries and their dependencies housed in the RAM memory system and thus increases the start time of the application.
How to install Preload on Ubuntu 18-04 and derivatives?
To install this application on our systems we can do it with the help of the Ubuntu software center and find the application there or with the help of Synaptic.
O if you prefer, write the following command in the terminal (ctrl+alt+T):
sudo apt-get install preload
Installation done, we must restart our computer.
Once you are inside the system again, Preload begins to run in the background and will begin to perform its work to improve the application startup speed.
The application as such will have to work without any problem, since it does not require a special configuration.
But we have the facility of being able to edit the values of this, in the following file found in /etc/preload.conf.
What is prelink?
pre-link is a utility to speed up the dynamic linking of libraries of applications in Linux. The prelink package Contains a utility that modifies ELF shared executables and libraries, so many relocations need to be resolved at runtime and therefore programs appear faster.
How to install Prelink on Ubuntu 18.04 and derivatives?
To install Prelink on our system, We simply have to open a terminal and execute the following command:
sudo apt install prelink
Done the installation we must edit this file:
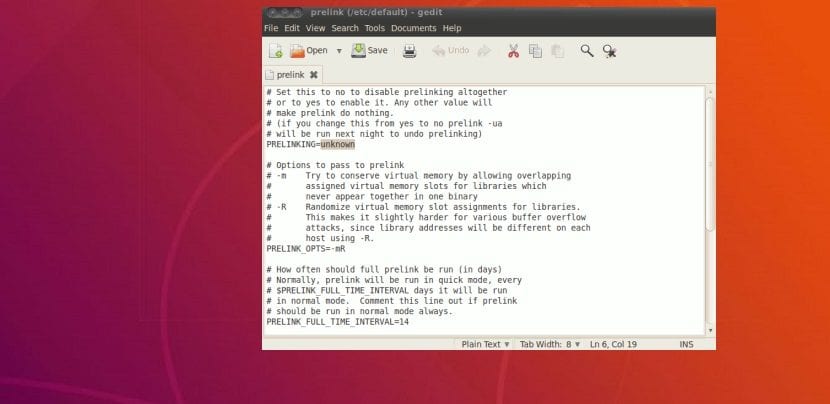
sudo gedit /etc/default/prelink
In which we will see the following parameter:
PRELINKING=unknown
In this we will have to modify it and leave it as in the following example:
PRELINKING=yes
In some installations it will appear as "No" instead of "unknown", in this case instead of putting "Yes" it will put "yes"
Here we can also edit some parameters, among which we may have problems with some third-party applications, among the most important are those of the graphics:
Here we simply have to copy the following and add it to the file:
# NVIDIA

-b /usr/lib/libGL.so*

-b /usr/lib32/libGL.so*

-b //usr/lib/libOpenCL.so*

-b //usr/lib32/libOpenCL.so*

-b /usr/lib32/vdpau/

-b /usr/lib/vdpau/

-b /usr/lib/xorg/modules/drivers/nvidia_drv.so

-b /usr/lib/xorg/modules/extensions/libglx.so*

-b /usr/lib/libnvidia-*

-b /usr/lib32/libnvidia-*

# Catalyst

-b /usr/lib/libati*

-b /usr/lib/fglrx*

-b /usr/lib/libAMDXvBA*

-b /usr/lib/libGL.so*

-b /usr/lib/libfglrx*

-b /usr/lib/xorg/modules/dri/fglrx_dri.so

-b /usr/lib/xorg/modules/drivers/fglrx_drv.so

-b /usr/lib/xorg/modules/extensions/fglrx/

-b /usr/lib/xorg/modules/linux/libfglrxdrm.so

-b /usr/lib/xorg/modules/extensions/libglx.so
Finally we close the file and We give it permissions with this command:
sudo chmod 666 /etc/prelink.conf
Now to run the application we simply type:
prelink -amvR
And ready.
When executing it, it will begin to load all the necessary, I must mention that very possibly throw you an error while it is being configured.
These mistakes that I throw at you are something like that:
Prelink /usr/lib/xxxx
Where It is indicating that you must add a release to the prelink blacklist, because it is generating conflict.
Prelink tells you which library to add, you just have to execute the following command To add it, here you only have to modify the one indicated by the prelink:
sudo echo -b /usr/lib/xx/xxx/libreria >> /etc/prelink.conf
Once this is done, we run prelink again and we will have to add the libraries that generate conflict, until prelink loads successfully.