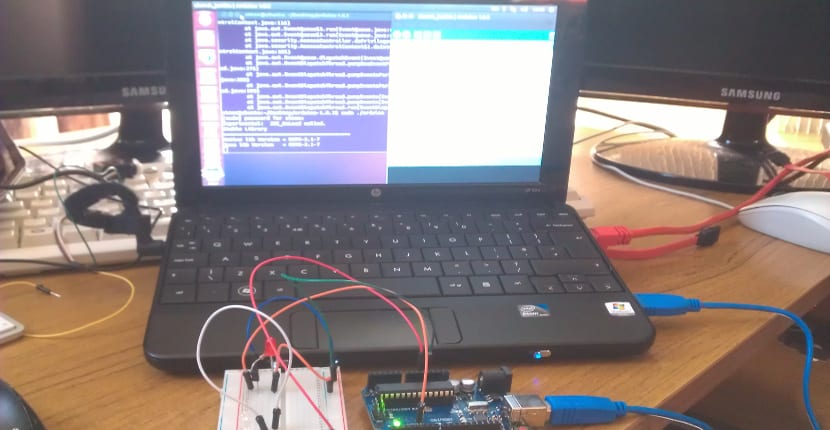
The Internet of Things is revolutionizing many aspects not only of everyday life but also of the world of programming and IT. Although Ubuntu gets along very well with it, such a relationship is based not only on being able to work with Free Hardware but also on supporting software that works with free hardware, such as the Arduino IDE, the programming suite created to work with the project boards. Arduino.
Installation and Arduino IDE operation is very easy in Ubuntu although it does need a bit of configuration and such an installation may not be suitable for a newbie, hence this tutorial. For it to work we only need an Ubuntu with an internet connection, a cable to connect our pc with our Arduino board and pay attention to what we do. So we start:
We open a terminal and write the following:
sudo apt-get update

sudo apt-get install arduino arduino-core
Once it is installed, we have to make sure that the connection between the program and the board works. To do this, we connect the board to our computer and write the following:
dmesg | grep ttyACM
If the connection works, the terminal should return a phrase that ends with the following:
ttyACM0: USB ACM device
This means that the connection works. Now so that we can insert and send our programs, we must give permissions to the port, this is done as follows:
sudo chmod 666 /dev/ttyACM0
Arduino IDE configuration
Attention because this last operation will have to be repeated every time we connect the arduino board to our pc. Now our Arduino IDE is ready, we go to the Dash and look for arduino with which our Arduino IDE will open.
Since the project has many plates created and all of them different, what we have to do before starting the project is to select which plate we are going to work for, so we go to Tools -> Card (we select the connected card) and in Tools - > Serial Port (we select the serial port where our board is connected). With all this now we just have to enjoy the Arduino IDE in Ubuntu. Now we just have to develop.
sudo chmod 666 / dev / ttyACM0
It is better to add yourself to the group of / dev / ttyACM0, to see which is its group you just have to list the file:
ls -lh / dev / ttyACM0
and it should come out something like:
crw-rw—- 1 root dialout 188, 0 Apr 13 17:52 / dev / ttyACM0
the group is "dialout", you must add yourself to this group so that you will always have permissions for arduino to use this port.
Thank you !!, I have finally been able to connect my arduino in Lubuntu thanks to your instructions .. 😀
Hello, but the arduino that is installed is very old, can't the last one be installed?
Thanks and Regards