Any user knows how important it is to make backups on a regular basis, and we have all suffered at some point in our lives for not having taken this indisputable truth into account. Perhaps due to lack of time, perhaps because we did not spend enough time looking for the tool that best suits our preferences, the truth is that when something fails and we lose images, documents, videos and others is when we swear that something like this will never return to happen to us.
The good thing is that the tools for making backups are getting better and simpler to configure, and this adds to the improvement of the hardware available to use them since not only are the internet connection speeds higher, but also the size of the files. hard drivesx and removable drives. Today we want to show how to install backupninja, a very complete and versatile backup tool oriented to Debian and derived distros, among which of course we have Ubuntu.
Some of the benefits it offers us backupninja are the possibility of use shell scripts to configure our backups, something that as is known always attracts Linux users in general. Then, it is also a plus the fact of relying on well-known tools such as duplicity, rdiff-backup, mysqdump, msqlhotcopy and MySQL or MariaDB.
To begin we have to install backupninja, something more than simple since it is found in the official Ubuntu repositories, so we can do it by means of a simple:
# apt-get install backupninja
We let the installation tool do its thing, and at the end we will have created the directories and files that it uses, for example / usr / sbin / backupninja (the fundamental script of this application), /etc/cron.d/backupninja (to automate its launch), /etc/logrotate.d/backupninja (for log files), /etc/backup.d/ (here are the configuration files), /etc/backupninja.conf (the general configuration file) and / usr / share / doc / backupninja / examples which, as the name suggests, contain example configuration templates.
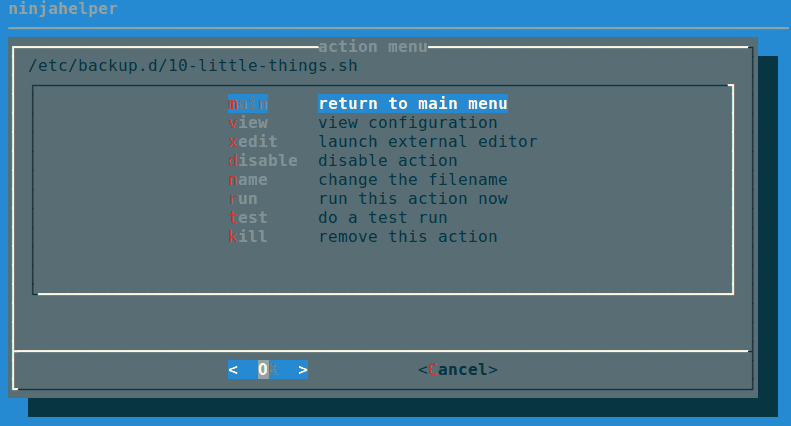
Now we can start, and the first thing we have to do is run ninjahelper file, which will assist us in the task of configuring this backup tool. The first thing this script does is ask us to install 'dialog', a tool that facilitates the creation of dialogs in a terminal, something necessary so that we can see the options and execute the desired ones. So we accept it and after a few seconds we will have the backup creation dialog before us: to create one we simply move with the cursor arrows and select with 'Enter' the option of 'new'.
Then we will see the options, which consist of back up system and hardware information, makecd, mysql or postgresql database, or the options using tools such as rdiff, rsync or tar. Let's see how to use rsync to create remote directory backups, automatically synchronized with a local folder and allowing this to be done periodically thanks to cron / anacron.
What we have to do is create a file in the directory /etc/backup.d, save it and change its permissions to 600 (that is, read and write for the owner, nothing for the group and for others).
# Username on the remote computer
user = root
# Remote computer
host = server1
# Remote directory
remotedir = / home / documents /
# Local directory
localdir = / home / backup
# Directory in which we have the previous backup
localdirant = / home / backup.1
mv $ localdir $ localdirant
#rsync
rsync -av –delete –recursive –link-dest = $ localdirant $ user @ $ host: $ remotedir $ localdir
Now we run it through:
# backupninja -n
And we will proceed to create a folder called backup.0 that will have all those files that are new or that have been modified with respect to the previous backup, and will contain hard links to those that remain unchanged, something that we can verify by simply comparing the inodes and sizes of both directories.
Further information: backupninja (Official Web site)