![]()
Java is an essential complement for the execution or operation of many tools in the system and shortly after the new version of Ubuntu has been released, which is version 17.04 Zesty Zapus, it is necessary to start install essential packages for our system.
Currently the recommended version of Java it's 8 on your Update 131, with which we are going to focus. The Java installation on Ubuntu 17.04, it is relatively simple, we can do it from PPA or compiling directly.
First we will start with the installation in the simplest way that is using the packages that Ubuntu offers us directly, although a little outdated, since Ubuntu does not update them in a timely manner when a new version appears.
How to install JDE on Ubuntu 17.04 Zesty Zapus
The first thing will be to open a terminal and execute the following:
First we will have to update the system and packages with:
sudo apt-get update
sudo apt-get upgrade
Then we will proceed to install JDE with:
sudo apt-get install default-jre
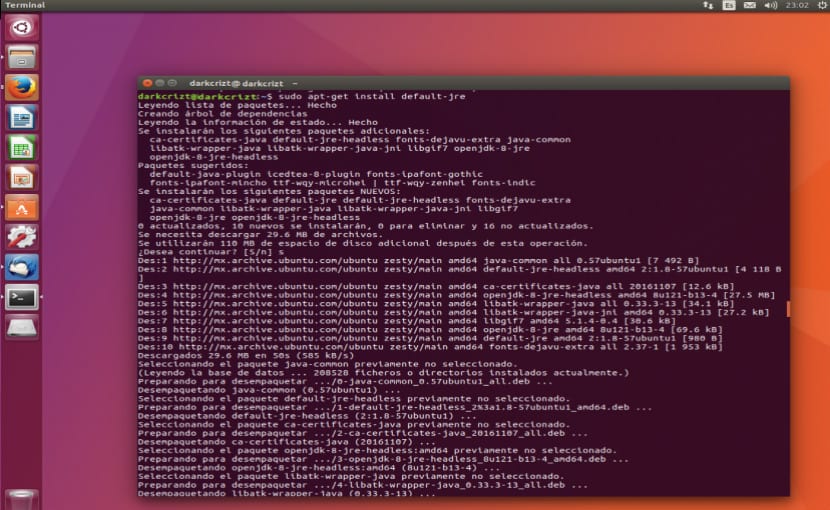
And ready with it, we already have the java execution environment in our system.
How to install JDK on Ubuntu 17.04 Zesty Zapus
In the same way, we will open a terminal and execute the following commands:
sudo apt-get update
sudo apt-get upgrade
And finally we proceed to install the Java Development Kit:
sudo apt-get install default-jdk
How to install Oracle JDK on Ubuntu 17.04 Zesty Zapus
There is another way that it offers us webupd8team what is the package Oracle offers us directly and we can get it adding the PPA de webupd8team ours sources.list
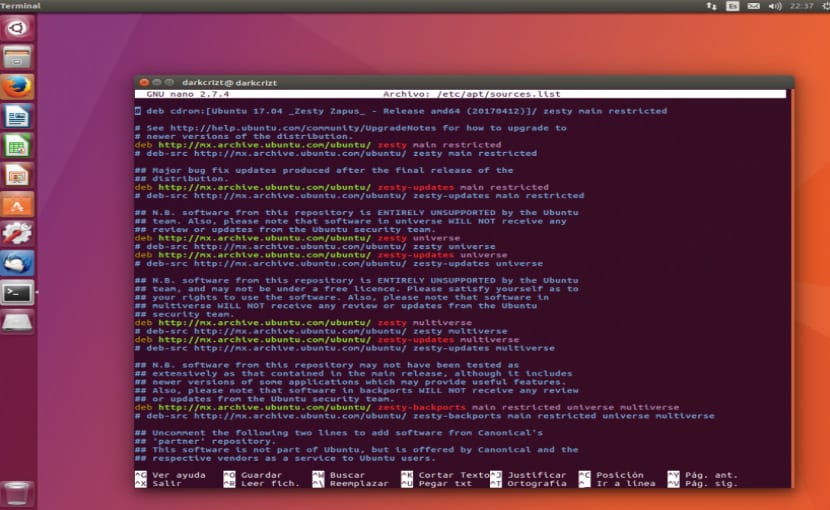
If they already have the PPA added, it is not necessary to add it again, we would only be duplicating and possibly creating a conflict. For those who have doubts, they can verify it with the following command:
sudo nano /etc/apt/sources.list
Once we are sure we will proceed to add the PPA and install Oracle Java in our system.
We will open the terminate and execute:
sudo apt-get update
sudo add-apt-repository ppa:webupd8team/java
sudo apt-get update
sudo apt-get install java-common oracle-java8-installer
Customizing the Java installation on Ubuntu 17.04 Zesty Zapus
Java allows us to have different versions installed on the system, with which we can choose which version to work on without the need to reinstall a previous version without eliminating a previous one.
Through the use of update-alternatives, we can make this configuration that allows us to manage symbolic links that will be used for different commands.
sudo update-alternatives --config java
It will display the different versions of Java that we have installed, in my case, as it was a new installation, I only have the current version:
Sólo hay una alternativa en el grupo de enlaces java (provee /usr/bin/java): /usr/lib/jvm/java-8-openjdk-amd64/jre/bin/java</pre>

Nada que configurar.
But generally when having more than one version it will display something like this:
There are 3 choices for the alternative java (providing /usr/bin/java)

Selection     PathPriorityStatus
------------------------------------------------------------
*0 /usr/lib/jvm/java-7-oracle/jre/bin/java1074 auto mode
1/usr/lib/jvm/java-6-oracle/jre/bin/java 1073 manual mode
2 /usr/lib/jvm/java-7-oracle/jre/bin/java  1074 manual mode
3 /usr/lib/jvm/java-8-oracle/jre/bin/java 1072 manual mode
With which it allows us to choose with which number (java version) to work.
This also applied for other Java commands, such as:
sudo update-alternatives --config javadoc
(documenter)
sudo update-alternatives --config javac
(compiler)
sudo update-alternatives --config java_vm
sudo update-alternatives --config jcontrol
sudo update-alternatives --config jarsigner
(signature tool)
Define the JAVA_HOME environment variable
JAVA_HOME is a variable to determine the location of the Java installation, which many programs use by default, therefore, to set this variable it is necessary that we know where we have java installed.
With the following command we can know:
sudo update-alternatives --config java
Already having this data it is necessary to add it to the end of this file, we do it with the following command:
sudo nano /etc/environment
Taking into account that we will replace what is in quotes with the path that we previously found out.
JAVA_HOME="/usr/lib/jvm/java-8-oracle"
We save with ctrl + O and exit with ctrl + X.
We finally verify with:
echo $JAVA_HOME
And voila, we will have the environment path configured.
In conclusion, java offers us an infinity of options and customization to be able to work. Although most of the steps described here few apply it, it never hurts to have a little extra information when necessary and more when you start working on the Java IDE.
Kevin Salguero look mara