
In the next article we are going to take a look at Jellyfin. As has already been written previously in this blog, in Ubuntu we can find different powerful and functional media servers. The one that concerns us today is a free, cross-platform and open source alternative for streaming media.
In Jellyfin we will not find premium features, licenses or other types of plans. It is simply a totally free and open source project that is supported by its corresponding community. Using jellyfin we will be able to quickly and instantly configure this media server in Ubuntu in a few minutes. Will allow us access via LAN or WAN from any device.

Install Jellyfin on Ubuntu 18.04
Jellyfin is compatible with GNU / Linux, Mac OS and Windows. For this example we are going to install it on an Ubuntu 18.04 LTS distribution.
To begin we are going to open a terminal (Ctrl + Alt + T) and install HTTPS transport for APT, if it is not already installed on your computer:
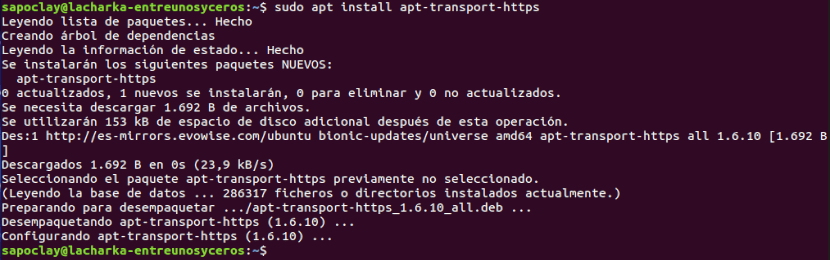
sudo apt install apt-transport-https
The next step will be add Jellyfin GPG signing key:
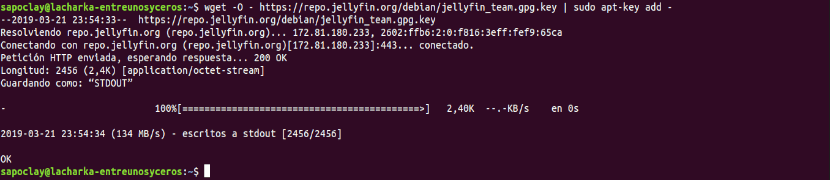
wget -O - https://repo.jellyfin.org/debian/jellyfin_team.gpg.key | sudo apt-key add -
We continue adding the Jellyfin repository. In the same terminal we will write the following commands:

sudo touch /etc/apt/sources.list.d/jellyfin.list

echo "deb https://repo.jellyfin.org/ubuntu bionic main" | sudo tee /etc/apt/sources.list.d/jellyfin.list
Finally, we will update software listing from the repositories:
sudo apt update
Finished installed Jellyfin using the following command:
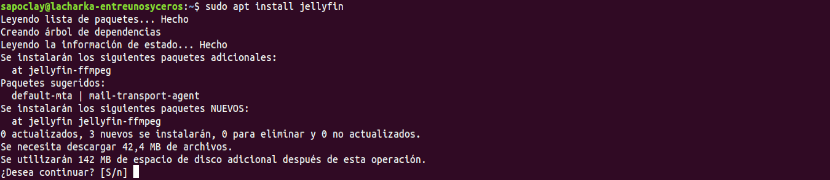
sudo apt install jellyfin
Start the Jellyfin service
For enable and start the service after each restart we will execute the following commands:

sudo systemctl enable jellyfin

sudo systemctl start jellyfin
We can check if the service has been started correctly or not by running the command:
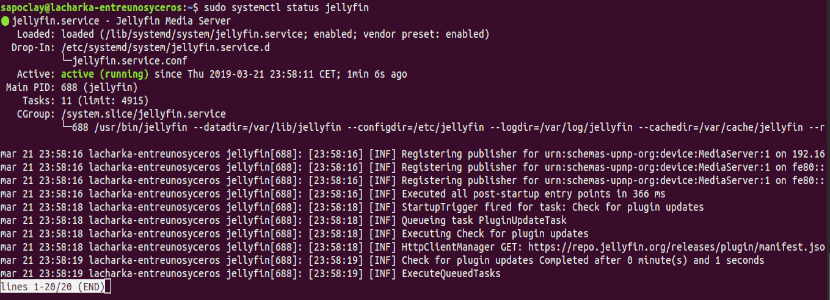
sudo systemctl status jellyfin
If you see an output like the one in the previous screenshot, Jellyfin will have started the service correctly. At this point, we can move on to the initial setup.
Initial setup
We will be able to access Jellyfin from any system on the network. It will not be necessary to install any extra applications. All you need is a web browser modern. To begin, we are going to make the configuration, start by accessing the URL in the browser http://nombredominio:8096 o http://dirección-IP:8096.
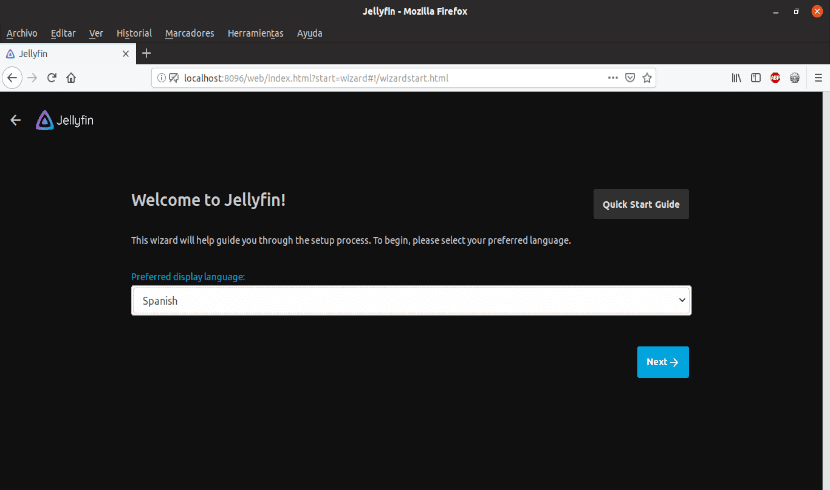
On the screen we will see the welcome screen like the one in the previous screenshot. Here there is nothing but select our preferred language and click on Next.
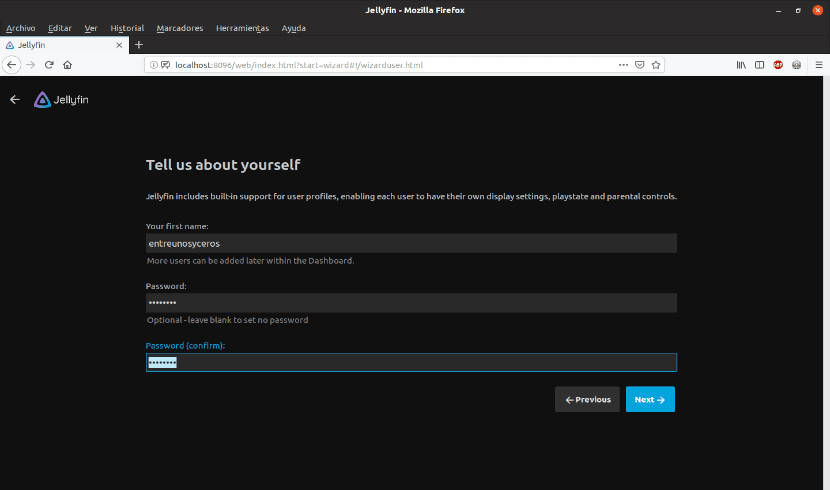
On this screen we will have to write our user data. In the control panel that we will find later, we can add more users. We go to the next screen by clicking on Next.
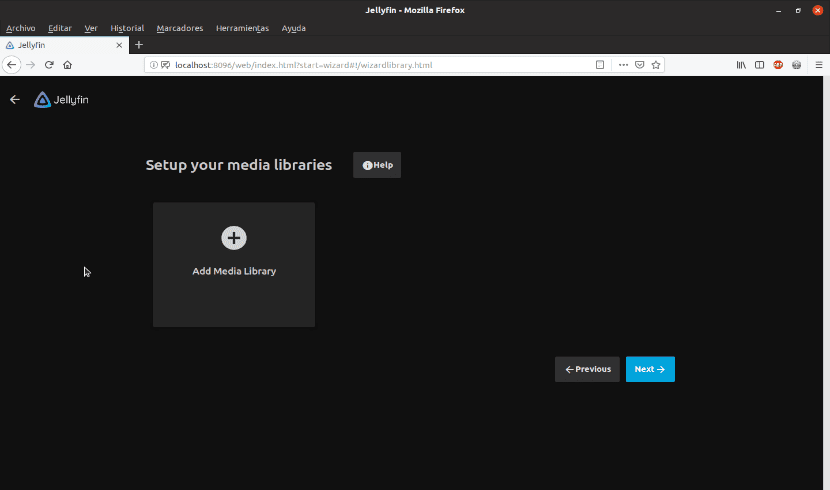
The next step is going to be select the multimedia files we want to transmit. Just click the button 'Add Media Library'.
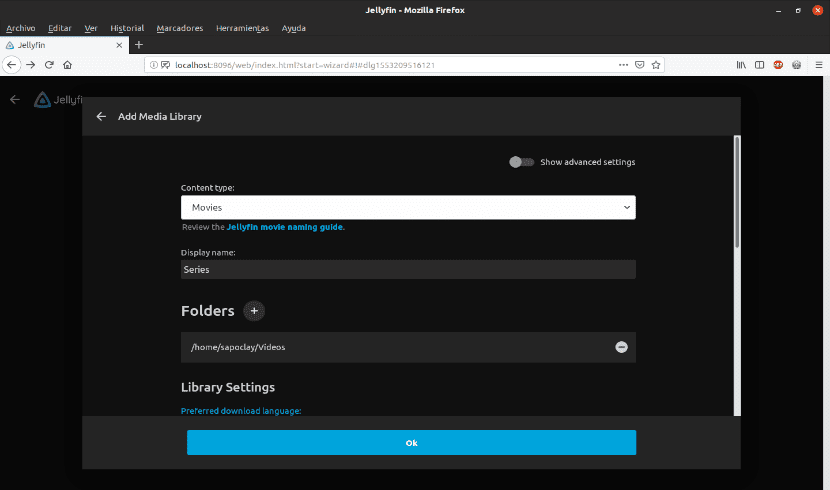
Select the type of content between audio, video, movies, etc. We will also have to type a display name and click the + sign found next to the text «Folders«. So you can choose the location where we have our multimedia files saved. As well we will be able to make other configurations for the library, etc. We will go to the next screen by clicking on Ok.
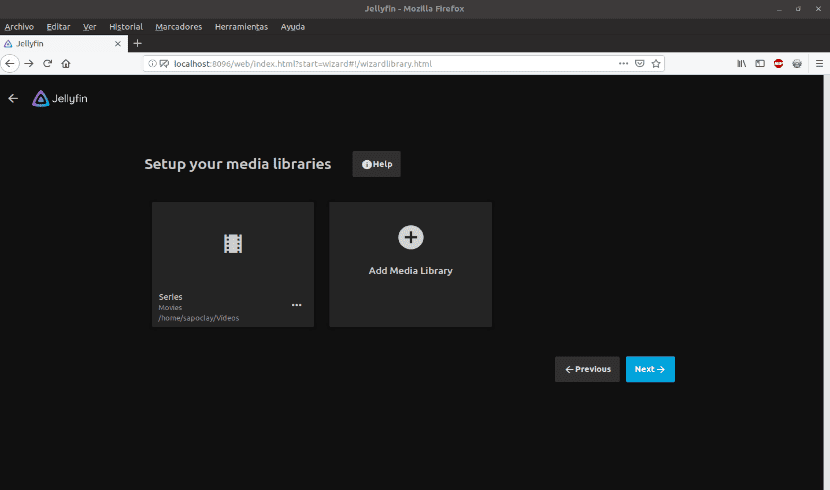
In the same way we can add all the multimedia files categorized as we are interested. Once you've chosen everything you want to stream, click Next.
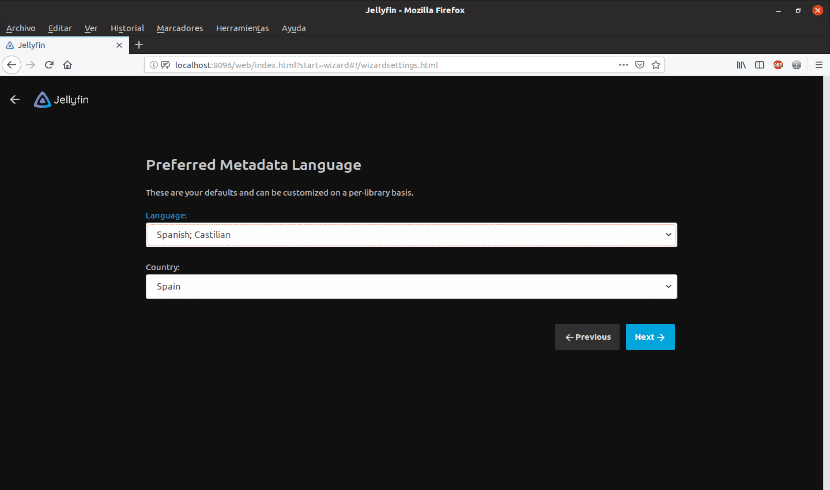
Choose the metadata language and click Next.
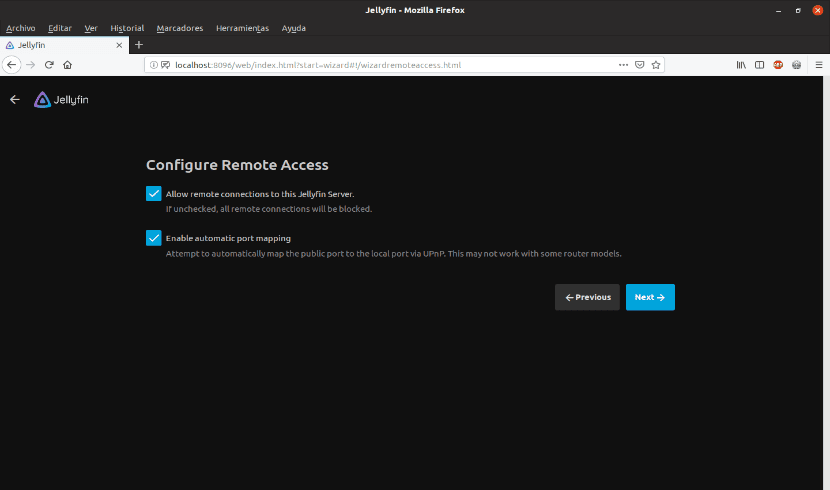
On this screen we must configure if we want to allow remote connections to this media server. Make sure to allow remote connections if you are interested in accessing from other devices or computers. It also enables the automatic port assignment. Finish by clicking Next.
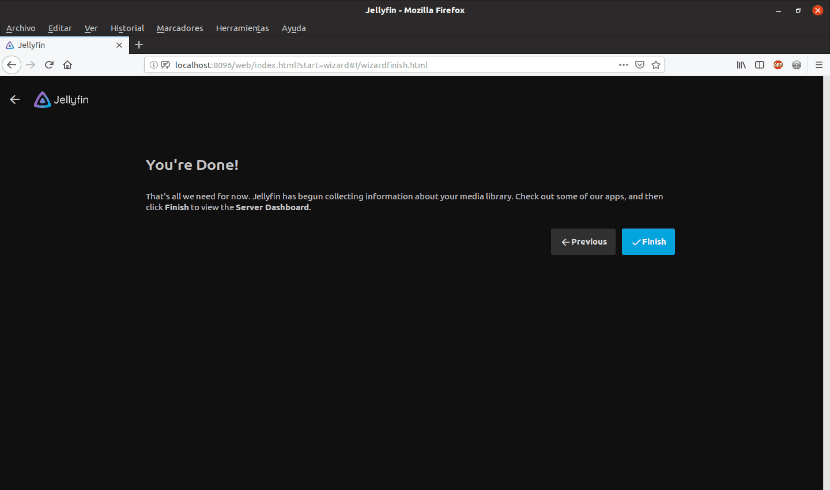
If you get to this screen, everything is ready. do click on Finish to complete the initial Jellyfin setup. You will be redirected to the login page.
Log in to Jellyfin
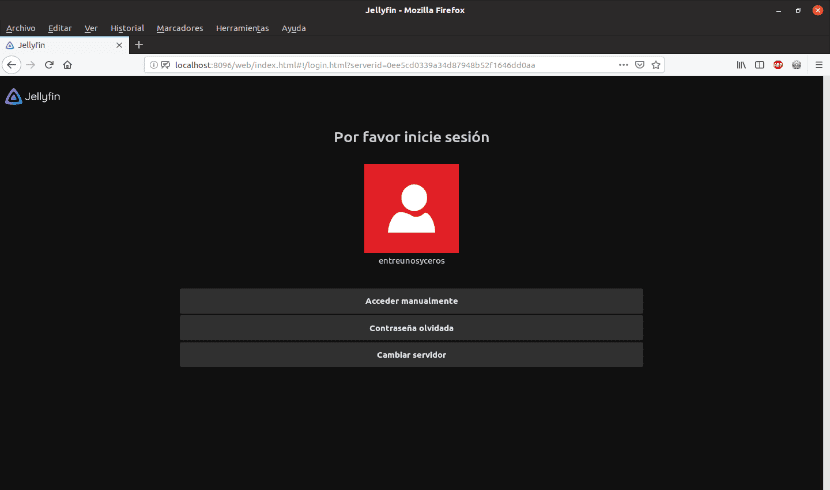
Write the username and password you set before.
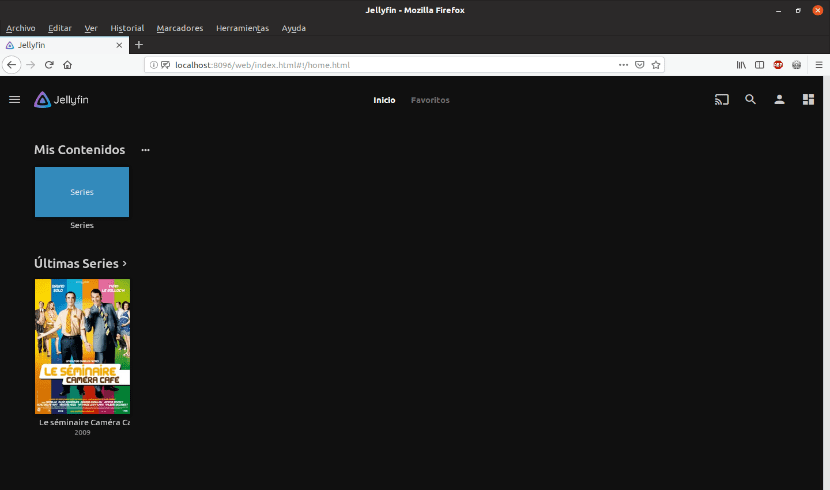
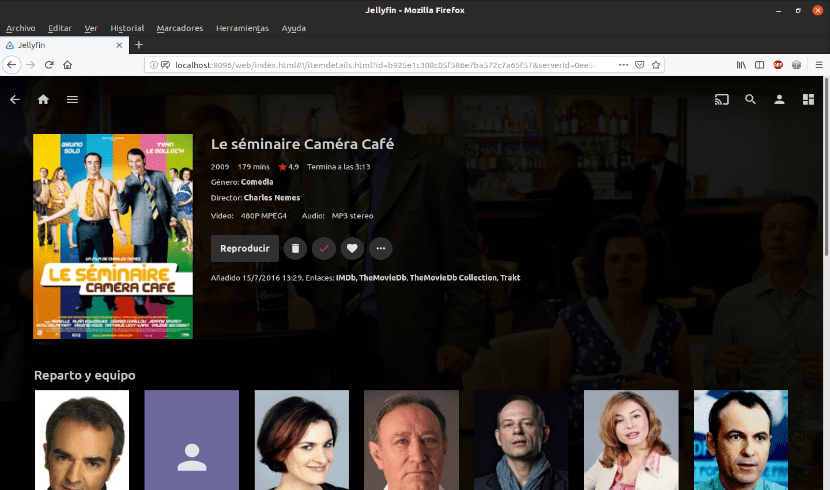
As seen in the screenshot, all media files should be displayed on the screen in the section My Contents. All you have to do is click on the multimedia file you want to play or select the tab to see its data.
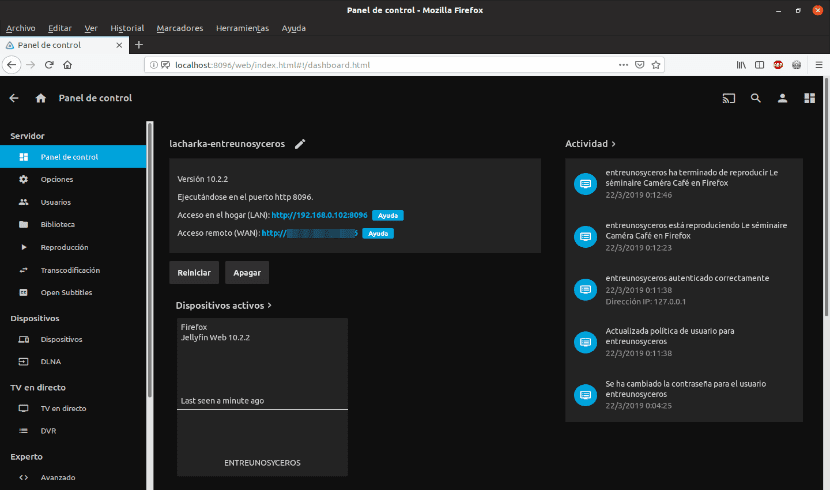
If you need change or reconfigure something, No more than click on the three horizontal bars at the top left of the screen. Here you can add users, media files, change playback settings, install plugins, change the default port, and many other settings.
If you would like to know more about the features or configurations, take a look at the page of official documentation Jellyfin or his page on GitHub.
An interesting project since it contains all the premium features of other programs, but how this service could be accessed outside the local network.
for a while now, the restart option does not appear, neither the public nor private ip, and it does not allow access remotely.
Hello, if it lets you access remotely, you just have to find out your external ip, it is very simple and open the ports on the router, if you have an ip that changes, use a very simple dns server (duckdns.org) and he will only change the ip if They change it because you connect by a web address
there's a lot of information
regards