
In the next article we are going to take a look at Mkdocs. If you develop software and seek a platform for creating documentation for one of your projects. Or if you work in a company that needs to create internal documentation for the staff. Even if you are an advanced user who wants to save some notes. MkDocs is a tool that you should try.
This software is a static site generator aimed at creating documentation platforms. It's pretty simple, pretty to look at, and easy to setup and deploy. Is written in python and simply requires you to create your files in Markdown format. Then, using a single YAML configuration file, you can generate a static website that works for you.
Next we will see how easy it is to obtain a complete documentation website using MkDocs. There are many others site generators similar static, but this has a configuration and implementation of the simplest.
A normal user could also use this software to create a local platform to take notes for himself or anything else similar.
Install MkDocs
Install locally
Let's see that installing MkDocs is quite easy. We will can install it using pip. You just have to open a terminal (Ctrl + Alt + T) and write in it:
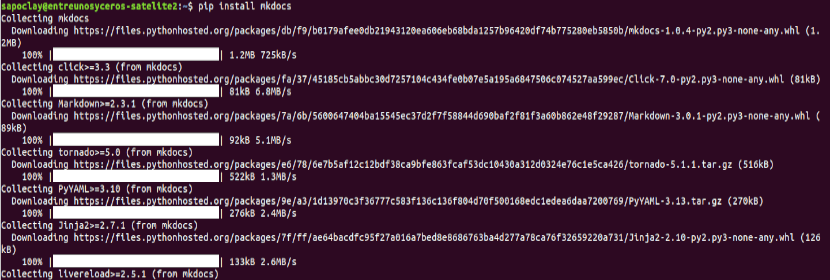
pip install mkdocs
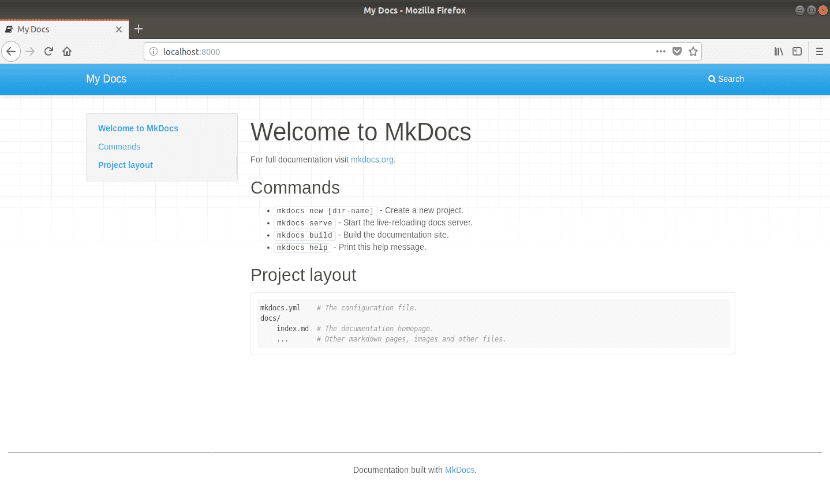
After installation, in your working directory, run the following command to initialize a site:

mkdocs new mkdocspro
And then to start serving it run:

cd mkdocspro

mkdocs serve
Then you can go to localhost: 8000 (or your IP address / hostname with port 8000) to see how MkDocs works.
Install on your nginx server
Since this is a static site generator, no backend engine needed like PHP or Python. You will be able to implement the MkDocs project on your web server (nginx, apache2) in a minute. For example, here is the nginx virtual host configuration:
server {
        server_name ejemplo.com;

        root /var/www/mkdocspro/sitio;
        index index.html;

        location / {
                try_files $uri $uri/ =404;
        }
}
Replaces example.com with the domain you have on your server. You will also have to change / var / www / mkdocspro / site by the path of the subfolder of the site on your server. Then we only have restart nginx with the following command:
sudo service nginx restart
Now you can head over to example.com and see it work.
Install another theme in Mkdocs
The default Mkdocs theme is not particularly good. But you can install another one in a minute. An example of installation of another theme will be the following. With which we are going to install material theme:
pip install mkdocs-material
After installation, to activate the theme, you will have to edit your mkdocs.yml file and make it similar to this. Some options can be added:
site_name: Proyecto MkDocs
site_url: 'http://ejemplo.com'
repo_url: 'https://github.com/nombreusuario/proyectourlongithub'
edit_uri: edit/master
site_description: 'Aquí una descripción corta.'
google_analytics: ['UA-xxxxxxxxx-x', 'ejemplo.com']
extra:
  favicon: 'https://ejemplo/favicon.png'
  social:
    - type: 'github'
      link: 'https://github.com/xxxxxx'
    - type: 'facebook'
      link: 'https://facebook.com/xxxxxxx'
    - type: 'twitter'
      link: 'https://twitter.com/xxxxxxx'
  disqus: 'minombredisqus'
  theme: 'material'
The options are quite clear. But here are some explanations:
- repo_url: is the Git repository URL. If you plan to integrate Git directly into your MkDocs project, you can use this option to allow people to edit the pages or fork the project.
- edit_uri: This is the postfix for editing pages on GitHub. You can change it if you are using GitLab or GitBucket.
- google_analytics: There is no control panel for MkDocs. Therefore, to know who visits your website, you must use Google Analytics. This option will allow you to insert your tracking number to associate your account with the website.
- Disqus: If you want enable Disqus commenting system on the website, you can insert your short name here.
- theme: The name of the theme you want to use. You will have to install it previously, as we just did with the material theme. This will be the name that we will use in the example.
See the changes of the new theme
After saving the file, run mkdocs build inside the mkdocsproject folder. Your website will adopt the default look and feel of the Material theme:
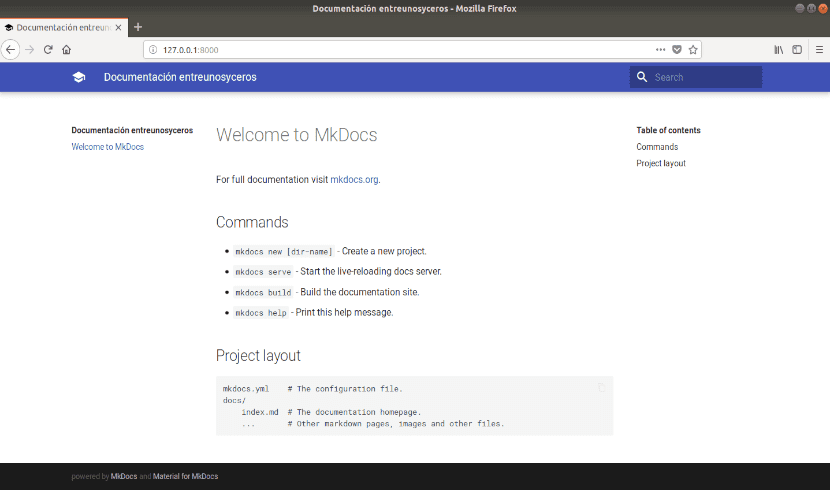
Important: make sure to always run mkdocs build after every modification that you do in the files. Otherwise you will not see any change.
There are many other themes and options to configure this software. You can consult them in the official documentation by MkDocs. Here is a list of possible options that we can use.
Hello
Quand je fait un mkdocs build pour générer mon site, the dossier site is created with an index.html et quand je vais sur mon url j'ai http://mon_site/site.
And a t'il moyen de réécrire en http://mon_site/site en http://mon_site ?
cdt
Salut. Vous pouvez éventuellement trouver une solution à votre demand dans la documentation du project The salutations.