
In the next article we are going to take a look at the montage tool. This it is part of ImageMagick and can be used to create image grids from the terminal. Some consider ImageMagick as the 'Swiss knife'to manipulate images from the command line. While you can use a desktop graphics program like GIMP To adjust or combine photos and graphics, it can sometimes be easier to use one of the many different tools that ImageMagick offers.
The original use of 'montage' is to generate tables of image thumbnailsThat is, to reference large collections of images, especially photos, with thumbnails. And although it can be used for this purpose, it also allows you to do much more. In the following lines we are going to see some simple examples.
Install ImageMagick on Ubuntu
Since the tool montage is part of the suite Imagemagick, it is essential to make sure that it is installed in our system. ImageMagick is available in the official Ubuntu repositories, so to install this suite we will only have to open a terminal (Ctrl + Alt + T) and execute the command:
sudo apt install imagemagick
Basic use of Montage
La general syntax of this command would be something like the following:
montage {entrada} {acciones} {salida}
For this example, I have four images like the following:

If what we are looking for is create a montage basic from these images, in the terminal (Ctrl + Alt + T) we will only have to execute:
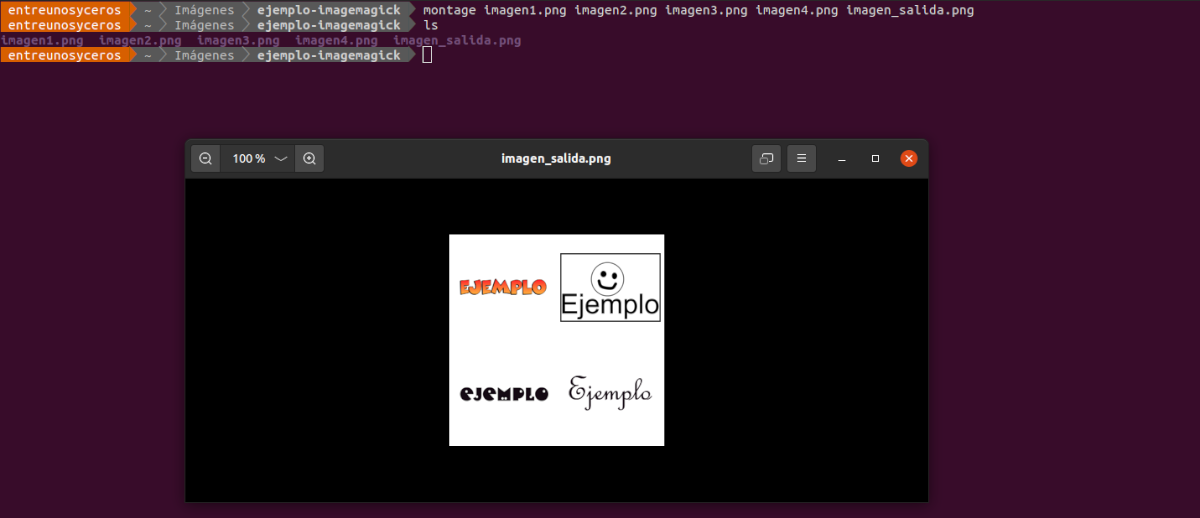
montage imagen1.png imagen2.png imagen3.png imagen4.png imagen_salida.png
The final result will be displayed in the file image_output.png.
If all the images are of the same type, we can also use the following command to mount with all images located in the same directory:
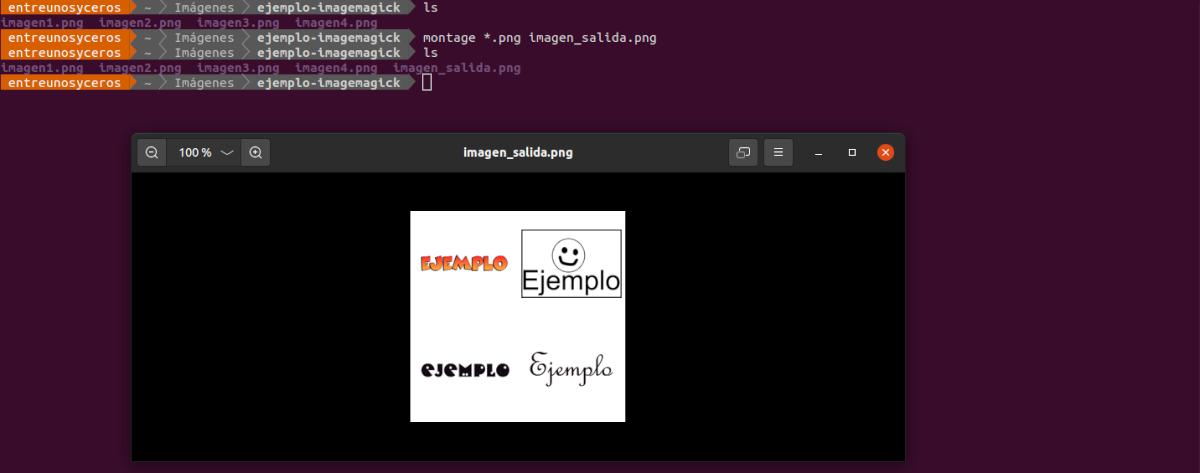
montage *.png imagen_salida.png
It must be said that even though for this example I use PNG images, but you can create a montage from any type of images, even mixing different types in the same command.
Set the size and spacing between images
The tool in question has an option called '-geometry'. This will be of help to us when it comes to set thumbnail size and space between each image. The default setting for this is'120 × 120> + 4 + 3'.
If we are interested in a montage set a 2 pixel spacing between images, the command to execute would be:
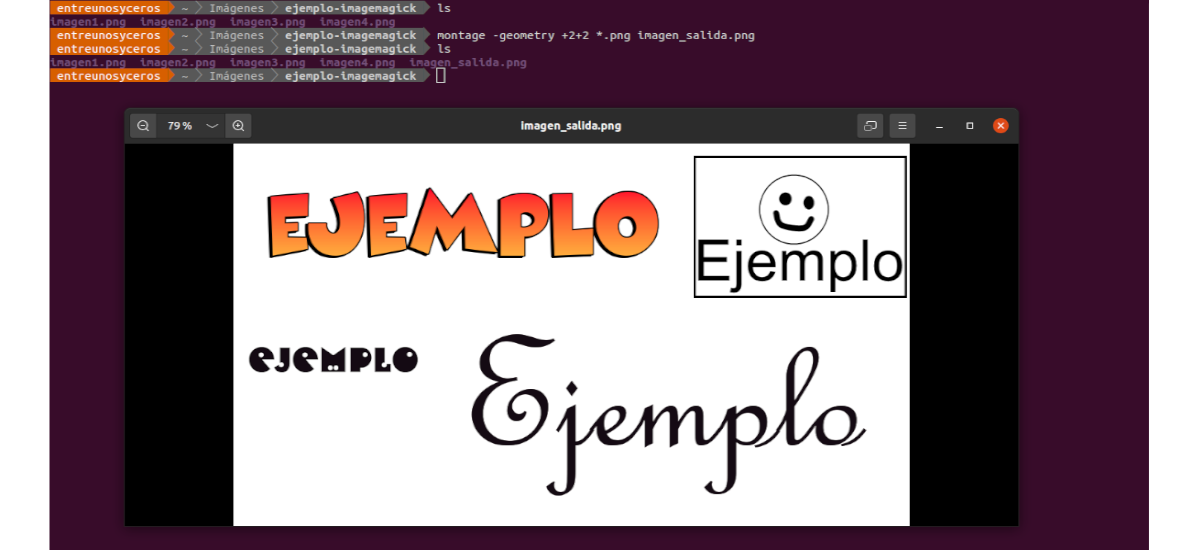
montage -geometry +2+2 *.png imagen_salida.png
This is useful only when we are looking to create a composite image from images of the same size. Which does not happen with the images that I am using as an example.
In case our images have different sizes, it is possible to resize all of them at the same time:

montage -geometry 90x90+2+2 *.png imagen_salida.png
Here 90 × 90 is the size of the mosaic. This command it will reduce the given images to fit a 90 × 90 pixel size frame.
Create a Polaroid Effect Montage
For produce a Polaroid effect montage with our images we will only have to execute:
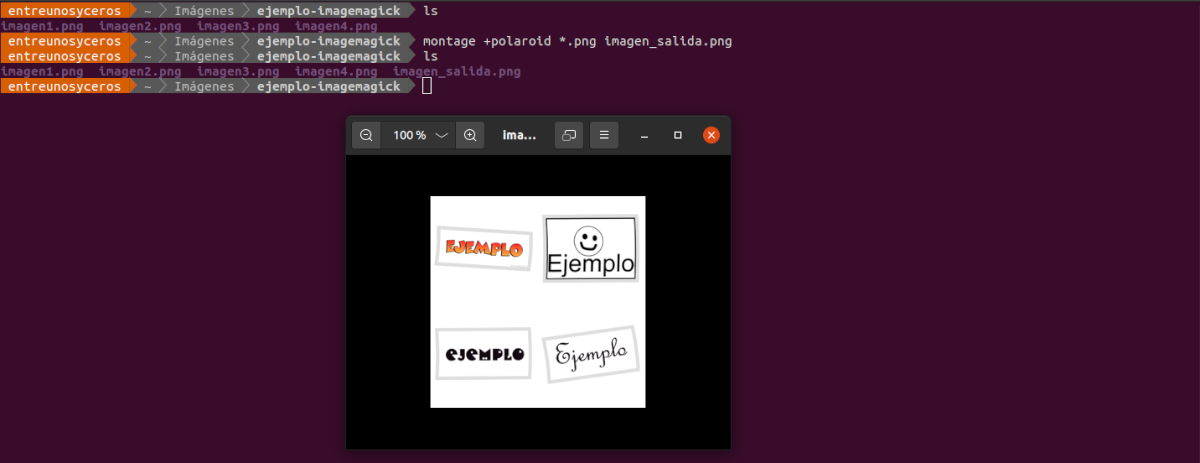
montage +polaroid *.png imagen_salida.png
We can also give a Polaroid effect and make images overlap, using the command:
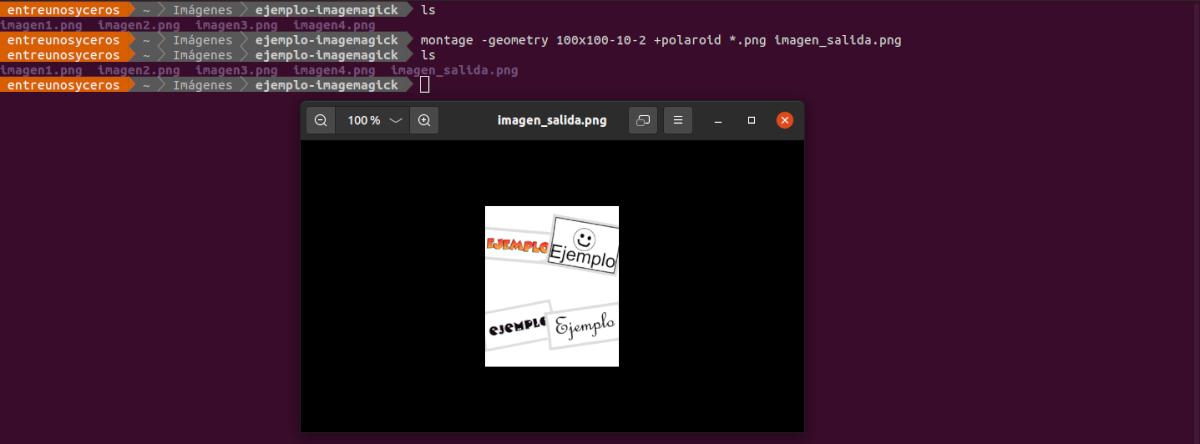
montage -geometry 100x100-10-2 +polaroid *.png imagen_salida.png
Images with labels
Another option available will be -set label. With her we can tell the montage tool to set labels for each image in miniature. This command will tag the thumbnail images with their source names:

montage -set label '%f' *.png imagen_salida.png
If you are interested in being able set a custom label for each image, the command to use would be something like:
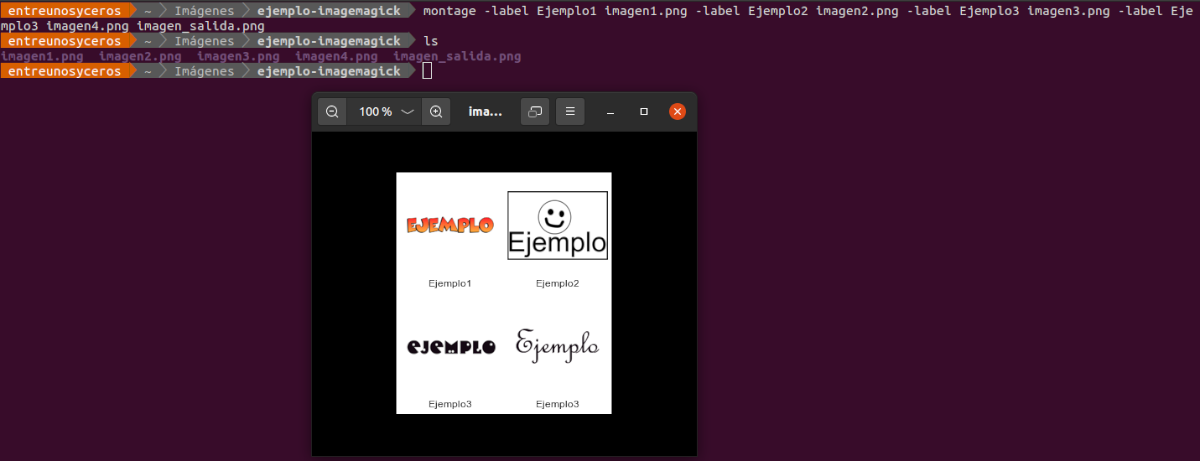
montage -label Ejemplo1 imagen1.png -label Ejemplo2 imagen2.png -label Ejemplo3 imagen3.png -label Ejemplo4 imagen4.png imagen_salida.png
In addition, you can also set a title to the montage we just made. We will only have to add the option -title as follows:
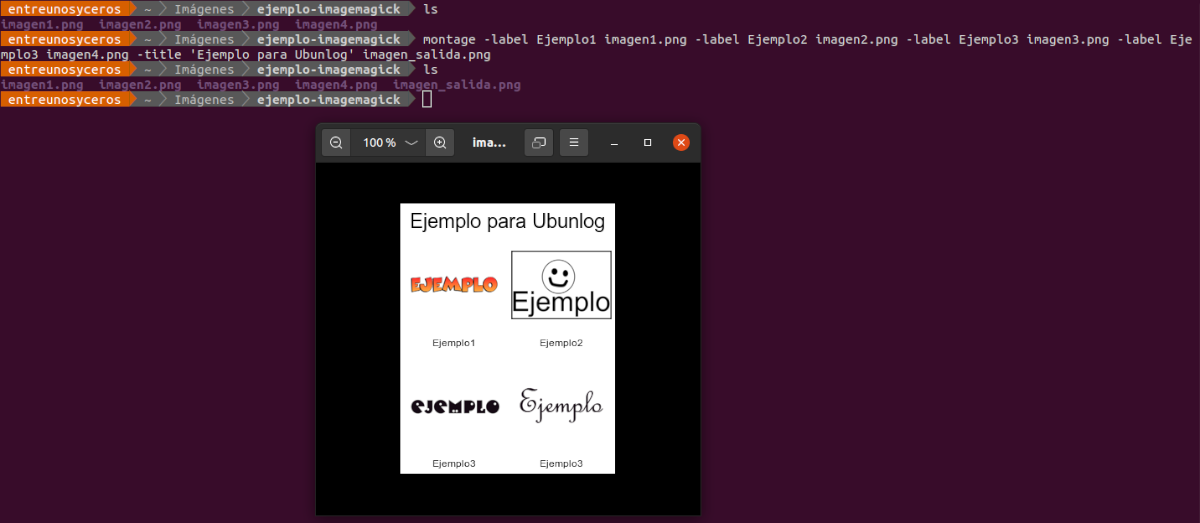
montage -label Ejemplo1 imagen1.png -label Ejemplo2 imagen2.png -label Ejemplo3 imagen3.png -label Ejemplo4 imagen4.png -title 'Ejemplo para Ubunlog' imagen_salida.png
Concatenate images
This is another interesting feature of the montage tool, and it is the possibility of concatenate images without spaces between them.
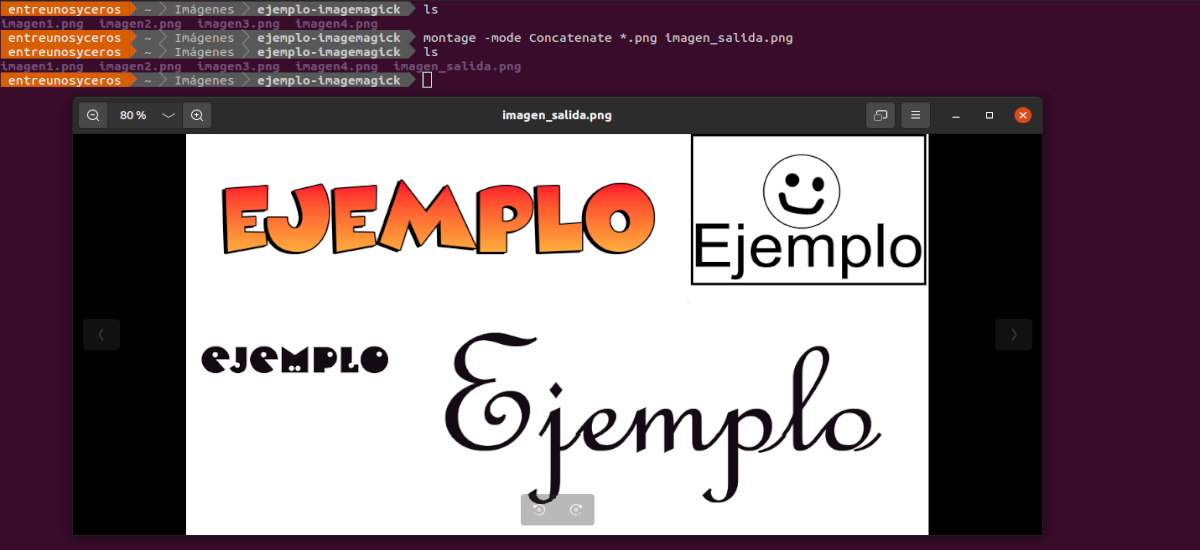
montage -mode Concatenate *.png imagen_salida.png
With what we have just seen in these lines, we are only left with the most basic that this tool offers, but it has many other useful options. They can see all available options in the man pages:
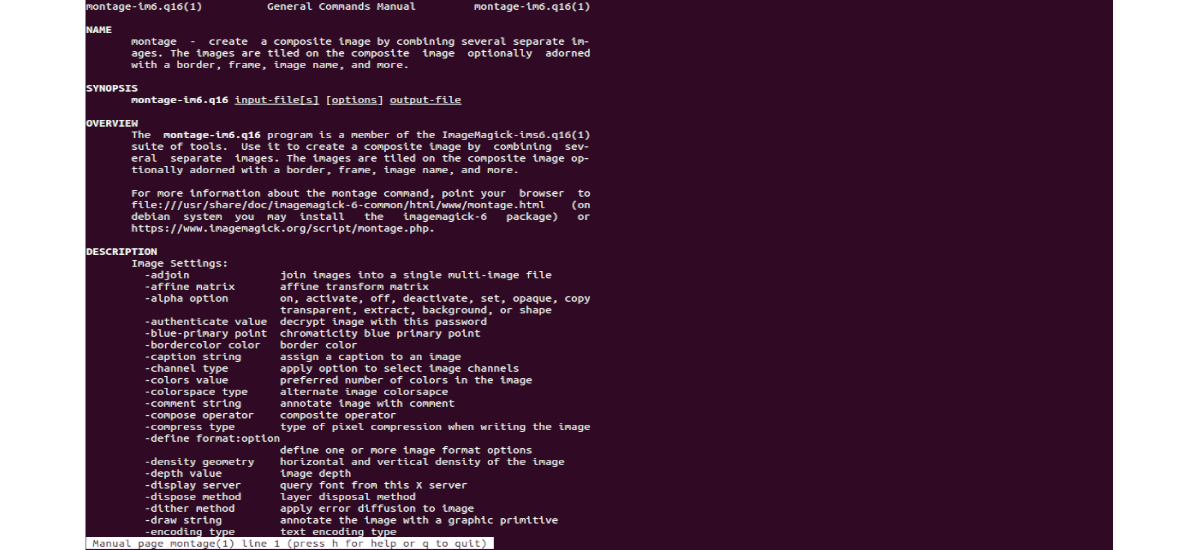
man montage
It also can learn more about the different uses that can be made of the montage command in the ImageMagick website.
Thank you so much! This is so useful… before I only used Imagemagick to clean up metadata.