
In the next article we are going to take a look at how we can mount ISO images from terminal or graphically. Today ISO images are everywhere. They are very useful for some things, but usually we will find them as software installation images. ISO images are also commonly used for backing up and storing data.
This type of files, are governed by the ISO 9660 standard, which gives them their name. As it uses the ISO 9660 protocol or the Universal Disk Format (UDF) protocol, which is compatible with ISO 9660, when distributing over the Internet it is useful for files that need to avoid the loss of any information or the modification of data during the transfer. the original structure. Although ISO 9660 is set as the format of «read only« it is possible to modify these files with some programs. In Gnu / Linux we have excellent ways to manage ISO images. We will be able to use them on our graphic desktop or we will also be able to work exclusively with them from the command line. Both options have their advantages.
How to mount ISO images
Use the command line to mount ISO images
The terminal offers us a simple and straightforward way to mount an ISO in our system. This option is not as fast as the two clicks that we will need in the graphical environment, but it is not complicated either.
Assemble one ISO image it is very similar to mounting any file system in Gnu / Linux. We will only have to add a couple of options. Do not forget that to mount this type of files like this, also we will need a directory to mount our image. In short, in a terminal (Ctrl + Alt + T), we will only have to write something like the following:
sudo mkdir /media/iso

sudo mount -o loop -t iso9660 /ruta/al/archivo.iso /media/iso
This will mount the ISO image in the directory we created. Which in this case is called iso and is located in the media folder.
When we indicate -t in the command, the type of filesystem being mounted is specified, which in this case, is an ISO. This is not strictly necessary, but it is better to be safe.
By using -o, we indicate the loop option that tells the system to use a virtual loopback interface instead of a physical device. Since the ISO is not a real device with a list in the '/ dev' directory, you need to add this.

When we mount our ISO, we will be shown a warning message that will indicate that the file was mounted in read-only mode. This is totally normal.
Unmount the ISO
Unmounting the ISO from the terminal is very easy. We will achieve it by following the same procedure as when removing another unit.
sudo umount /media/iso
Graphical way of mounting an ISO image
When working on a physical disk with an ISO image, the graphical tools that come in the desktop environment are the fastest to work with.
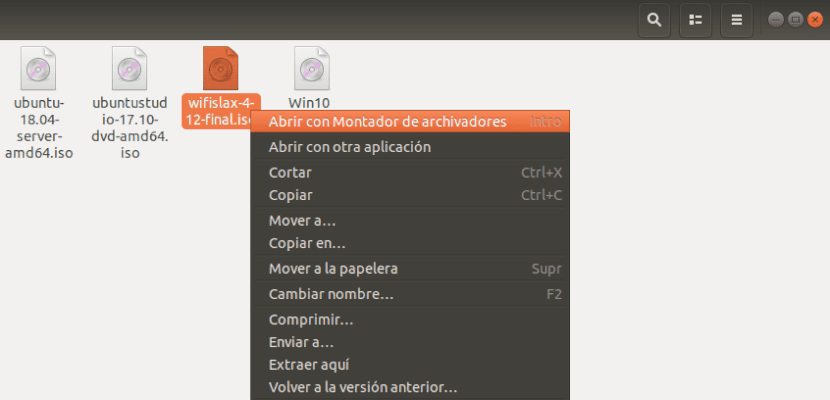
We will only have to mount the ISO file. most of file managers on Gnu / Linux come with native ISO support. In many of the possible cases, we will only need to right-click on the ISO file and select 'Open with file mounter', or the equivalent option.
When opening the file manager on our desktop and looking towards the side of the window where the storage devices are listedBefore long, the disk should appear.
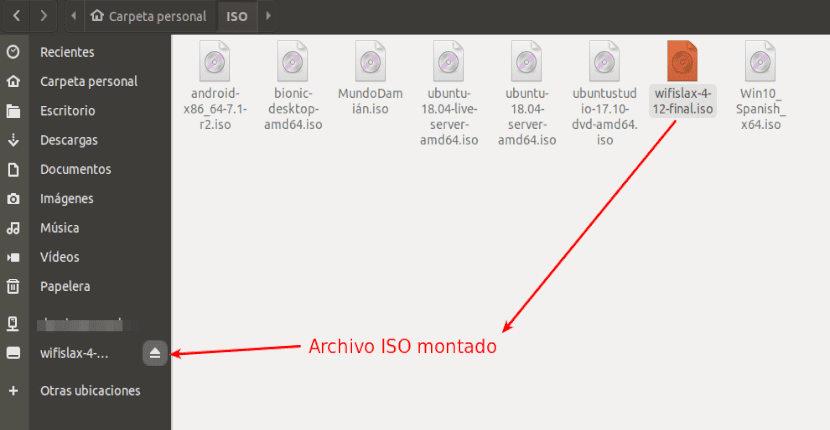
Once mounted, you just have to click on the disk and the content will open in the main body of the window. We can already read the files in the medium and copy things to our computer.
When we're done, we'll do right click on the disk located in the device list and we will unmount it. We can also use the Eject icon, if there are any.
Use Furius ISO Mount
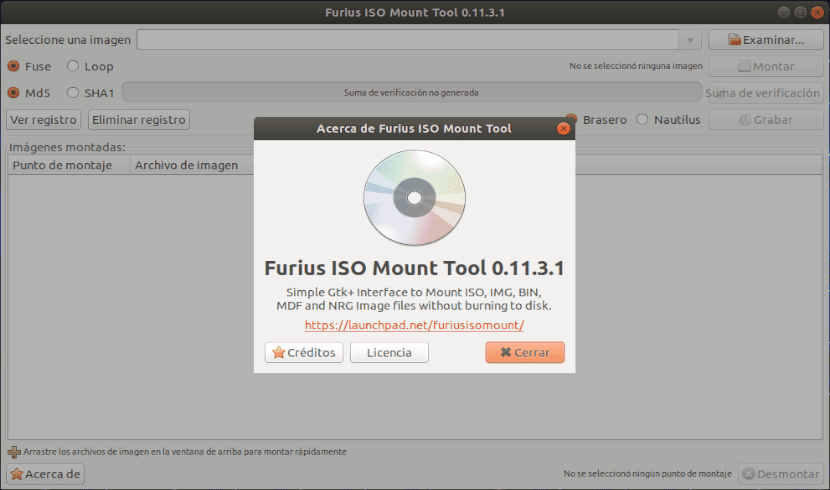
If for whatever reason, you really need another application to mount ISO images, Furius ISO Mount is software that can be very useful for mounting these files from a graphical environment. Is available for most Gnu / Linux distributions.
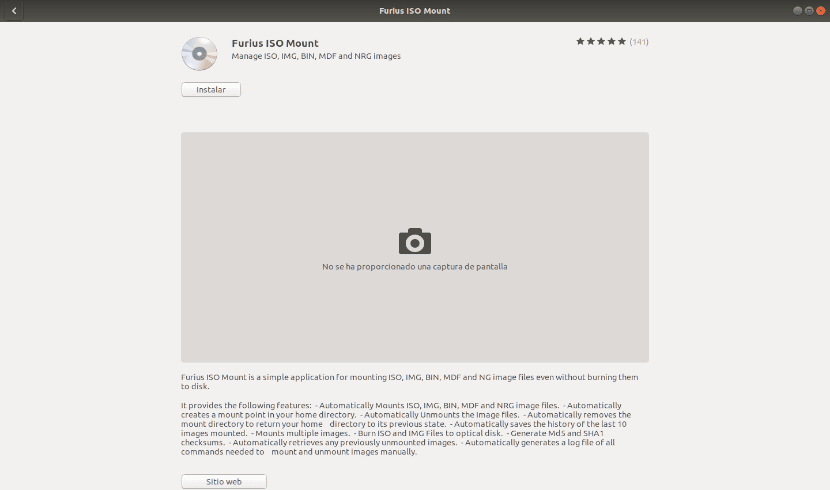
In Ubuntu you can install this program from the Software option or using the following command in a terminal (Ctrl + Alt + T):
sudo apt install furiusisomount
Some general characteristics of Furius ISO Mount are:
- Monta automatically image files ISO, IMG, BIN, MDF and NRG.
- Can automatically create a mount point in the home directory.
- Automatically disassembles active image files.
- Automatically removes the mount directory to return the home directory to its previous state.
- Automatically save the history of the last 10 images mounted.
- Mount multiple images smoothly.
- Burn ISO and IMG files.
- Generates Md5 and SHA1 checksums.
It can know more about this program, on its website of launchpad.
Hello good! Very Good the post! I wanted to ask you, can you make a bootable pendrive with the command lines?
Thank you so much ! I love ubunlog, I am a beginner eager to learn the world of Linux!
Hello. The USB that is created with the steps in this post, if it is bootable. But remember to change the boot order in your computer's BIOS. Salu2.
In some distributions based on Ubuntu repositories, the option "Open with file cabinet mounter" does not appear in the drop-down menu, so you have to click on "Open with another application". I did not know that the image editor came by default with the Nautilus, thank you very much for the tip.
Good post,
Thank you.
Thanks for the work, it helped me