In the next article we will take a look at how install OpenLiteSpeed web server on Ubuntu 18.04 server. This server is the open source edition of LiteSpeed Web Server Enterprise and contains all the essential features found in LiteSpeed.
OpenLiteSpeed combines speed, security, scalability, optimization and simplicity in a friendly open source package. It has rewriting rules compatible with Apache, a built-in web-based administration interface and custom PHP processing, optimized for the server.
General OpenLiteSpeed Features
- It has a event-driven architecture. Fewer processes, less overhead and scalability.
- Understand Apache rewriting rules. OpenLiteSpeed Supports mod_rewrite, without any new syntax to learn, so we can continue to use our existing rewrite rules.
- We will have a friendly admin interface. OLS comes with a built-in WebAdmin GUI. The control panel bracket is available with Cyber Panel.
- It has been created to offer speed and security. It has Anti-DDoS connection y bandwidth limitation, integration ModSecurity v3 and more.
- Smart cache acceleration. The built-in full page cache module is highly customizable and efficient for a good user experience.
- Page speed optimization. Automatically implement Google's PageSpeed optimization system with the mod_pagespeed module.
- PHP LiteSpeed SAPI. As indicated on their website, this allows external applications written in PHP to run up to 50% faster.
- WordPress acceleration. Experience a performance boost with OpenLiteSpeed and LSCache for WordPress.
These are just some of the features of OpenLiteSpeed. They can see all of them in detail in the project website.
Install OpenLiteSpeed on Ubuntu 18.04 Server
OpenLiteSpeed provides a software repository that we can use to download and install the server with the command apt Ubuntu standard.
To start, let's open a terminal (Ctrl + Alt + T) and update all system packages with the commands:
sudo apt update; sudo apt upgrade
The next step to follow will be download and add developer software signing key:
![]()
wget -qO - https://rpms.litespeedtech.com/debian/lst_repo.gpg | sudo apt-key add -
Now we will add the repository information to our system by typing the following in the same terminal:

sudo add-apt-repository 'deb http://rpms.litespeedtech.com/debian/ bionic main'
At this point and after updating the available software, we can now install the OpenLiteSpeed server and its PHP processor using command:

sudo apt install openlitespeed lsphp73
Finally we will create a link to the PHP processor that we just installed:
sudo ln -sf /usr/local/lsws/lsphp73/bin/lsphp /usr/local/lsws/fcgi-bin/lsphp5
In this point, OpenLiteSpeed server is already installed.
Set administrator password
We are going to need configure administrative password for OpenLiteSpeed web server. By default, the password is set to 123456, so we must change it immediately. We can do this by running a script provided with the software:
sudo /usr/local/lsws/admin/misc/admpass.sh
When running this script we can indicate a username for the administrator user and a password As follows:

Access the OpenLiteSpeed web server

OpenLiteSpeed should start automatically. Can verify this with the following command:
sudo /usr/local/lsws/bin/lswsctrl status
If we do not find it started, we can launch it with the command:
sudo /usr/local/lsws/bin/lswsctrl start
Open ports in the firewall

We need open some ports in our firewall. We will have to configure the ports for the necessary protocols by adding the following rules to the firewall:
sudo ufw allow http

sudo ufw allow https
We will also have to add the following rules to be able to use the necessary ports:
sudo ufw allow 8088

sudo ufw allow 7080
After adding the rules, you will need to reload ufw to make changes:
sudo ufw reload
Access the web interface
In our web browser, we will have to go to the domain name or IP address of our server, followed by : 8088 to get to the home screen. The browser should load the default OpenLiteSpeed web page as seen below:
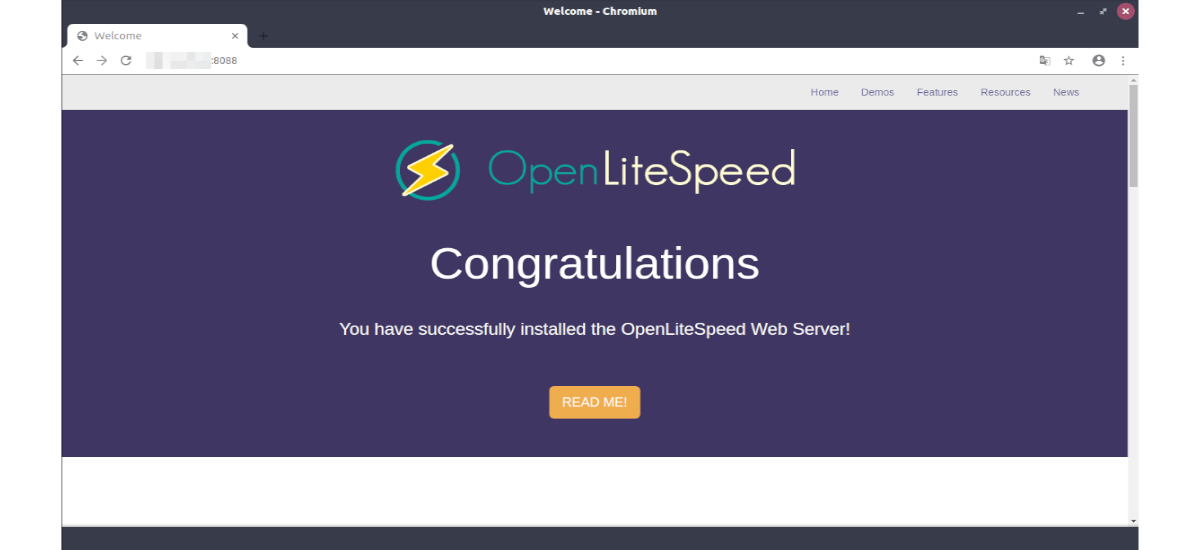
http://dominio-o-IP-del-servidor:8088
For configure the administrative interface we are going to access through our web browser, using HTTPS and the domain name or IP address of the server followed by: 7080:
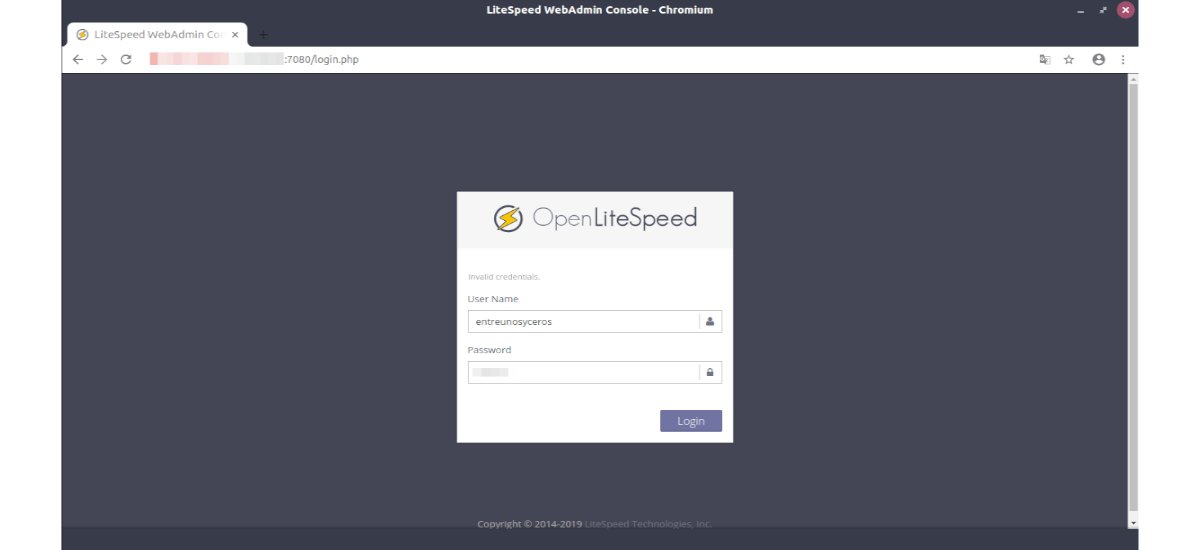
https://dominio-o-IP-del-servidor:7080
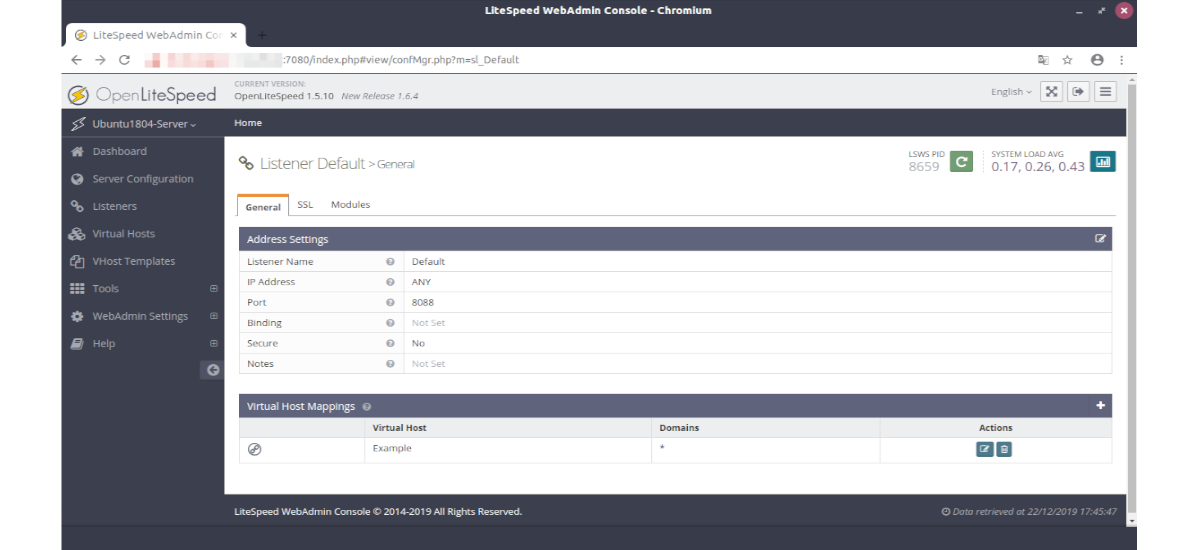
On this screen we will have to use the credentials for the administrator logins that we created during the OpenLiteSpeed setup. Once we identify ourselves correctly, we will be presented with the OpenLiteSpeed administration interface, from where we can make the relevant configurations:
For more information about installing, configuring or using OpenLiteSpeed, you can consult the official project documentation, site of the same or his page on GitHub.