In the next article we are going to take a look at how can we install and manage Python packages using Pip on Ubuntu 20.04. This is a tool for installing Python packages. With it we will be able to search, download and install packages from Python Package Index (P&IP) and other packet indexes.
In the following lines we are going to see how to install pip for Python 3 and Python 2 in Ubuntu 20.04. We'll also look at some of the basics of installing and managing Python packages using pip. It has to be said that as of Ubuntu 20.04, Python 3 is included in the base system installation, and Python 2 is available for installation from the Universe repository. Although its use is no longer recommended and users are invited to switch to Python 3.
When installing Python, It is strongly recommended to install the module's deb package with the apt toolas this has been tested to work properly on Ubuntu systems. It should also be clear that Python 3 packages use the prefix python3- y Python 2 packages change it to python2-.
If you prefer to use Pip only in a virtual environment. Python Virtual Environments It will allow you to install Python modules in an isolated location for a specific project, instead of being installed globally. In this way, we will not have to worry about affecting other projects.
Installing Pip for Python 3
If we want install pip for Python 3 on Ubuntu 20.04, we will only have to execute the following commands in a terminal (Ctrl + Alt + T):
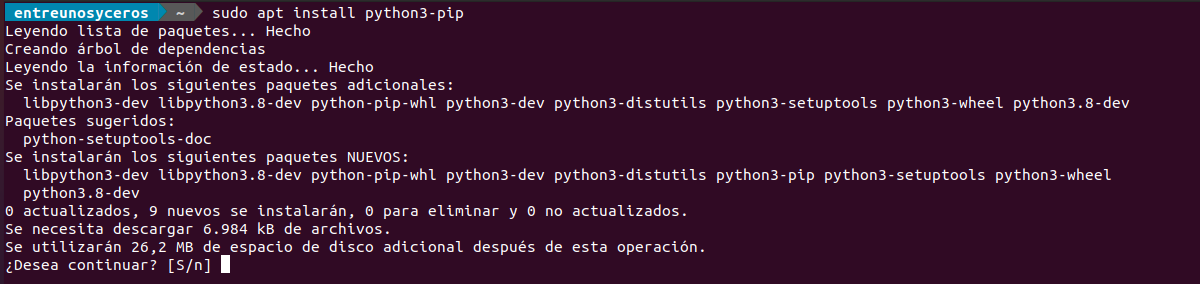
sudo apt update && sudo apt install python3-pip
The above command will also install all the necessary dependencies to build Python modules.
When the installation is complete, we can verify installation and check installed version running the command:

pip3 --version
The version number may vary, but it will look more or less as you can see in the above screenshot.
Installing Pip for Python 2
Pip for Python 2 is not included in the Ubuntu 20.04 repositories. To install pip for Python 2 we will use the script get-pip.py.
To begin with, and if you do not have it enabled, you will have to enable universe repository:
sudo add-apt-repository universe
Now we are going to update the index of available packages and install Python 2:
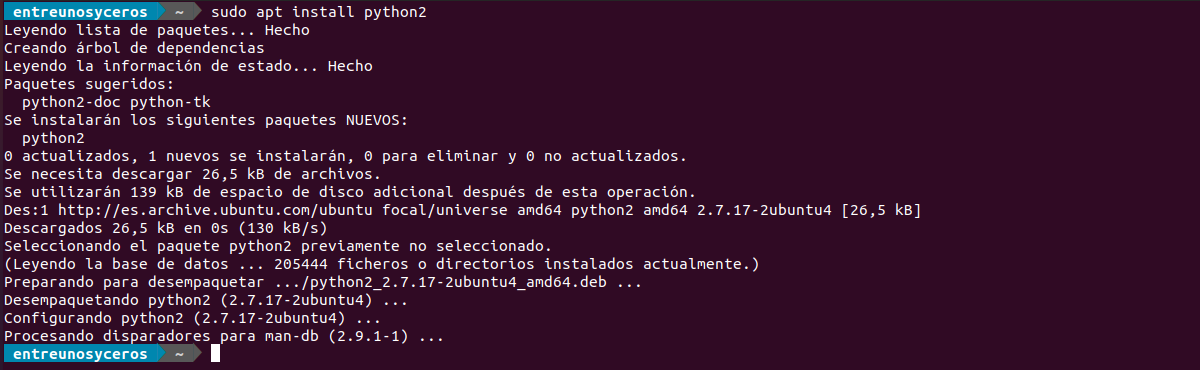
sudo apt update && sudo apt install python2
Now, using the curl tool, we are going to download the script get-pip.py:

curl https://bootstrap.pypa.io/get-pip.py --output get-pip.py
Once the download is finished, we will run the script with python2 to install pip:
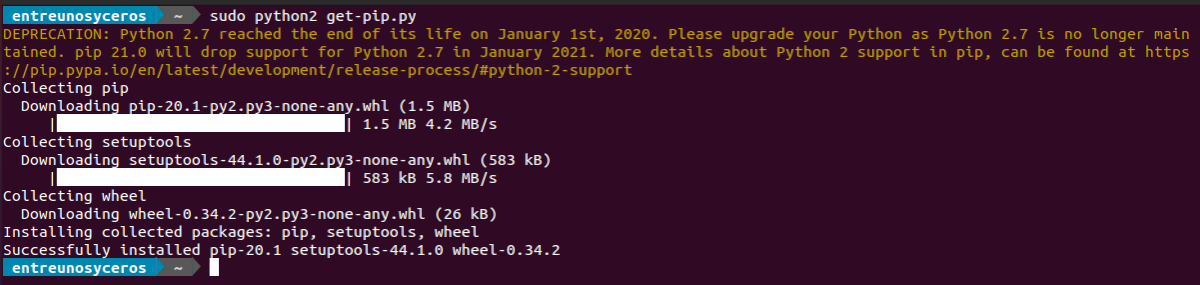
sudo python2 get-pip.py
Pip will be installed globally. If you are interested in installing it only for your user, run the command without sudo. The script will also install setuptools and wheel.
Now we can verify installation by printing version number using command:

pip2 --version
Some basics for using Pip
Now let's look at some useful basic pip commands. With this tool we can install packages from PyPI, version control, local projects and from distribution files.
For view the list of all available commands and options you just have to write:
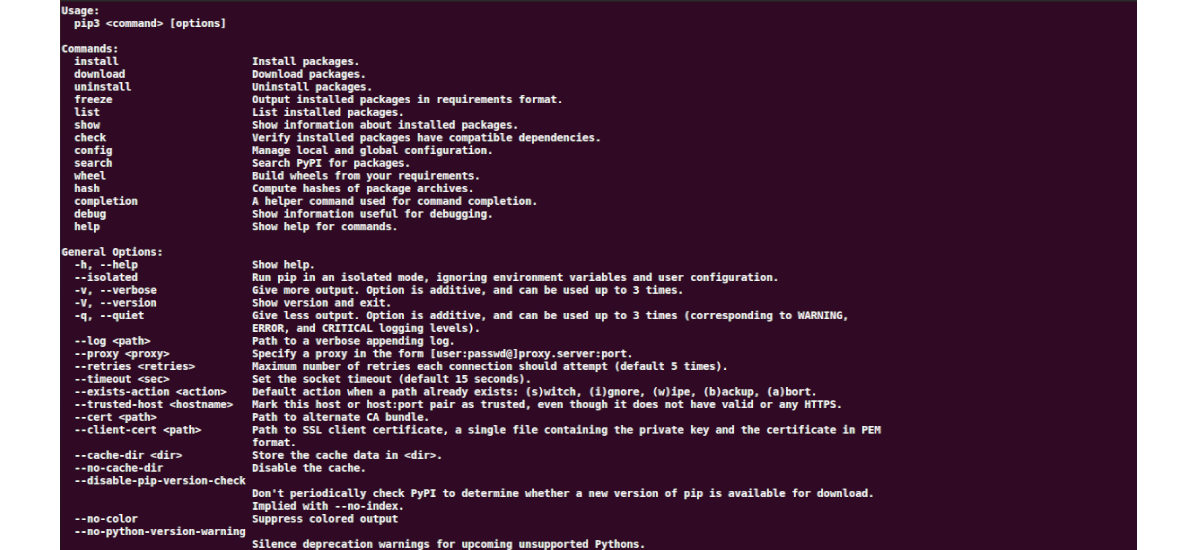
pip3 --help
We can get more information about a specific command using the command pip --help. For example, to get more information about the install command, just type:
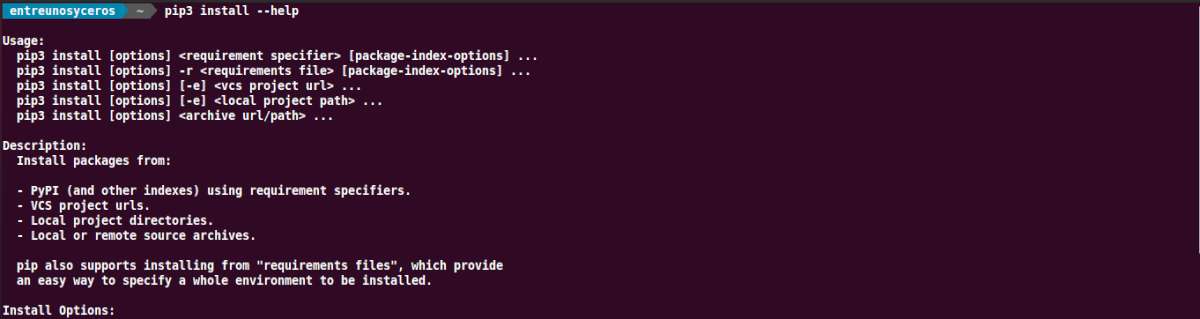
pip3 install --help
Install packages with Pip
Suppose we are interested in installing a package called scratchy, which is used to extract data from websites. For install the latest version of the package, you just have to run the command:
pip3 install scrapy
For install a specific version of the package, we just have to add == and the version number after the package name:
pip3 install scrapy==1.5
We could replace pip3 with pip2 if we use Python 2.
Update a package
For update an already installed package to the latest version, the command to use will be something like the following:
pip3 install --upgrade nombre_paquete
Install packages using a requirements file
If we have a text file that contains a list of pip packages with their versions needed to run a specific Python project. We will be able to use the following command to install the list of requirements specified that file:
pip3 install -r requirements.txt
List installed packages
For list all installed pip packages, you just have to install the following command:
pip3 list
Uninstall packages
For uninstall a package, you just have to run something like:
pip3 uninstall nombre_paquete
For more information, users can visit the page of User's guide or article about it that was written a while ago on this blog.
excellent information, I need more about python.