
In the next article we are going to take a look at Ranger. Is about a free and open source file manager with a text-based user interface for Unix-like systems. This manager has been developed by Roman Zimbelmann and is published under the terms of the GNU General Public License. The program can perform file management tasks using a few keys or mouse input. This file manager can also be configured to open files with predefined programs and to show a preview of the selected file by calling external programs.
Ranger is a lightweight and powerful file manager that works in a terminal window. We will be able work using Vi key combinations. Provides a smooth way to move between directories, view files or content, and open an editor to make changes to files.
General Ranger Features
- We will have a multi-column display.
- We can perform the most common file operations (create / chmod / copy / delete).
- File / directory preview selected.
- Console type VIM and keyboard shortcuts.
- Offer psychological therapy to employees quick way to switch between directories and explore the system of files.
- Tabs, markers, mouse support.
You can check these and other features in your web page or project GitHub page.

Ranger File Manager Installation
We will find this software available in package repositories of almost all Gnu / Linux distributions. For this example we are going to use Ubuntu 18.04 LTS.
Previous requirements
Before proceeding to install Ranger, first we will install make, git and vim. Make and git will be required for installation, while vim is required for Ranger to open as a text editor. To do this we will only have to open a terminal (Ctrl + Alt + T) and write:
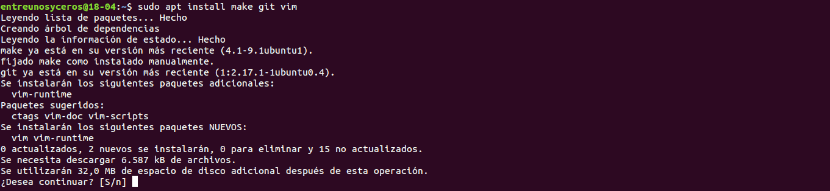
sudo apt-get update; sudo apt-get install make git vim -y
With the installation of the prerequisites complete, we are ready to proceed with the Ranger installation.
Download from Ranger repository
To install Ranger, we will download the repository from Github typing in the same terminal:

git clone https://github.com/hut/ranger.git
Installation
After downloading the repository we will go to the folder that has just been created on our computer:
cd ranger
Once in it we use the following command to install Ranger.
sudo make install
Wait a moment for the installation to complete.
Configure Ranger
After installation, we only have to do a small basic configuration. To do it, start Ranger once and then close it. Doing so will allow Ranger to create the directory structure for its configuration files. Launch the file manager by typing in the terminal (Ctrl + Alt + T):
ranger
After the Ranger has created the configuration directory, we can now copy your configuration files running in terminal:

ranger --copy-config=all
If you want to modify the Ranger configuration files later, you can find them at ~ / .config / ranger:

cd ~/.config/ranger
Use this file manager for terminal
Now we can start this program using Terminal (Ctrl + Alt + T) or from the start menu.

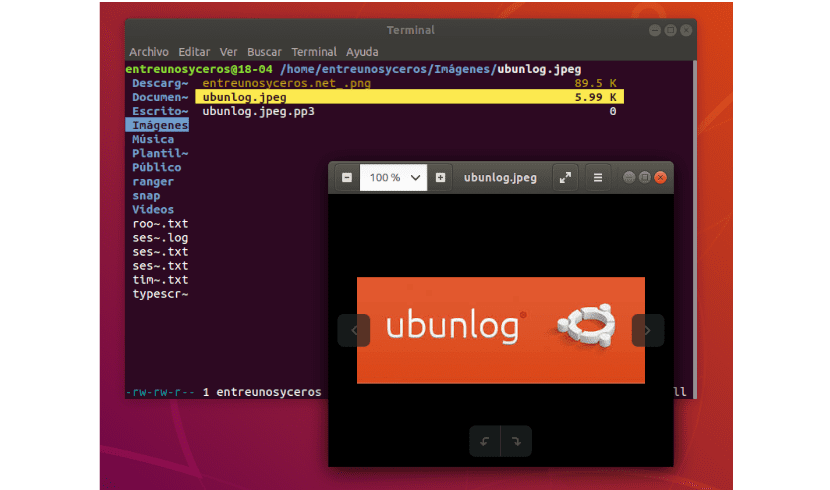
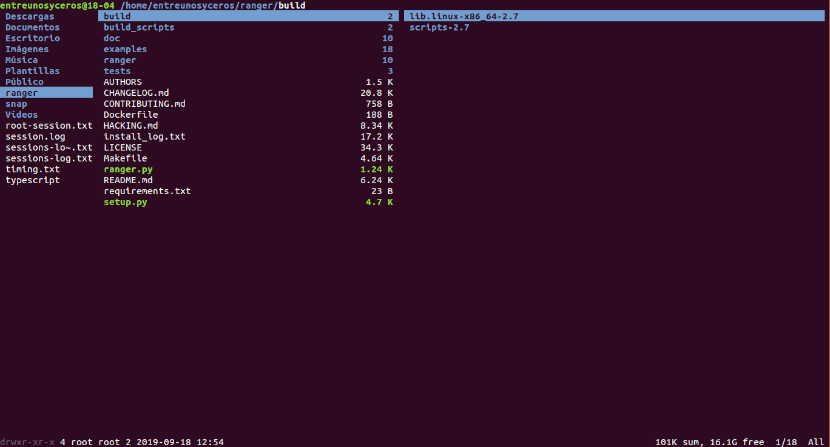
In the following screenshot, you can see that the interface is divided into three columns. The middle column shows the current working directory, the left column shows the main directory, and the right column shows the preview of the file we are currently selecting.

We will also be able to view information at the bottom of the window such as file or directory permission information, property, size, date and time along with the total size of the file and free disk space.
To move between the directories you can use the arrow keys. Similarly, to select items in the center panel, we will use the up and down arrow keys.
There are several commands that we can use to perform different operations on files, but these are some of the most common commands:
- i → Show the file.
- r → Open file with chosen program.
- cw → Rename file.
- / → Find files (n | p jump to next / previous match).
- p → Paste file.
- space → Select current file.
- : delete → Delete the selected file.
- : mkdir → Create a directory.
- : touch → Create a file.
- : rename → Rename file.
In this article we have seen how to install the Ranger file manager for the terminal. But there is much more to explore in this software.