
In the next article we are going to take a look at RubyMine. This is a powerful IDE for Ruby by JetBrains. Just like everyone else JetBrains IDE, RubyMine also features smart auto-completion and many other tools to help the user write and debug their Ruby application quickly.
In this article we are going to see how to install this IDE in Ubuntu. For this example I am going to use Ubuntu 18.04 LTS with a sample license. This is due to RubyMine is not free. Allows you to use the trial version for 30 days, then you have to pay for its corresponding license to be able to use it.
Install RubyMine
Install the Ruby programming language
To run the Ruby programs, we will have to install Ruby programming language on the machine we plan to use. In Ubuntu, you can install this language with the following command in the terminal (Ctrl + Alt + T):
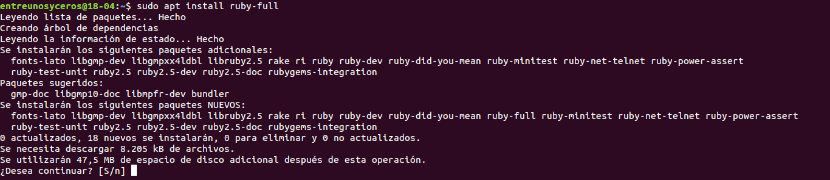
sudo apt install ruby-full
Install the RubyMine IDE
On Ubuntu 16.04 LTS and later versions, RubyMine is available as a SNAP package. Thanks to this you can install its latest version on Ubuntu from the official Ubuntu SNAP package repository.
To start the installation, just open a terminal (Ctrl + Alt + T) and install RubyMine SNAP package executing the following command:
sudo snap install rubymine --classic
The corresponding snap package will begin downloading and installing.

RubyMine initial setup
Now, you can start RubyMine from the Ubuntu applications menu, as can be seen in the following screenshot.

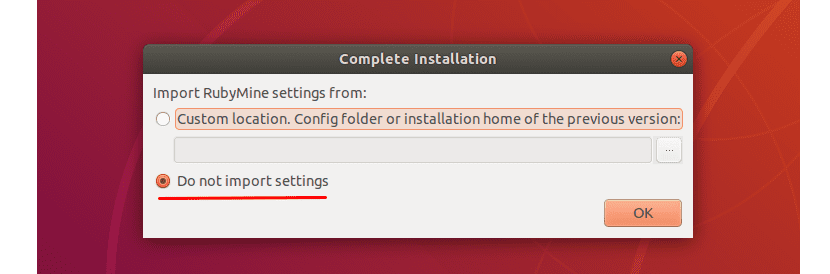
Since you will be running RubyMine for the first time, it stands to reason that you don't have any settings to import. Simply select "Do not import configuration”And click on“Ok".
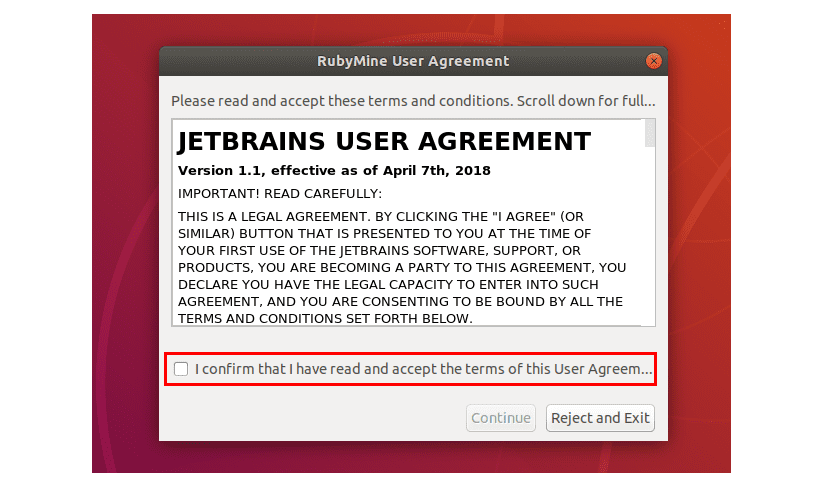
The next screen will be the one where you have to accept the JetBrains User Agreement. To do so, you will have to confirm that you have read it and that you accept the terms by means of this checkbox of the User Agreement. Continue by clicking «Continue«.
Now select a UI theme and click on «Next«.

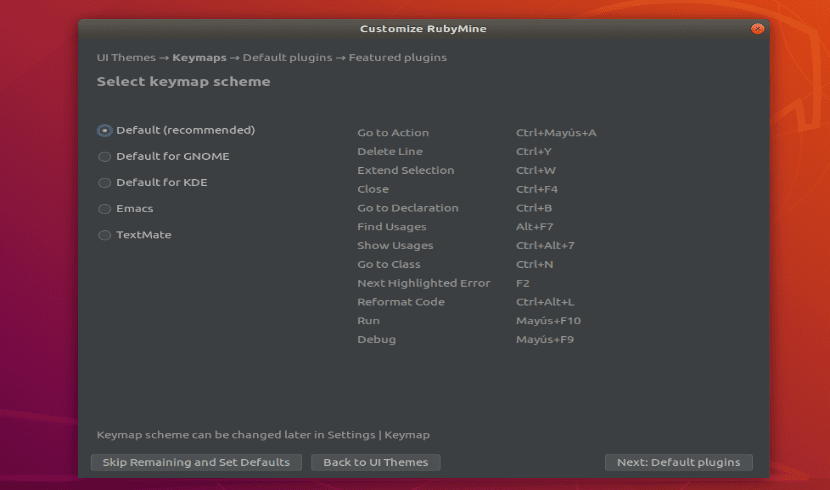
We continue selecting the keymap with which you feel comfortable. Click on «Next«.
Now we will have the possibility of enable / disable certain functions according to your needs. Once you are done, click on «Next«.

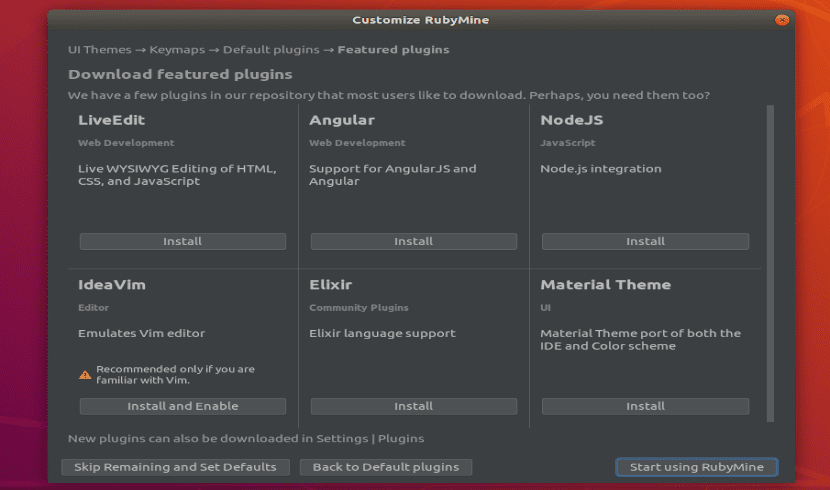
At this point JetBrains will suggest some popular plugins for RubyMine. If you are interested in any of them, just click on «Install»To install it. Once you are done, click on «Get started with RubyMine«.
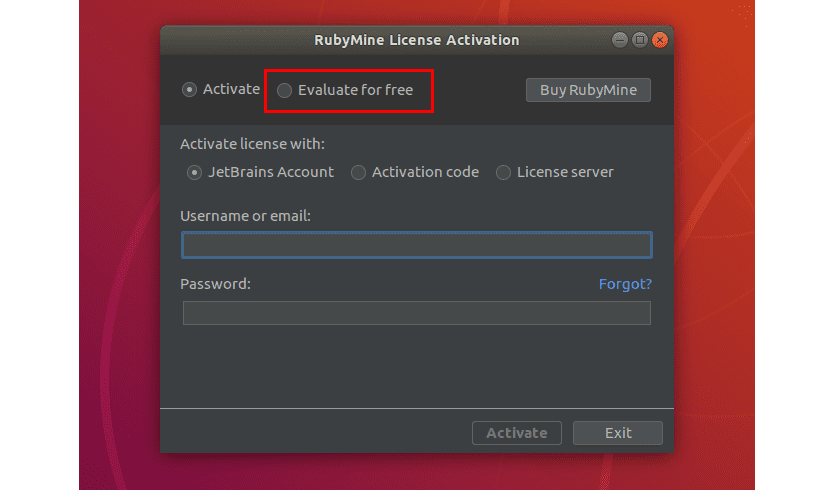
Now, you have to activate the IDE. RubyMine is not free. In order to use it, you must purchase a JetBrains license. Once you have the credentials or decide to use the version to try it free for 30 days, you can activate RubyMine from this window.
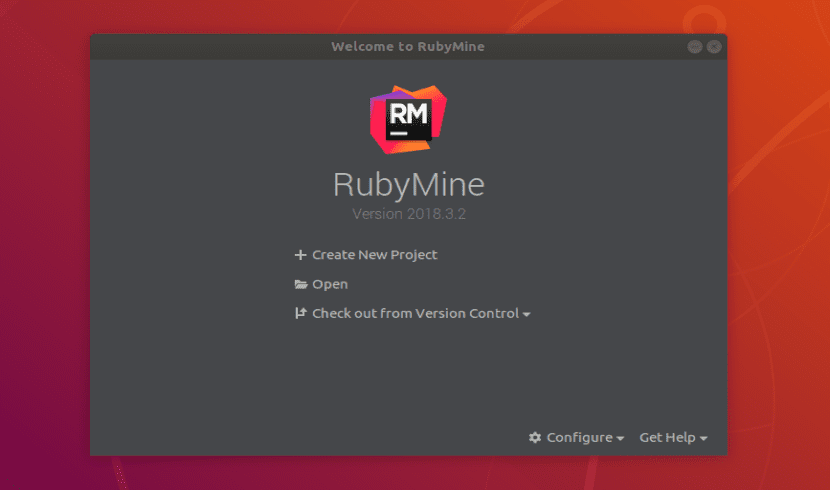
After the initial configuration, we will see the first RubyMine window. From here it will be from the place where you will be able to create new projects and manage existing projects.
Create a basic Ruby project with RubyMine
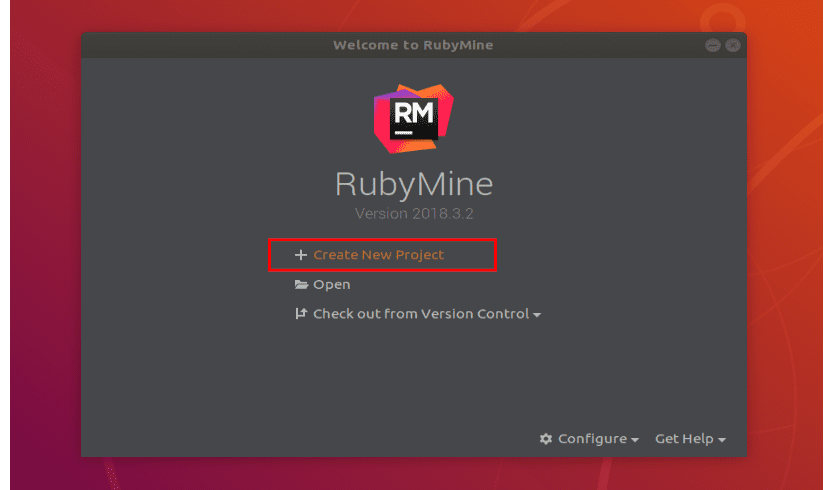
As an example of use, let's see how create a new project to be able run a simple Ruby program. First, we start RubyMine. Just click on "Create new project".
Now select the type of project. For this example I will choose "Empty project”. We will have to set the project location and make sure the Ruby SDK is correct. Once you are done, click on «Create«.

Once in the program, we will create a new file called hello.rb. Inside we are just going to write the following lines:
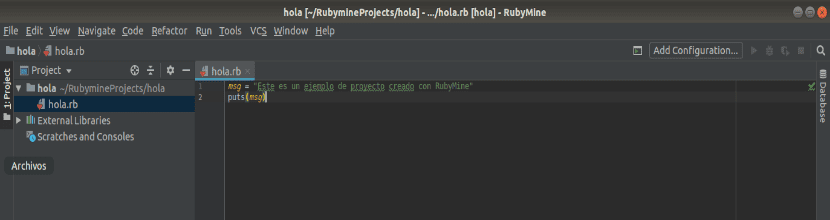
msg = “Esto es un ejemplo de proyecto creado con RubyMine”
puts(msg)
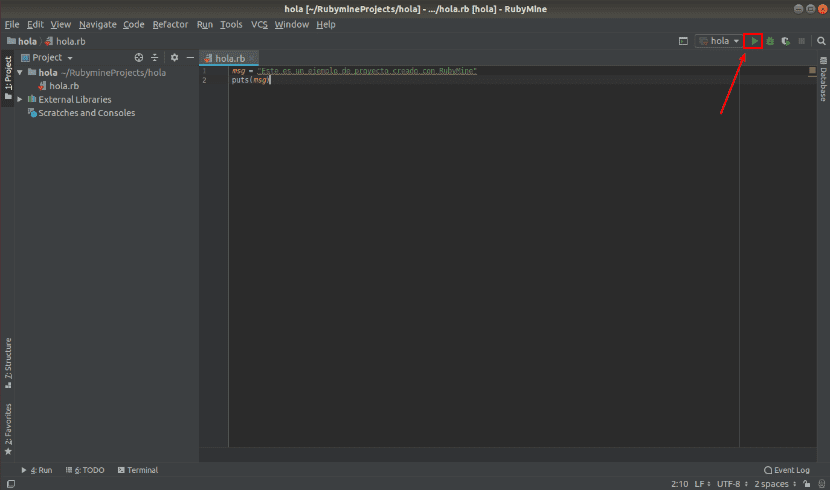
Once you are done, click the button "Reproduce”, As indicated in the following screenshot, to run the example program hello.rb.
If when you want to run the program, the "Play" button is grayed out. Don't worry, you can also run the program from the menu «Run → Run«.

Now select your Ruby program from the list.

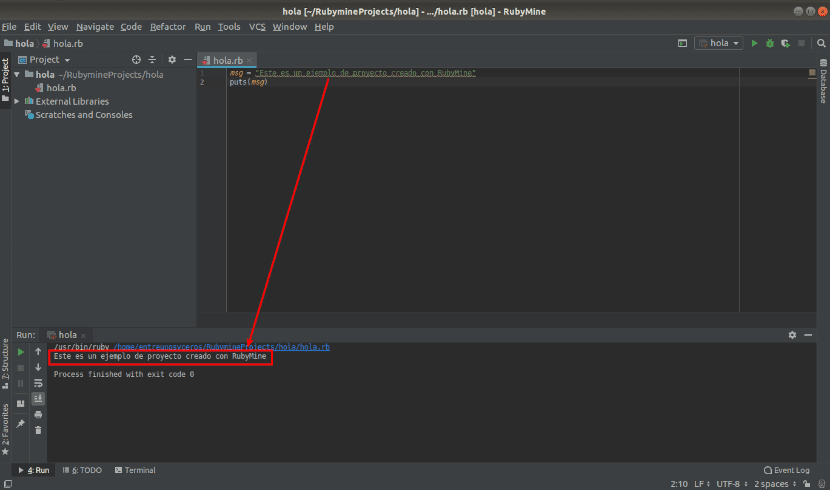
The program should run and display the correct output as you can see in the following screenshot.
Uninstall RubyMine
If after trying the program it does not convince you and you want to eliminate it from your system. You just have to open a terminal (Ctrl + Alt + T) and in it write:
sudo snap remove rubymine
If you are interested in this IDE, you can consult more information in the project website.