
In this article we want to show you how we can see the current weather in the Terminal in a very cool way. For this we will use open weather and its API to show the weather through our Terminal.
It is a somewhat long procedure, or at least not as simple as it may seem, since we have to clone your GitHub repository and then add one API key and finally run the program. In addition, for the most curious, this application works with NCurses, a "graphic" library for the terminal, which we will obviously also have to install, with which we can implement graphics based on text characters. For this reason in Ubunlog We teach you step by step so that you can do it in the simplest way possible. We begin.
Register and obtain the API Key
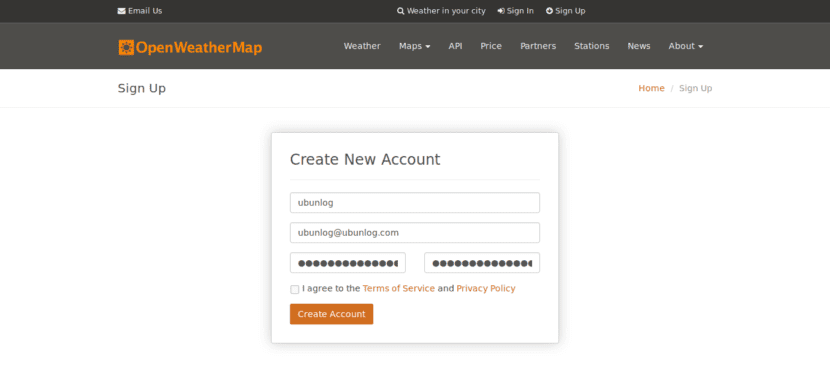
The first step is to register on your Official Website! to later be able to get an API Key (APi Key). To do this, we just have to enter a username, our email, and a password that we will have to write twice, as always, as it appears in the following image.
The system will then proceed to provide us with an API Key, as we see in the next image. As you can see, we can indicate the name of our company (or the place where we are going to use this widget) and then, how you will also see, the API Key will already be provided to us. Well, write down the Password in a safe place, or simply don't close the browser, because we'll need it later.

Installing the app
Now that we have an API Key, we can proceed to install the app. As we said at the beginning of the article, to install it, we have to clone its GitHub repository in the directory we want.
In order to use this application, you will need to have a series of previously installed programs: NCurses (graphic library for Terminal), git (to manage the repository), bc (GNU calculator), curl (to obtain files from a web) and finally grep (to filter command outputs). To do this we execute the following command:
sudo apt-get upgrade
sudo apt-get install ncurses-bin git bc curl grep
Once all the necessary programs have been installed, we can now install the application. For this we we go to our personal folder y we clone the repository GitHub of the application to get it on our PCs. That is, we execute the following two commands:
cd ~
git clone https://github.com/szantaii/bash-weather.git
If you look closely, you will see that a directory called / bash-weather / It contains all the application's Bash scripts. Well now the next step could be move content from that directory to a hidden directory called, for example, .bash-weather (as you already know the ./ indicates that it is a hidden directory). To carry out this step, just run:
mv bash-weather / .bash-weather /
Finally we go to the created directory:
cd ~ / .bash-weather /
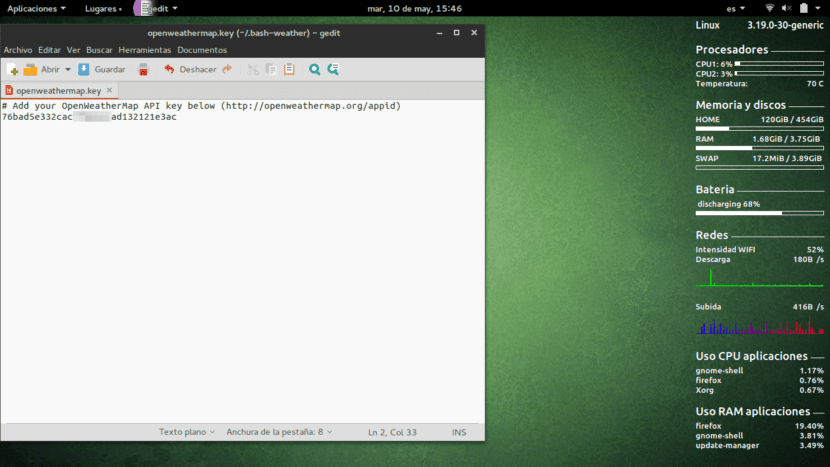
Right now is when we need tell the application what our API Key is. To do this, we open the file openweathermap.key and inside we copy our password. In the following way:
The last step is to give the main script execution permissionsthrough chmod:
chmod + x bash-weather.sh
Finally, we can now run the program simply with:
bash bash-weather.sh
O well:
./bash-weather.sh
It should look something like this:

In addition, the program that we have executed has a series of configuration parameters, which are the following:
- -k Allows you to specify the API Key from the command line, if we had not included it in the file openweathermap.key
- -h Our displays a help screen.
- -t "city name" Manually configure the city to search.
- -c country_code Manually configure the country based on the two-letter code (Argentina is AR).
- -c country_code Manually configure the country based on the two-letter code (Argentina is AR).
So, if you run for example:
./bash-weather.sh -t "Brazil" -f
It would show us the climate of Brazil (by the parameter -t «Brazil») and it would also show us the weather with colors (by the parameter -f).
Running the program from any directory
The truth is that it seems a bit annoying to have to go to the directory every time .bash-weather in our personal folder and then run the script. So the question is: Is it possible to run the program from any directory and through a simple command?
The answer is obviously yes. As you well know, Linux has a directory named / bin / It contains a great variety of programs or scripts that we can execute directly from the terminal. Well, the idea is write a little script in bash that we run Open Weather, and then save this script inside / bin /.
As well we know, the script we run to start the application, called bash-weather.sh, is in ~ / .bash-weather / (hidden directory inside our personal folder, which we can see by clicking Ctrl + H). Then we just have to create a script that is go to that directory, and later execute bash-weather.sh. In addition, as we have said, it is providential that this script is inside the / bin directoryIf not, we will not be able to execute it from any directory in the terminal.
For this we have to create an empty file called, for example, my_climate. I will create it on the desktop. We execute:
cd ~ / Desktop
touch my_climate
Next we open the file my_climate y we copy the following content:
#! / Bin / sh
cd ~ / .bash-weather /
./bash-weather.sh
We can also copy content via terminal:
echo -e '#! / bin / sh \ n \ n cd ~ / .bash-weather / \ n \ n ./bash-weather.sh\n' | sudo tee ~ / Desktop / my_climate
Now, we move the file my_climate to the / bin folder. For this we need to have superuser permissions, so we can execute the following:
sudo mv ~ / Desktop / my_climate / bin
It will ask us for our password and the file will finally be copied into / bin.
Hereinafter, every time we write my_climate In the terminalFrom any directory, Open Weather will be executed and we will see the weather in question perfectly. Easy right?
We hope this little tutorial has been useful to you. If you have any questions or problems, leave them in the comments section and in Ubunlog We will be happy to help you 🙂
Hello, thank you very much for this great post, for a newbie like me it is very interesting. By the way, what application do you have to show all the info that you see on the right, in the screenshot? It puts processors, memory, battery, networks, etc. Again thank you very much!