The screenshot tool that comes by default with Ubuntu is very good but, even with the improvements that came with GNOME, it is still somewhat limited for what we usually do Tutorials and we need quality screenshots. In addition, many times we need to mark the captures, and for that we have to use third-party software. Shutter is a screenshot tool with many more options than the default Ubuntu capturer, and also, we have it available in the official repositories.
Shutter has had its ups and downs when it comes to its availability. In the past, Canonical has updated its operating system and repositories, and this popular tool lagged behind because it depended on a dropped packet. A lot of information was posted about it, including tutorials on how to install the program again in ubuntu y some possible alternatives, but all that is already part of the past; Right now, and fingers crossed that it doesn't disappear again, it's back in the Ubuntu repositories.
What does Shutter offer us?
Among the latests Moravia's compositions features to highlight of Shutter include the following:
- Captures of:
- Free selection area.
- Entire desk.
- Window under the cursor.
- Independent windows.
- Capable of capturing dropdown and context menus.
- Option to capture help text, such as the one that appears when we hover over an icon.
- Set of editing tools that will allow us to leave the capture prepared and ready to publish without the need for any other program. This type of editing is not comparable to image editing programs like GIMP. They are "marking" tools, for example, adding numbers and arrows to indicate the steps to follow in a process.
To be able to do all this, we first have to open the tool. If we want, we can make it do it together with the operating system, but the most common thing is to open it manually, for which it will be enough to go to the application drawer and search for "shutter".

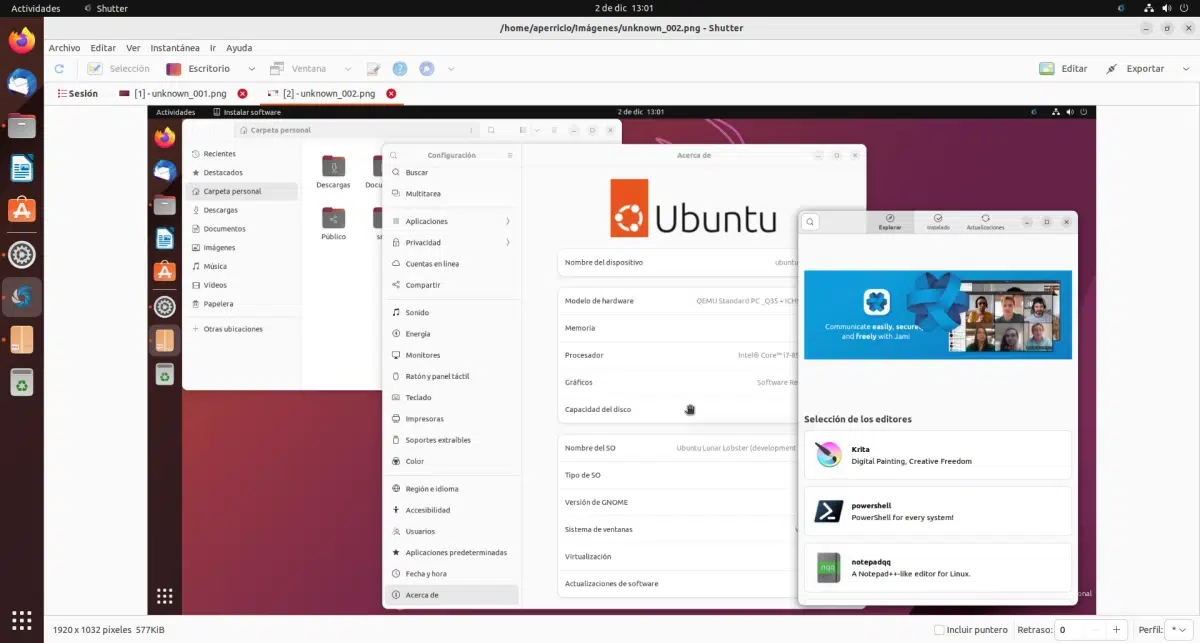
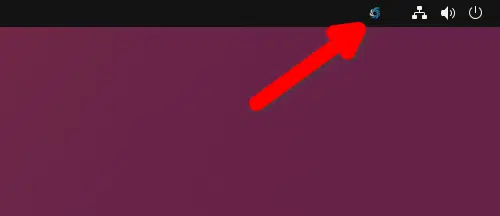
Once opened, we will see the application window from where we can make use of all its functions, but the important thing is that its daemon. From it we will be able to do any type of supported capture, as well as enter the main window and open the preferences.
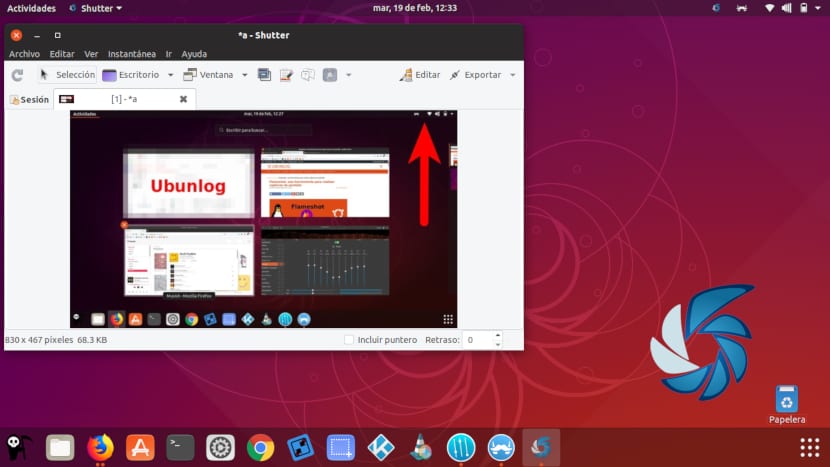
shutter editor
There's something for which Shutter became so popular, and it wasn't so much for the possibility of taking screenshots of all kinds as for its editor. When the tool came out, GIMP and Photoshop already allowed you to do everything, including arrowing, pixelating, or adding numbers, but they are not tools to "mark up" images. That's why Shutter became so popular: allows you to mark up images with simple tools that are always in view. As if that were not enough, the images to be edited do not have to be captures made with the same program; It allows us to open any image and we can retouch it with its editor.
What this editor allows us to do is:
- Draw
- Freehand.
- A line.
- An arrow.
- A rectangle.
- an ellipse.
- Use a marker (such as a thick-tipped marker).
- Cover something up with the censorship tool.
- pixelate
- Add numbers.
- And, what appears first, move elements added with the Shutter itself.
At the bottom there is also an option to add images, such as stars, error signals or even Tux, the Linux mascot.
To access the editor, you need to be in the main Shutter window, select an image, and click "Edit." Keep in mind that the "Edit" that you have to click on is the one that has a picture to his side, not in the "Edit" menu at the top. The menu is the same that we find in almost all applications, and it contains the Cut and Paste options, among others. From my point of view, this is a small (very small) bug, since there shouldn't be two buttons with the same name in order not to create confusion.
Installation
At the time of writing this article, Shutter is once again available in the official repositories, so to install it, all you have to do is open a window from the terminal and type the following command line:
sudo apt install shutter
At the time there were problems with the dropped dependency, it was also available as a snap package at Snapcraft. I'm only mentioning this for one reason: if the above command doesn't work, it's a good idea to look there to see if it's available again.
On the other hand, also has an official repository, or official media I would say, because, on the one hand, it appears in the official project website, but for another, it is maintained by the Linuxuprising webmaster, not by the developer of Shutter. If the above command doesn't work, and it's not available on Snapcraft or Flathub, you can always add this repository and install the tool by opening a terminal and typing:
sudo add-apt-repository ppa:shutter/ppa && sudo apt update && sudo apt install shutter
More information - Video-tutorial to install a theme in Cairo-Dock
This command does not work for me, it says that it is invalid and therefore does not install it. How else can I install it?
Hello .. the package is gone… ..
in Linux mint 20 distribution, it is not in the repositories, nor in flatpak