In the next article we are going to take a look at Tutanota. This is a privacy-based email client and service for Gnu / Linux and other platforms. It is designed to offer the user a great email experience, while protecting our email from prying eyes.
Tutanota is end-to-end encrypted email software. Its business model excludes making money through advertising, it depends solely on donations and Premium subscriptions. Though offer a free version for personal use. In March 2017, Tutanota owners claimed to have more than 2 million users.
Tutanota installation on Ubuntu
Tutanota's email client is excellent, but it doesn't come pre-installed on any Gnu / Linux operating system on the market. For this reason, we must install the software ourselves.
Ubuntu users, we have two ways to use the Tutanota email client. The first installation method is to use your Flatpak package, and the second method will be to use an AppImage.
Using Flatpak
To install Tutanota using its package Flatpak, First we must install this type of technology in our Ubuntu system. To install it in Ubuntu 20.04, you can follow The Guide that a colleague wrote on this blog a while ago.
Once we have available the possibility of installing Flatpak packages on our computer, we can open a terminal (Ctrl + Alt + T) and use the following command to enable the Flathub application repository, where Tutanota is available:
sudo flatpak remote-add --if-not-exists flathub https://flathub.org/repo/flathub.flatpakrepo
After adding the Flathub software repository, the Tutanota email client is ready to be installed. We can do this with the command:
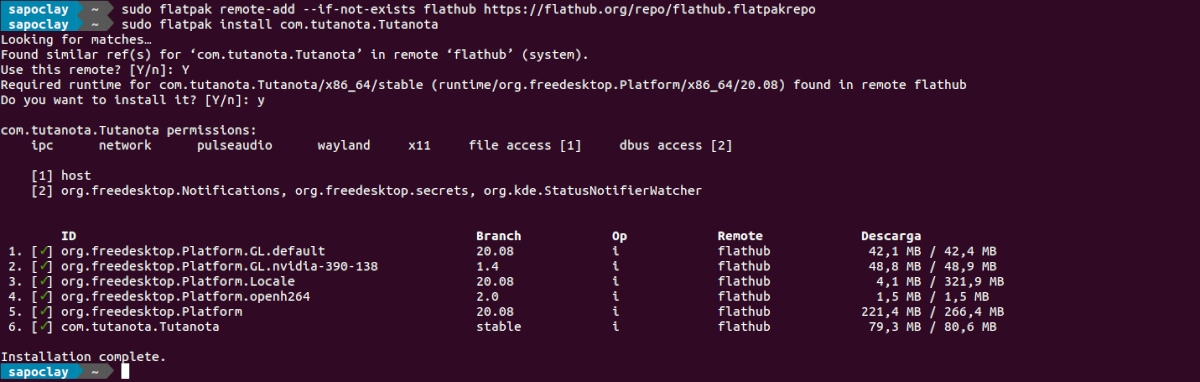
sudo flatpak install com.tutanota.Tutanota
After installation, we can open the program with the command:
flatpak run com.tutanota.Tutanota
uninstall
For remove the flatpak package from this program, in a terminal (Ctrl + Alt + T), you just have to type the command:

sudo flatpak uninstall com.tutanota.Tutanota
Using AppImage
Tutanota is also available as an AppImage file. This installation method is perfect for those who cannot or do not want to use Flatpak. To begin, we are going to open a terminal (Ctrl + Alt + T) and use the wget tool to download the latest version of the application. I will save the downloaded file inside a folder for the AppImage applications:

mkdir -p ~/AppImages

wget https://mail.tutanota.com/desktop/tutanota-desktop-linux.AppImage -O ~/AppImages/tutanota-desktop-linux.AppImage
After downloading AppImage on our computer, we need use the chmod command to update your permissions. The permissions must be changed for the application to run:
sudo chmod +x ~/AppImages/tutanota-desktop-linux.AppImage
At this point, we can start the program using the following commands:

cd ~/AppImages

./tutanota-desktop-linux.AppImage
We can also open the file manager, select the 'AppImages' folder and double click the Tutanota file to start it.
Configure Tutanota email
To configure the Tutanota email client on Ubuntu, start with start the program on the desktop. Once it starts, follow the step-by-step instructions to get started.

Step 1: → Look for the 'buttonMORE' in the Tutanota application and click on it. Selecting this button will show three hidden options at first glance. Among these options, we will select the button 'Register'.
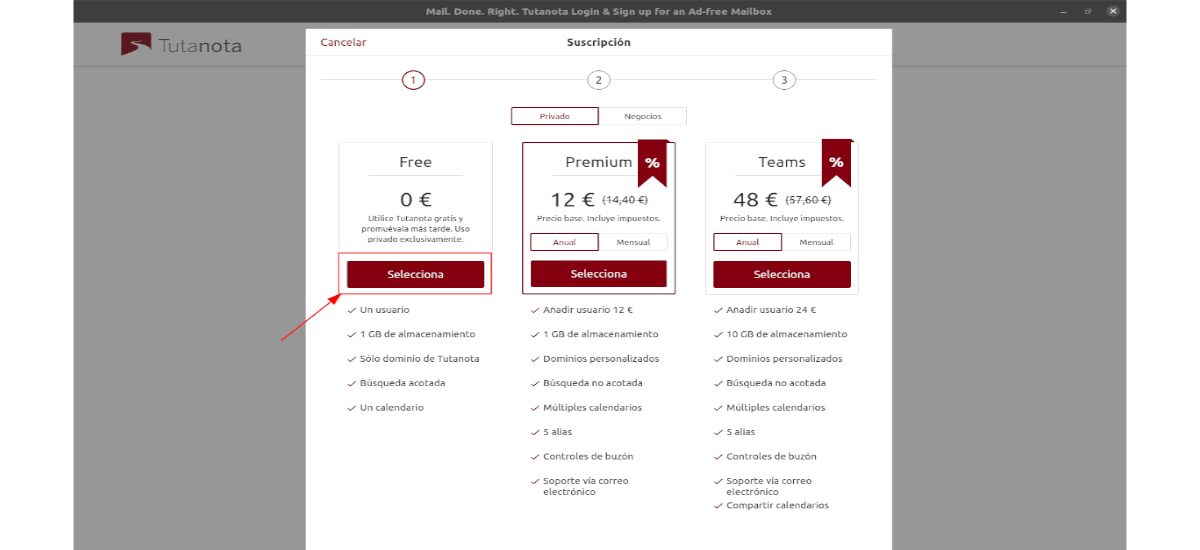
Step 2: → By clicking the 'buttonRegister', we will see a pop-up window in which we will be asked to choose a subscription level. For this example I am going to select the free option. Just click on the button that says'Choose' to continue.

Step 3: → After selecting the free option, another pop-up window will appear on the screen. In this window, the program will let us know that the free version can only manage one account per customer. Here we will also have to select 'I don't have any other free account'Y'I will not use this account for business'.
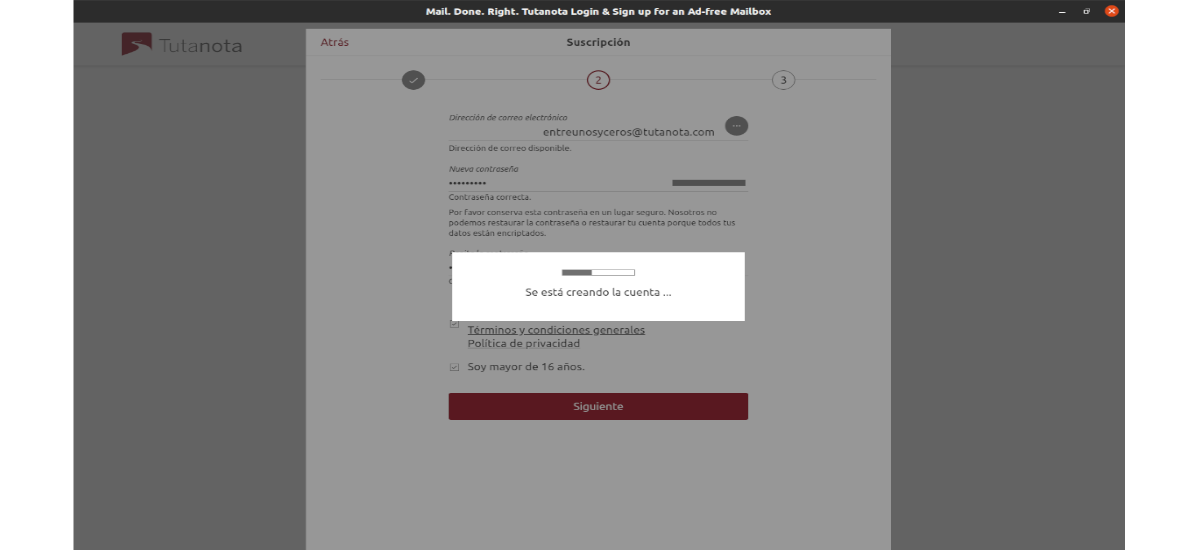
Step 4: → now we will be asked to create our new Tutanota email account. To get started, fill in the box 'Email address'with your domain email account tutanota.com.

Step 5: → Set your Tutanota email password, and check the boxes'I have read and agree to the following documents'and' I am older than 16 years'. Then click the 'buttonNext' to continue.
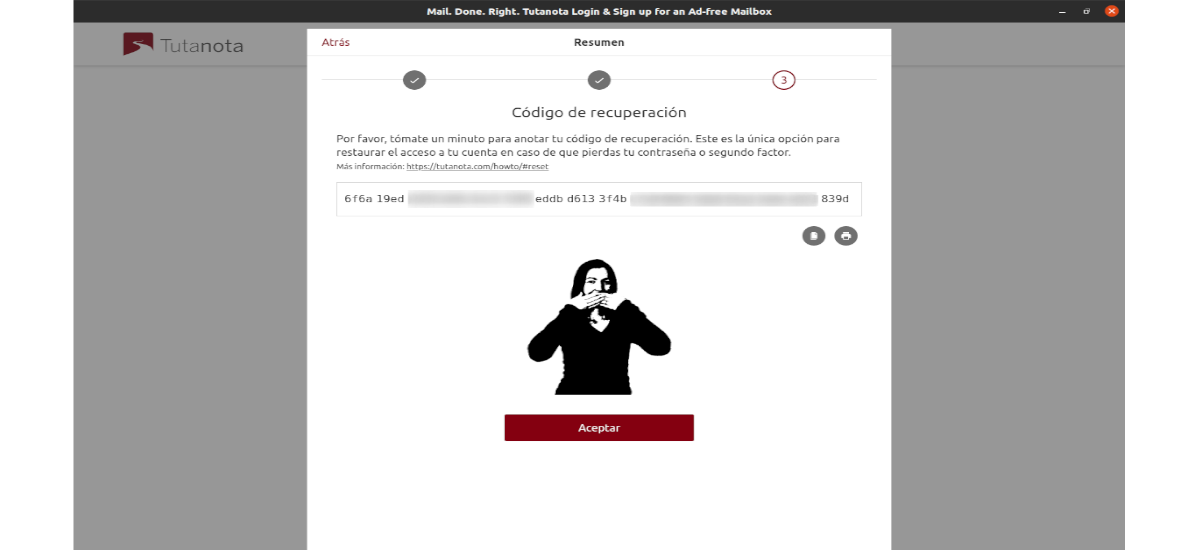
Step 6: → By clicking the 'buttonNext', our account will be prepared for use. Then will give us a recovery code. Make a note of this code and save it to a text file (make sure you encrypt it) or print it on a sheet of paper for safekeeping. This code will be the user's only method to restore our account in case of emergency. Choose 'Accept'once you've copied the code.
Log In
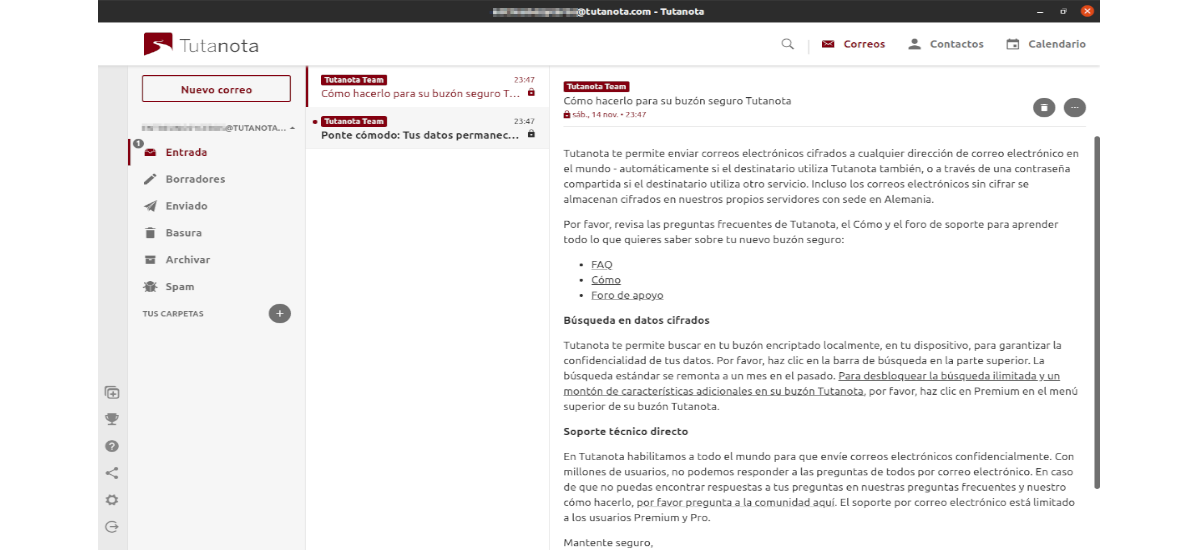
Now we can log into our Tutanota account. Once we log in, we will have to wait 48 hours for our account to be approved and to be able to send and receive emails insurance.
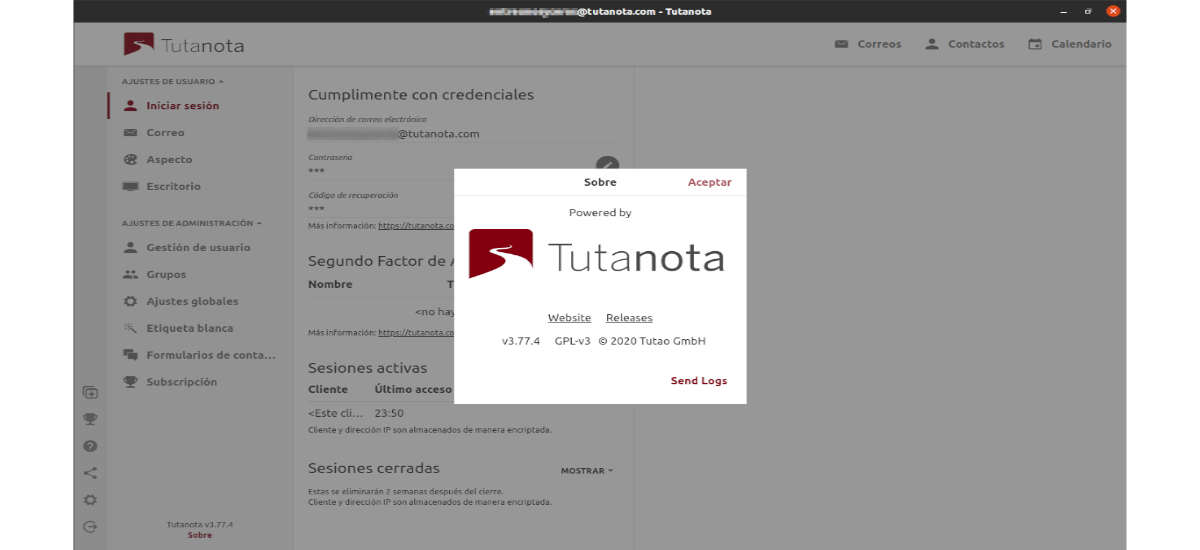
Users We can learn more about this software or consult its characteristics in the project website or in GitHub page.