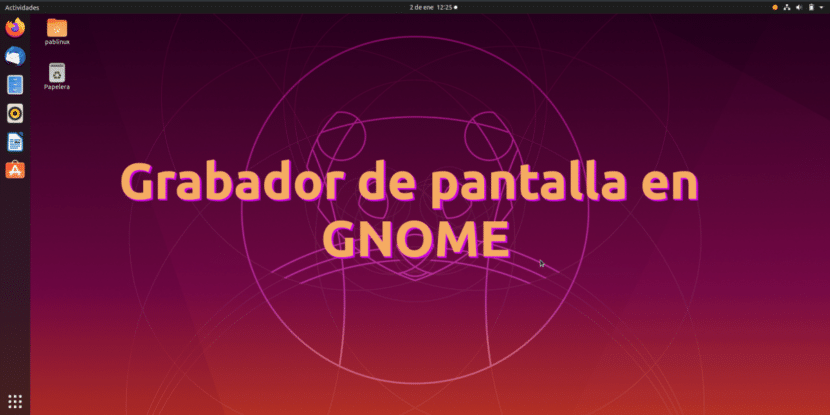
The reasons for recording our desktop screen can be many and varied. Whom Ubunlog We have written many articles related to this, but some of them become obsolete because the developer stops offering support or something similar. This is somewhat more difficult if the screen recorder it is integrated into the system or, in this case, the graphical environment, so we could say that Ubuntu will always have one available.
At least at the time of writing this article, GNOME offers us the possibility of recording the screen without having to install extra software such as SimpleScreenRecorder, although it is a basic screen recorder with some shortcomings. It is integrated into the system as is Windows 10, which for me would be the best recorder of any operating system if it weren't for the fact that it only allows us to record individual windows and not the entire desktop.
How to use GNOME's built-in screen recorder
It is a bit strange that a function like this is "hidden". Project GNOME does not promote it as it should, so it is little known. It can be launched with a simple keyboard shortcut, which would be Ctrl + Alt + Shift + R (R for Record = Record). As soon as we press the shortcut, we will see a red point at the top right, in the system tray, like the one you have in the image that heads this article and that I have forgotten to point out.
The problem with GNOME's built-in screen recorder is that it has some restrictions that prevent it from competing with other specialized software such as the aforementioned SimpleScreenRecorder or Kazam:
- Recording will start instantly. There is no option to add a countdown. Personally, I don't see this as a big problem, since the "0" in the countdown is activated with the shortcut; the problem would be greater if the start of the recording depended on a click made in a window as in SimpleScreenRecorder, which starts recording something that we do not want. But this is my opinion.
- There is no option to pause the recording; it's all continuous.
- There is no option to select a piece of the screen, nor a specific window. It will always record the entire desktop (as opposed to Windows 10 recorder).
- The videos will be automatically saved in our Videos folder in WEBM format. This cannot be edited. If we want the video in another format, we will have to convert it ourselves. In this article We explain how to convert audio, but FFmpeg also allows you to convert videos.
- Does not record sound. If you want to record tutorials with sound, GNOME's built-in screen recorder won't work for you.
Increase the recording time
Another restriction is the recording time. By default, pressing Ctrl + Alt + Shift + R will start recording and it will stop automatically after 30 seconds. We can also stop the recording if we repeat the shortcut, but to record more than 30 seconds we will have to make a change. We will write this command:
gsettings set org.gnome.settings-daemon.plugins.media-keys max-screencast-length 300
The above command will increase the maximum limit from 30 to 300 seconds. Logically, if the tutorial we want to record exceeds 5 minutes, 300 seconds will not be enough either, so I personally recommend using the value 0 to eliminate the limit; when we want to stop recording, we will use the shortcut (Ctrl + Alt + Shift + R) a second time.

Other options
Although this article is not about that, I think it is worth mentioning some alternatives, all available from the official repositories:
- SimpleScreenRecorder. It is the program that I use and it offers me everything I need. It can record with quality, all the sound, a region and I feel comfortable with it.
- Kazam. It is very similar to SimpleScreenRecorder and has a more pleasant design, so it is best that you try which one you like the most and dedicate yourself.
- voko screen. Another option similar to Kazam and SimpleScreenRecorder.
- ffmpeg It also allows us to record the desktop from the terminal, as we explained here.
- VLC also it helps us to record the screen, but considering how complex the process is and the existing alternatives, it is not the option that I would recommend.
Which option is your favorite to record the screen in GNOME?
The good thing that there are very good options, I use simplescreenrecorder and when it is not possible to install it, I use kazam. In the constant reviews of distros I have noticed that several of them come with Simplescreenrecorder already installed. Greetings.