
In the next article we are going to take a look at how to install a minimal Ubuntu 18.04 LTS server, with lots of screenshots. The purpose of these lines is to show the basic installation of Ubuntu 18.04 LTS, nothing more. We can use this as a basis to implement the configurations that can be made on this server, and that we will use in a VirtualBox machine.
For this article we are going to use the LTS branch of the operating system. We will receive Ubuntu updates for 5 years and it is recommended for use on servers. As I said, the installation that we will see next will be carried out in VirtualBox. I will skip the creation of the virtual machine and we will only see the installation of the operating system.
To install an Ubuntu Server, we will need to cover the following previous requirements:
- La ISO image of Ubuntu 18.04 server, available here (for 64-bit Intel and AMD CPU). For other Ubuntu downloads you can consult the following link.
- Recommended a fast internet connection as package updates are downloaded from Ubuntu servers during installation.
Ubuntu Server 18.04 LTS base system
Insert the ISO image to install Ubuntu on your computer and boot from there. When installing the operating system in a virtual machine as I will do here, you should be able to select the downloaded ISO file as the source from the CD / DVD drive in VMWare and Virtualbox without first burning it to a CD.
Language selection

The first screen will display the language selector. Select your language for the installation process.
Then choose the option Install Ubuntu Server.

Select your language again, this time the language is for Ubuntu operating system:
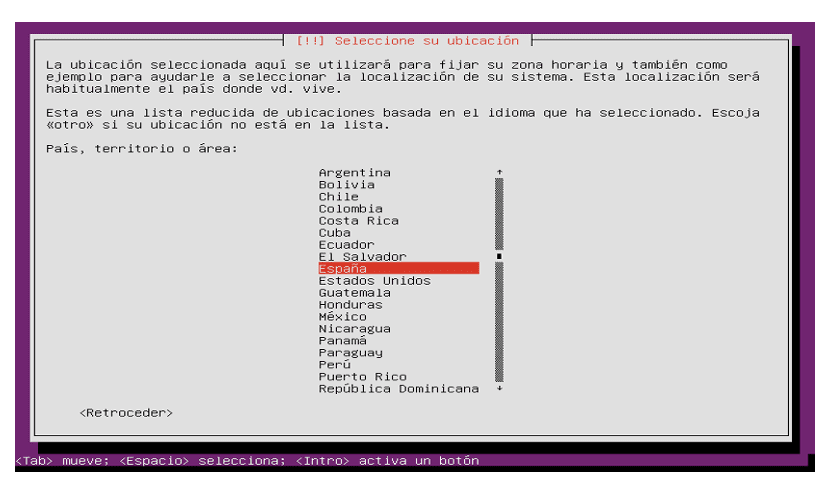
Location
Now choose your location. Location settings are important for your server's keyboard settings, locale, and time zone.
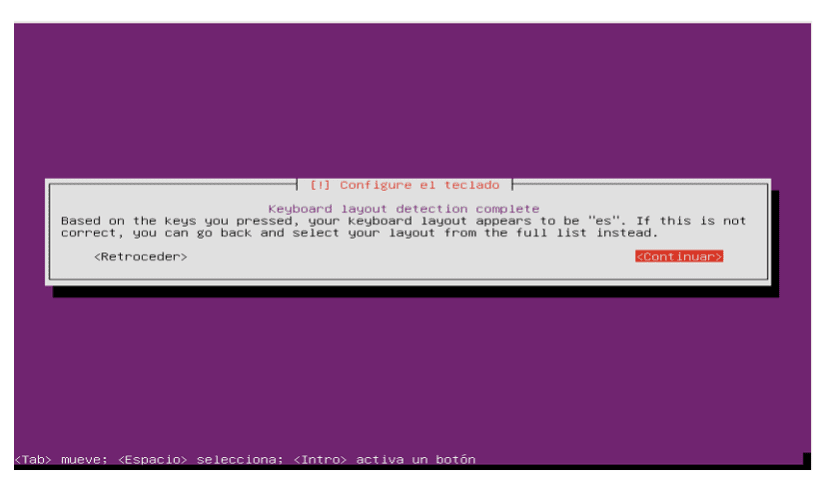
Keyboard configuration
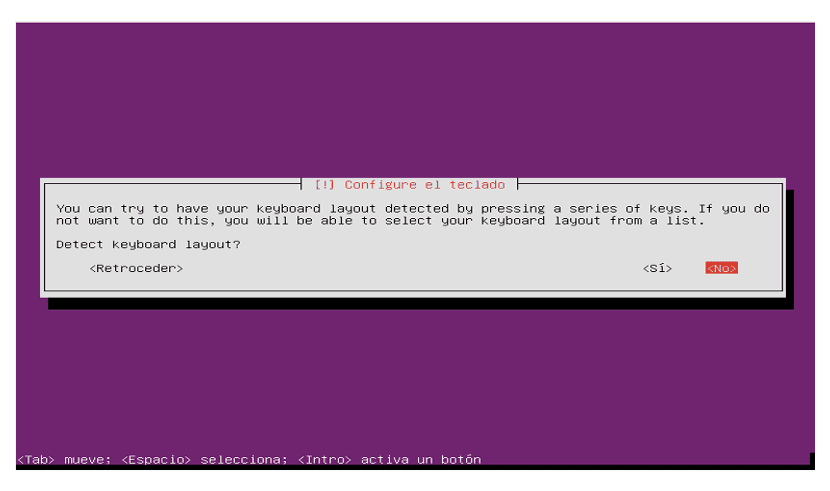
Choose a keyboard layout. We will have the option of allow Ubuntu installer to detect keyboard settings automatically selecting 'Yes'. If we prefer to select the correct keyboard from a list we must choose 'No'.
The network will be configured with DHCP if there is a DHCP server on the network.
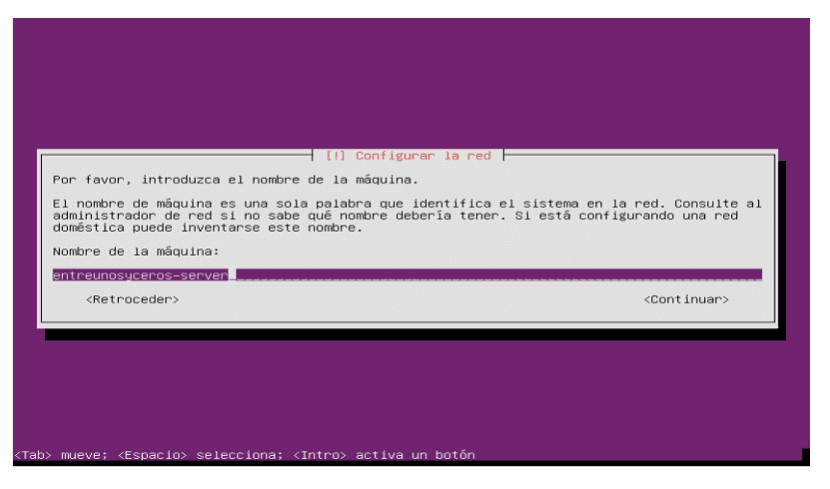
Host name
Enter the hostname of the system on the next screen. In this example, my server is called entreunosyceros-server.
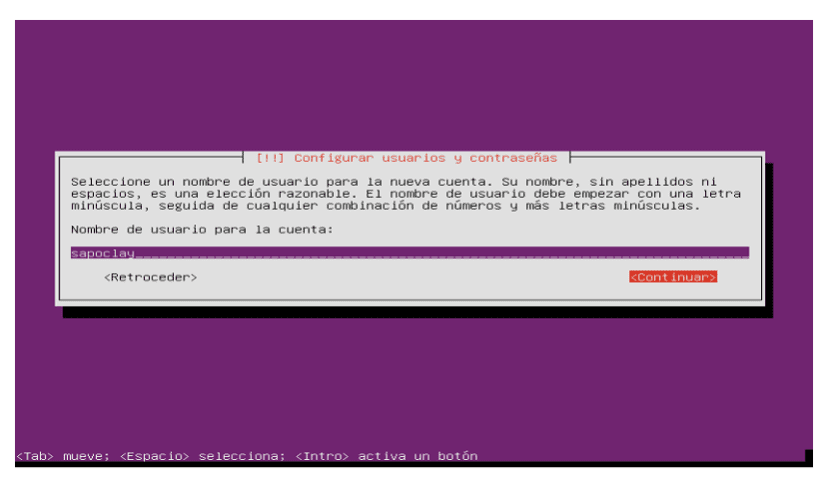
Username
Ubuntu does not allow login as root user directly. Therefore, we will have to create a new system user for the start of the first session. I will create a user with the name sapoclay (admin is a reserved name in Gnu / Linux).

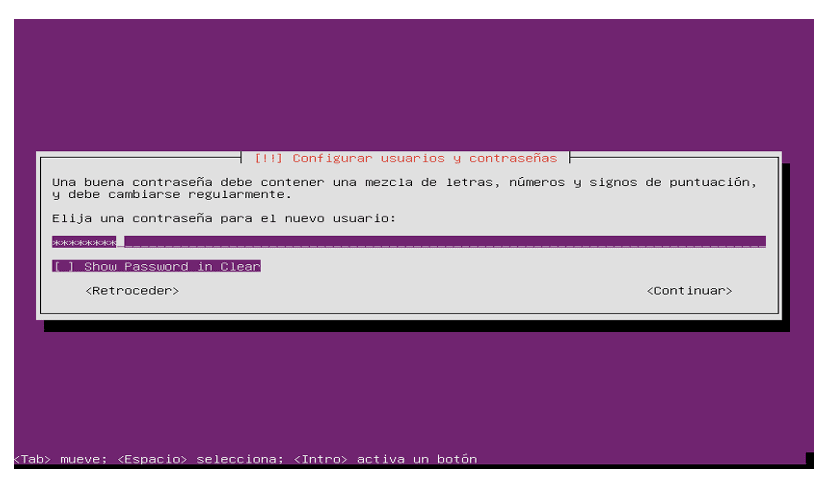
Choose a password
Set the clock

Check and the installer detected your time zone correctly. If so, select 'Yes', otherwise, click on 'No' and select it manually.
Partitions

Now we will have to partition the hard drive. Looking for simplicity select Guided - use full disk and configure LVM - this will create a volume group. These are two logical volumes, one for the / file system and one for swap (the distribution of this depends on each one). If you know what you're doing, you can also configure the partitions manually.
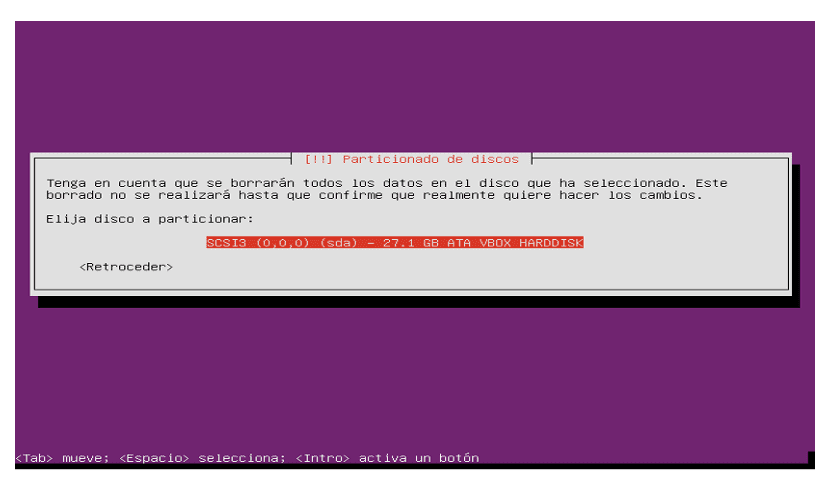
Now we select the disk that we seek to partition:
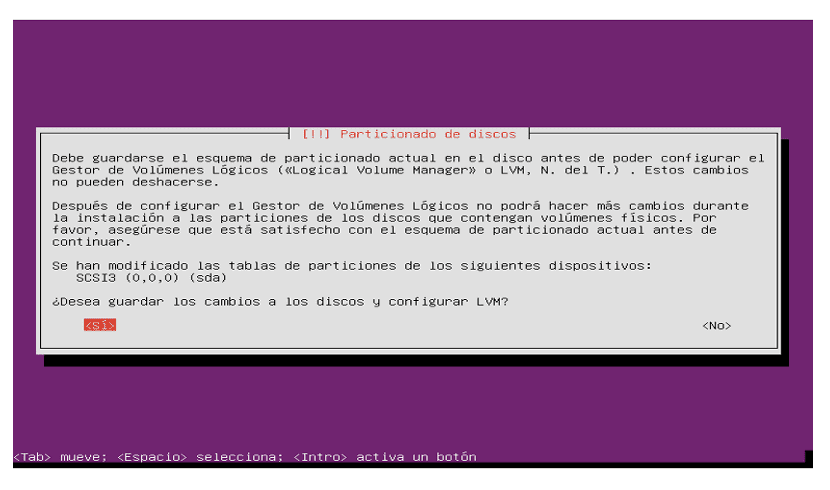
When we are asked to save changes to disks and configure LVM ?, we will select 'Yes'.
If you have selected the Guided mode, use the whole disk and configure LVM. Now we can specify the amount of disk space that logical volumes should use for / and swap. It makes sense to leave some space unused so that you can later expand existing logical volumes or create new ones.
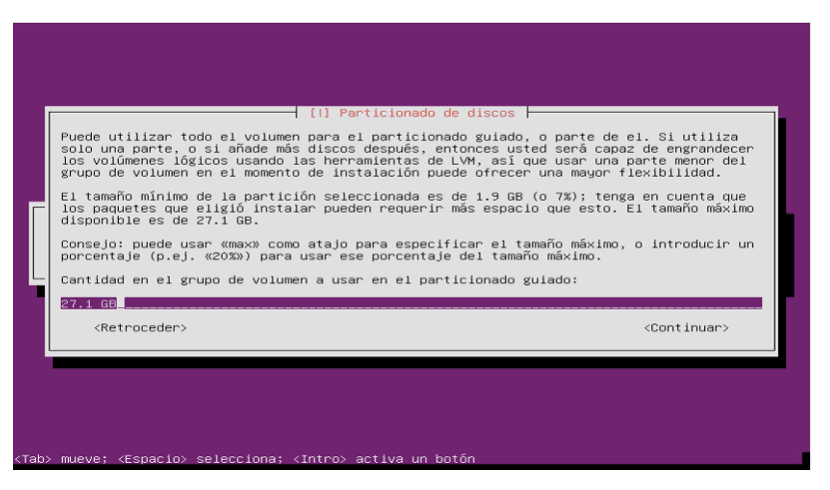
Once all of the above has been defined. Press'Yes'when you are asked permission to write changes to disk.

Now the new partitions are to be created and formatted.
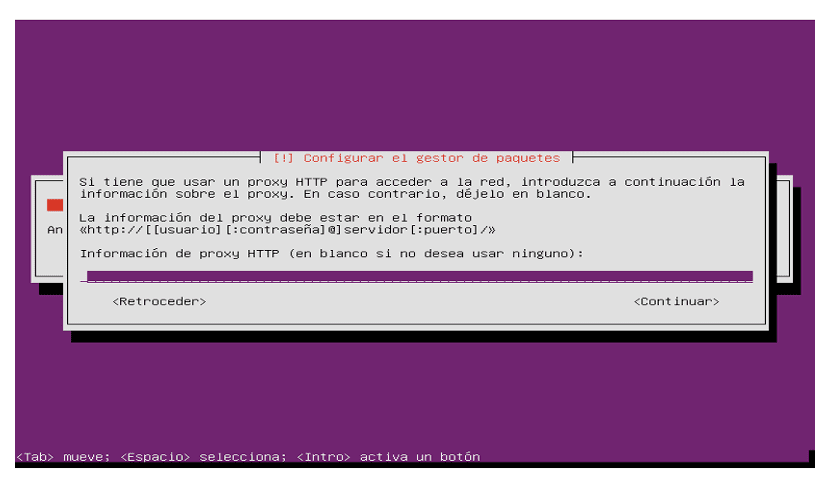
HTTP-proxy
You will begin by installing the base system. This may take a few minutes.
During the installation process it will look something like the following. Leave the HTTP proxy line empty unless you use a proxy server to connect to the internet.
Security updates
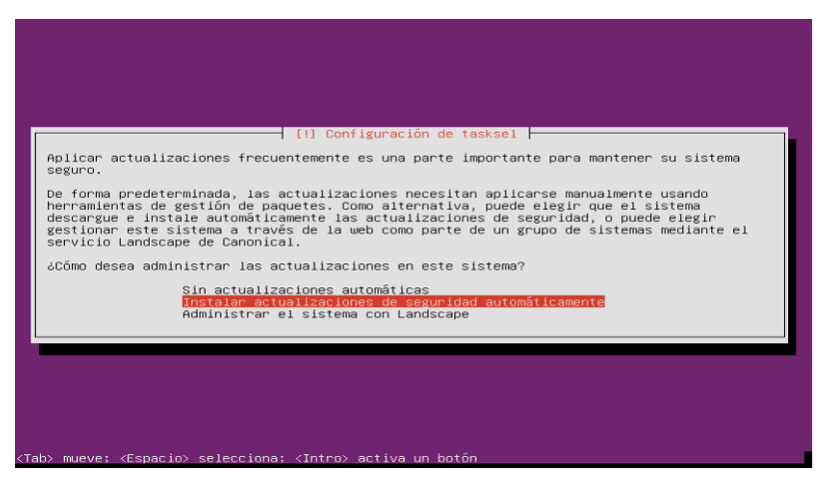
To enable automatic updates we will select, Install security updates automatically. Of course, this option depends on what each one needs.
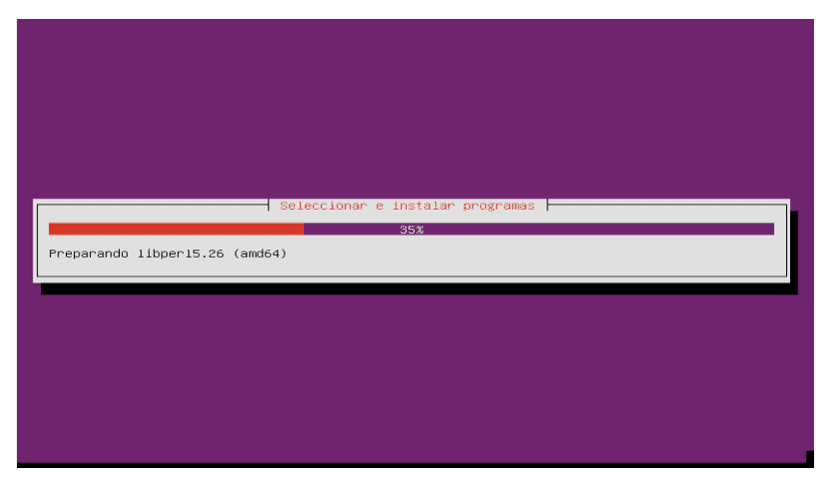
Program selection
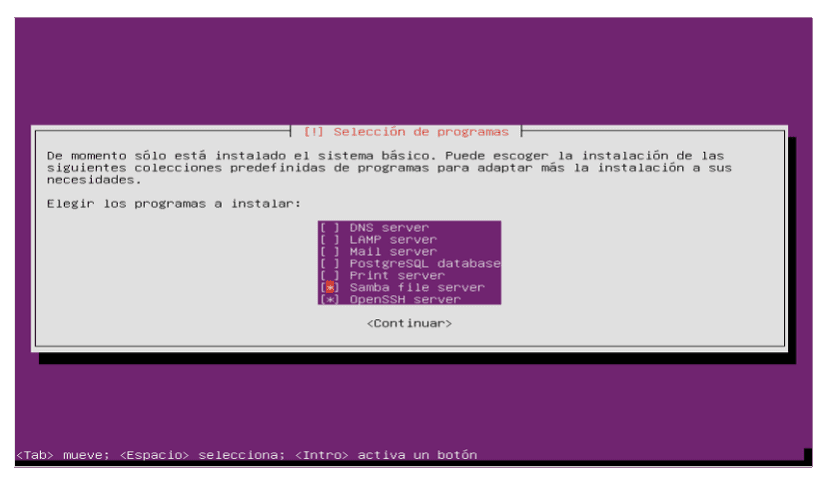
The only items I select here are the OpenSSH server and Samba. None of them are mandatory.
The installation continues:
Install GRUB
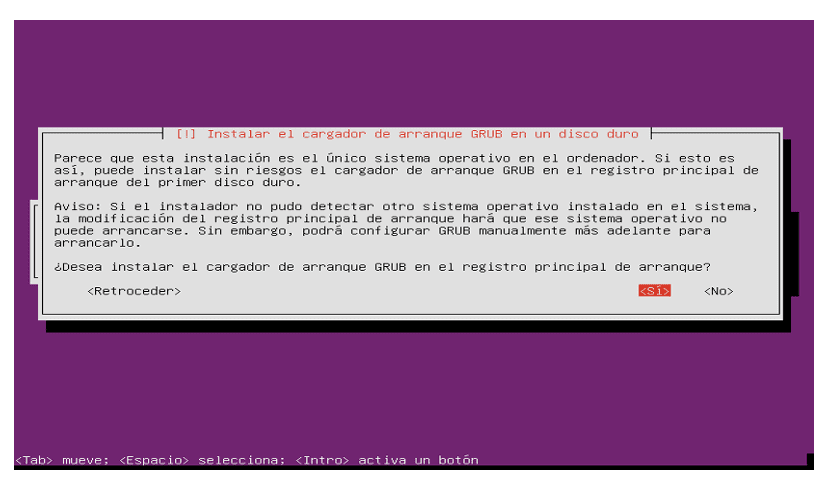
Choose 'Yes'when installation asks Install GRUB boot loader in master boot record ?. We continue until the Ubuntu installation is finished.
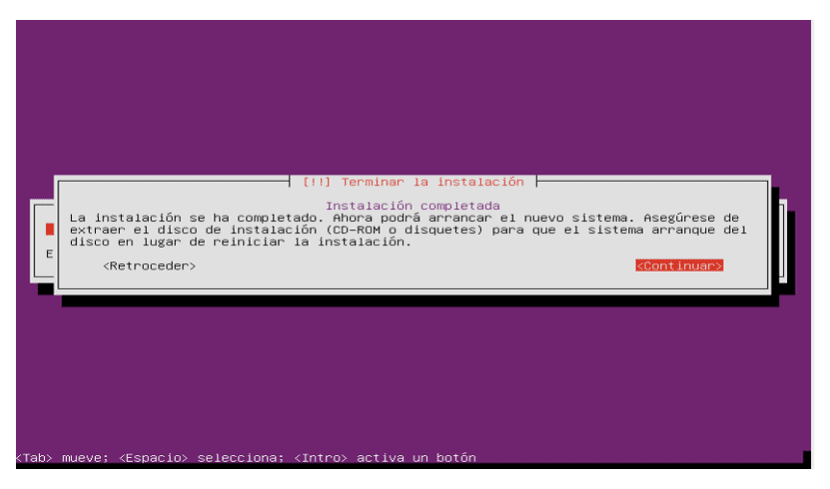
The installation of the base system is now complete.
First login
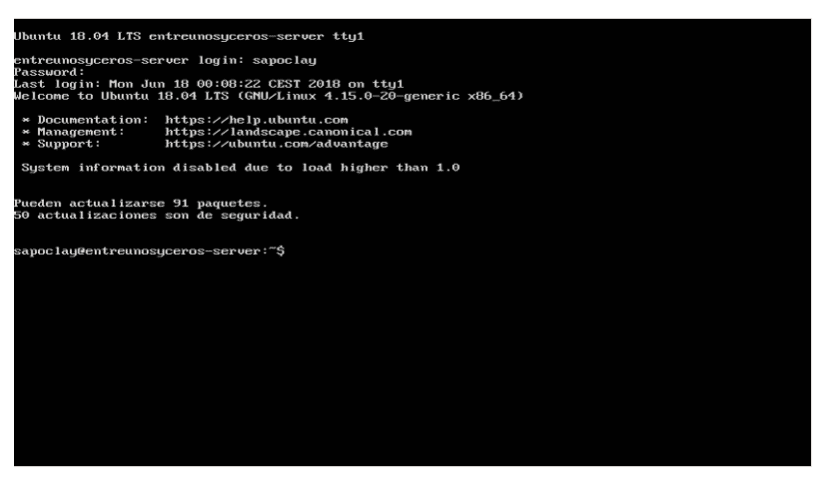
Now we log in to the shell (or remotely by SSH) with the username that we created during the installation. With this we conclude the minimal installation of Ubuntu Server 18.04 LTS. Now it only remains to fine-tune it according to what each one needs.
Good morning, I have downloaded the two iso versions of the 18.04 Lts Server, the version .0 and the current version .1 and I have reviewed its sha1sum and they match me. But those steps that you show are for the 16.04 LTS server since it only installs the basic Fileserver, it does not allow you, like the 16.04, that you can choose the installation: DNS, LAMP, Mail, Print, Samba, open SSH and Virtualization. It gives you only the option of server, and the other two, (cloud) which is for datacenter. Now I do not know outside the Ubuntu sources that there is an iso like the one you show, unless you have done it in demo mode with the iso from 16.06 LTS. Now if you have that iso, please give me the link to download it. Greetings and good work.
Hello. The steps shown in the article were done with Ubuntu Server 18.04 release. The link that appears in the article right now is down, but the ISO that I used in its day to make the article can be found here. Right now they have cataloged it as "old release".
Hope you solve the problem you have with that ISO. Salu2.