
Yesterday we shared with you the news of the release of the new version of Voyager, which is a customization layer that takes the foundation of Ubuntu and improves the visual aspect of the layout. Besides that it has other versions of which we have already talked about here on the blog, where I personally recommend the "Gamer Edition" version for those looking for a more personalized gaming experience.
Now, I share with those interested in being able to try this distro a simple installation guide, which I took advantage of since I could not resist trying this new version of Voyager which I installed on another hard drive that I have reserved.
Voyager GE 19.10 installation process
To begin with the installation of Voyager GE 19.10, the first thing we must do is obtain the system image, which we download from this link, I should mention that it is only for 64 bit systems.
Prepare Installation Media
CD / DVD installation media
Windows: We can burn the ISO with Imgburn, UltraISO, Nero or any other program even without them in Windows 7 and later gives us the option to right-click on the ISO and burn it.
Linux: They can use especially the one that comes with the graphical environments, among them are, Brasero, k3b, and Xfburn.
USB installation medium
Windows: They can use Universal USB Installer or LinuxLive USB Creator, both are easy to use.
Linux: The recommended option is to use the dd command:
dd bs=4M if=/ruta/a/Voyager.iso of=/dev/sdx sync
Already having our environment prepared all you need to do is have the BIOS configured for the PC to boot from the drive configured installation.
Installation
Already being inside the boot menu a menu will be displayed where we can choose If you test the system without installing or go directly to the installation, you can choose the first one to know the system.

Once the wizard is open, the first screen that appears is the following one where basically what we have to do is to select the installation language and this will be the language that the system will have, done we click on the continue button.

Now we will have to choose the keyboard layout.

In the next option We will be shown a list of options where we have the option to mark them in case you want the latest updates to be installed, as well as the private drivers that Ubuntu's philosophy does not install by default.

Proceeding with the installation, in lNext option we will have to decide where the system will be installed either on the entire disk, next to another system or ourselves indicate where it will be installed.
So in the event that you want to install Voyager as the only system on your hard drive and "you want to remove everything" you just choose "Erase everything and Install Ubuntu 19.10".
If you want to install Voyager on a previous version of Ubuntu or any other derivative of it and you want to keep your data "as much as possible" choose the first option.
Finally, if you want to choose on which disk and / or partition you will install the system, you have to choose the last option.

Having already defined where the system will be installed, we continue with the installation. Now we have to define our time zone.

In the last step we only have to create a user to the system along with a password, this user will be the one we log into the system with and the password will be the one we use at all times, so it is important that you always remember it.

We can only choose whether we are asked for the password every time we log in or to start without asking for the password.
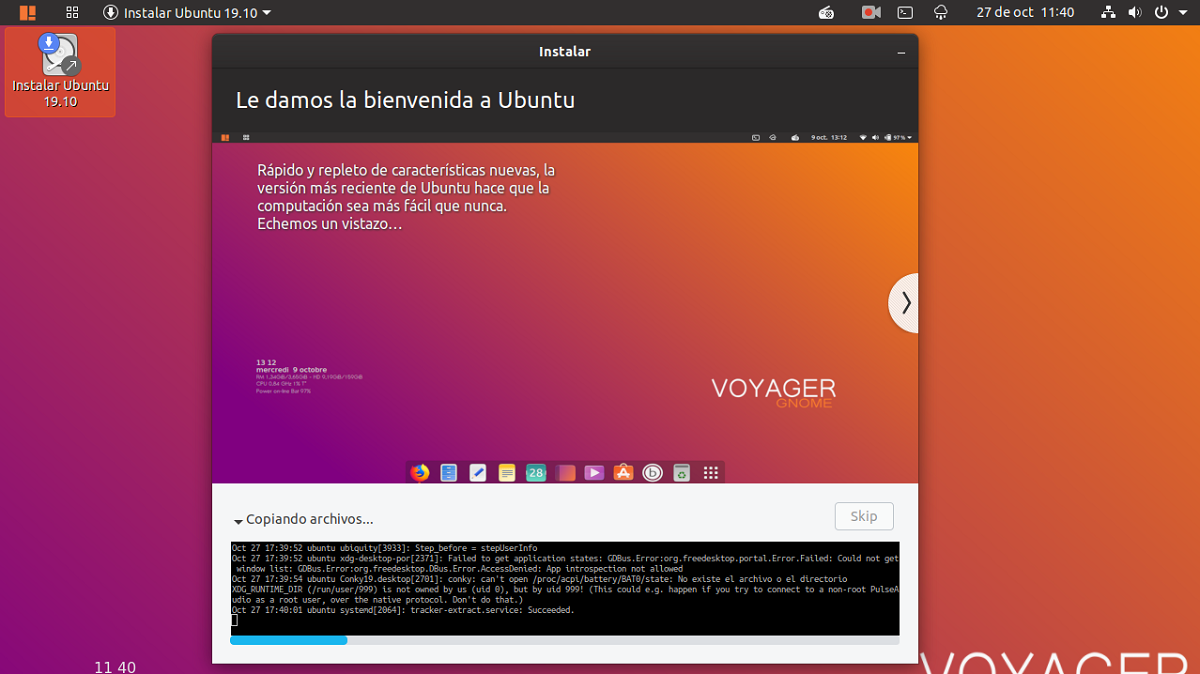
At the end of this, the system is already installing, we just have to wait for the process to finish. When the installation is finished on our computer, it will ask us to restart the computer.