In the next article we are going to take a look at Wiki.js. This is one Lightweight and free open source wiki app built with Node.js. Unlike other wiki platforms, this one saves all your content directly to Markdown files (.md). This content is automatically synced with the user's remote Git repository.
It is an open source, modern and powerful wiki application based on Node.js, Git and Markdown. Wiki.js source code is publicly available at Github, ready to download and install. This is possible because Wiki.js is completely open source, under the GNU AGPLv3 license.
Wiki.js general features
- We will be able to write our content in Markdown format. We will use the built-in visual editor.
- Unlike other wiki software that saves content to a database, Wiki.js save all content directly to Markdown files (.md). This content is automatically synced with our remote Git repository. If we are interested.
- The application runs on the Node.js engine. This optimized to use low CPU resources. It relies heavily on caching to quickly deliver content to users.
- The content that is generated is processed automagically in a clean reading format. It is presented within an elegant user interface.
- We will be able restrict access to our Wiki to certain users or even just parts of the content.
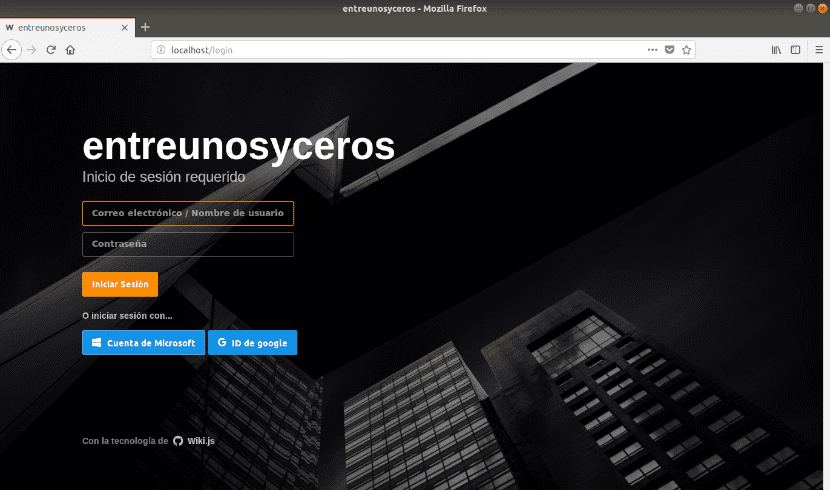
- We will be able to log in using the local database. We will also be able to connect using external authentication providers like Microsoft Account, Google ID, etc.
- The program will give us the possibility to insert images, diagrams, documents, videos, links, etc. For this the asset manager Which incorporates.
- We will be able to quickly find the wiki entry we are looking for using the built-in search engine. It will provide us with relevant results and suggestions when analyzing the metadata and content of our wiki entries.
Server requirements
In order to make this program work, we will need to have some things on our server.
- Node.js 6.9.0 or higher.
- MongoDB 3.2 or higher.
- Git 2.7.4 or higher.
- A Git repository (public or private). This is optional.
Install Wiki.js on Ubuntu
This short post we will see how install Wiki.js on an Ubuntu 18.04 server with all your necessary requirements.
Install Git
To start we will need to install Git to run Wiki.js. Git comes pre-installed on the Ubuntu server. You may not need to install it. However, if you need the latest version of Git, add the following repository and install it:
sudo add-apt-repository -y ppa:git-core/ppa

sudo apt update && sudo apt upgrade

sudo apt install git
Install Node.js
Node.js is another mandatory requirement to get Wiki.js. We will only have to execute the following commands to install Node.js:
sudo apt install curl

curl -sL https://deb.nodesource.com/setup_8.x | sudo -E bash -

sudo apt install -y nodejs
Install MongoDB
MongoDB is also one of the mandatory requirements for Wiki.js. We are going to install the version that comes in the Ubuntu repository. We will only have to execute the command:
sudo apt install mongodb
Download and install Wiki.js
Once all the requirements have been met, we can download the Wiki.js install script and launch it. To do this run:
sudo mkdir /var/www/wikijs

cd /var/www/wikijs

curl -sSo- https://wiki.js.org/install.sh | sudo bash
After running the last command, you should see a success message like the following:

After installation, we will be asked to run the Setup Wizard. We can start it by running:
sudo node wiki configure
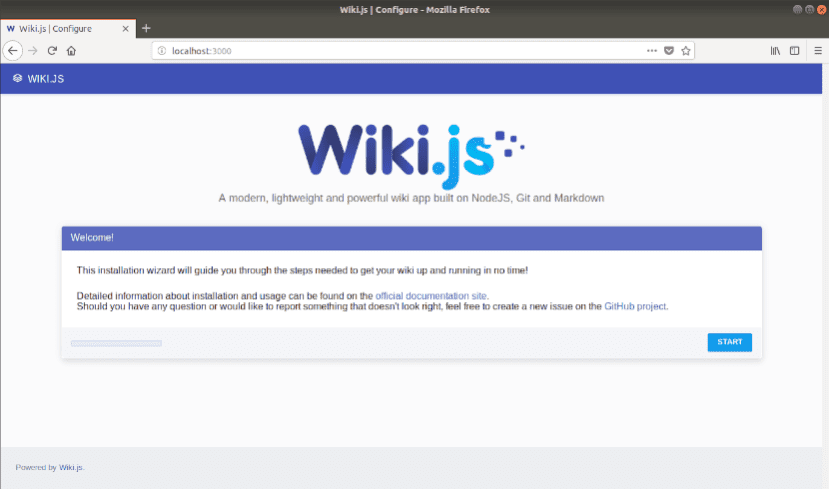
This command will show us a message to open the URL http: // localhost: 3000 in the browser to configure wiki.js.

If we open our browser and look for the server's hostname or IP address followed by the port, the wizard will start. Here we will have different configuration screens. If we don't want to get too complicated, we can accept the default settings and continue.
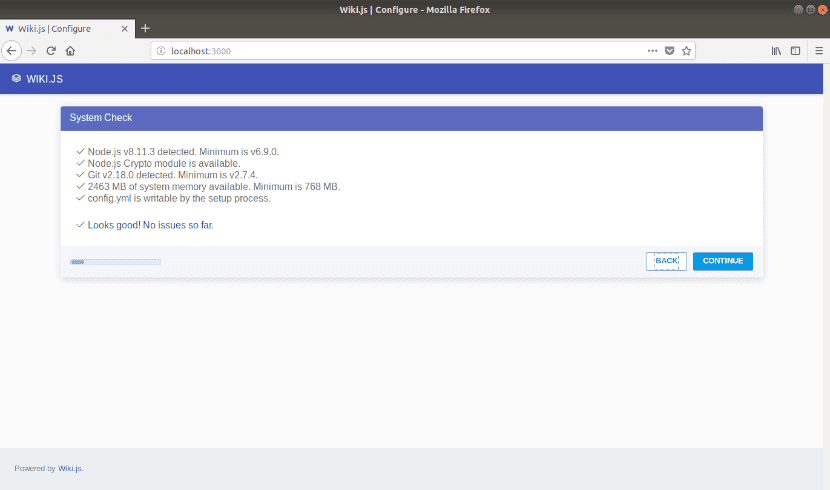
The program validate that the system meets the requirements necessary.
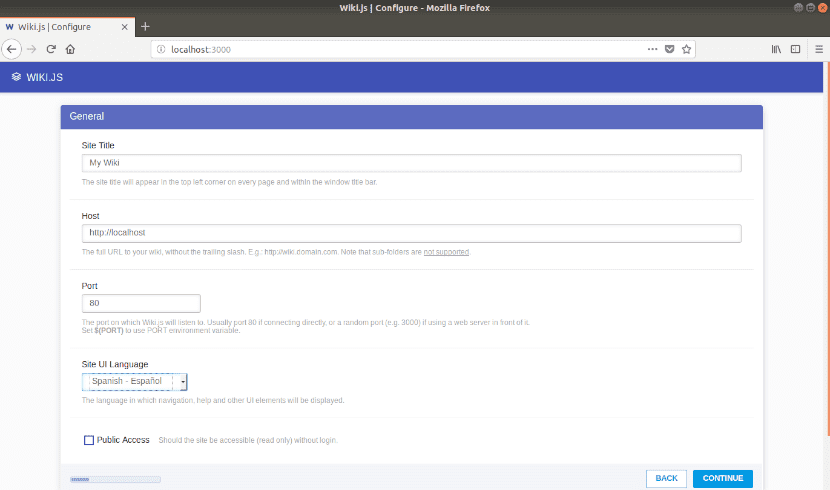
The next thing we will have to fill in is the general configuration.
Then we will have to configure the MongoDB connection. If the installation that we carried out before has been correct, we can press the button «Connect«. The next window will be the Paths configuration. Here they recommend leaving it to be defective so we continue with the installation.
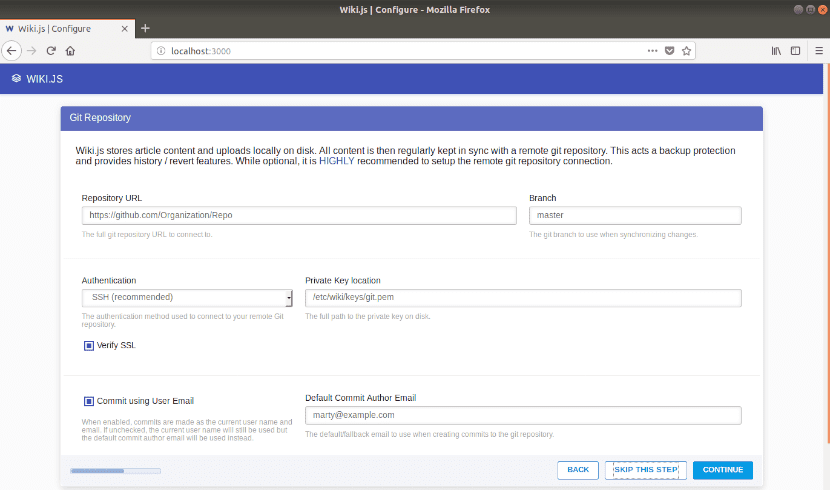
On the next screen we can add the data of our Git account, or skip this step.
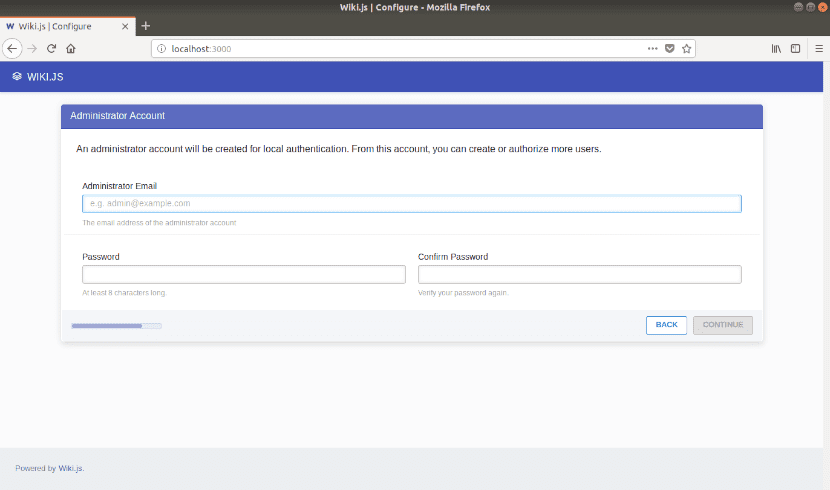
Now we will have to create an administrator account to login later.
After this and a few other setup screens, Wiki.js should be installed and ready to go.
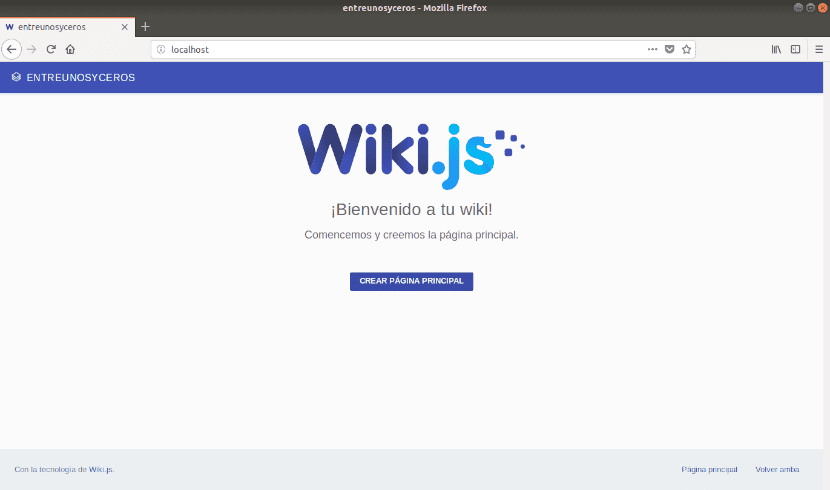
At the end we will have to login. We will use the administrator account that we created earlier to create our home page.
And after all this, we will get to the editor. This is where we can start creating from.

This is just a basic installation. For get more information about this wiki platform, about its installation, its use or to see the official documentation, we can visit the project page.