
In the next article we are going to take a look at how can we install WordPress 5.1 on Ubuntu 18.04. Today many of the users who decide to create a blog use WordPress. For the creation of blogs there are different alternatives such as Blogger, however I believe that WordPress is one of the most popular and robust solutions in its field.
WordPress doesn't necessarily need any programming skills to build your website. On the other hand, it is a open source that guarantees its growth and community support. In addition it is also very customizable thanks to its plugins and themes that can be easily developed by users. In the following lines we are going to see how to install WordPress 5.1.1 on Ubuntu 18.04.
Install WordPress 5.1 on Ubuntu 18.04 LTS
Before starting with the WordPress installation, always it is important to make sure the system is up to date. To do this, we will only have to open a terminal (Ctrl + Alt + T) and type:
sudo apt update && sudo apt upgrade
Install Apache web server
WordPress is going to need a web server that allows its execution. There are several very good ones like Ngnix or the Apache web server. For this example we are going to use the latter. In order to use it, in a terminal (Ctrl + Alt + T) we will write:
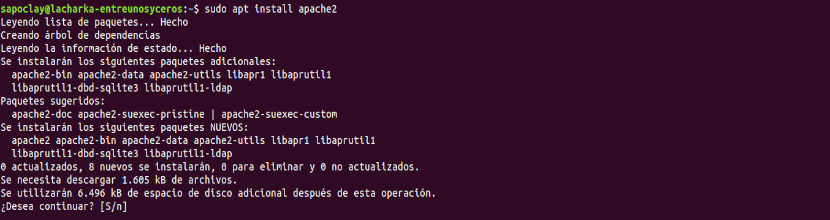
sudo apt install apache2
After installation, we will enable and start Apache web server typing in the same terminal:

sudo systemctl enable apache2

sudo systemctl start apache2
Yes now we open our web browser and we go to http://IP-SERVIDOR o http://localhost you should see an image like the following.

If you see the image above, it will be the confirmation that apache is correctly installed.

Install PHP
In order to run WordPress correctly, we will also need install PHP plus some additional packages. To install them in the terminal we will write:
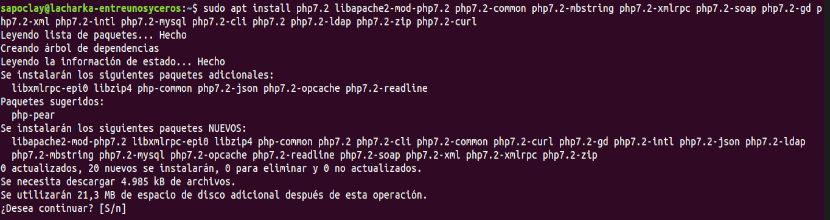
sudo apt install php7.2 libapache2-mod-php7.2 php7.2-common php7.2-mbstring php7.2-xmlrpc php7.2-soap php7.2-gd php7.2-xml php7.2-intl php7.2-mysql php7.2-cli php7.2 php7.2-ldap php7.2-zip php7.2-curl
After installation we will check if PHP is working. We will only have to create a file called test.php In the address book / var / www / html /.
sudo vi /var/www/html/prueba.php
And add the following inside:
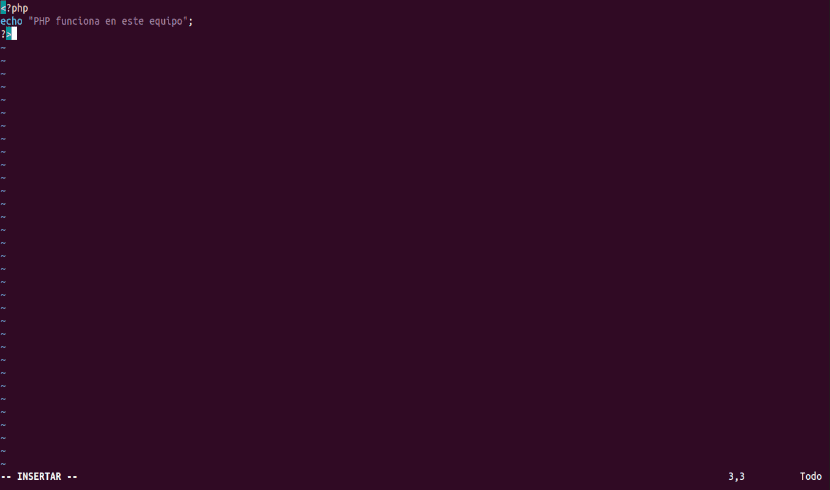
<?php echo "PHP funciona en este equipo"; ?>
After saving and closing the file, open it through the web browser at the URL http: // IP-SERVER / test .php.
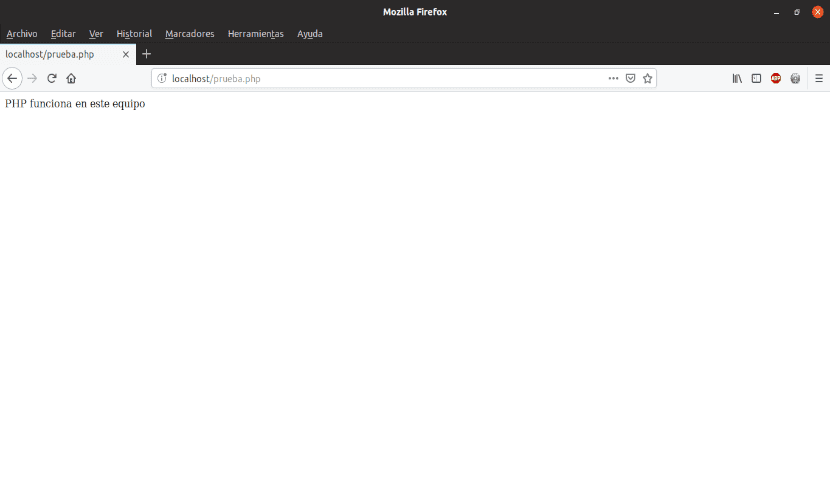
If you see the message from the file, PHP is working properly.
Install MariaDB
WordPress requires for installation and configuration an application to manage the database. MariaDB is an excellent alternative for this, since it is free and above all, stable. To install it on our computer, in the terminal (Ctrl + Alt + T) we will write:
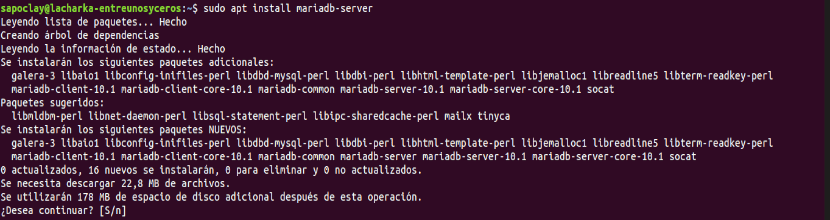
sudo apt install mariadb-server
Now we will enable and launch the service:
sudo systemctl enable mariadb

sudo systemctl start mariadb
At this point we will need configure a root key for MariaDB. Other things can also be configured. To do this, run the mysql_secure_installation script.

sudo mysql_secure_installation
Here we will be asked 5 questions to which I answered Y, Y, N, Y, Y for this example. It is advisable to read before answering.
Once MariaDB is properly installed and configured, you need to create the database and WordPress user. In the terminal we will write:
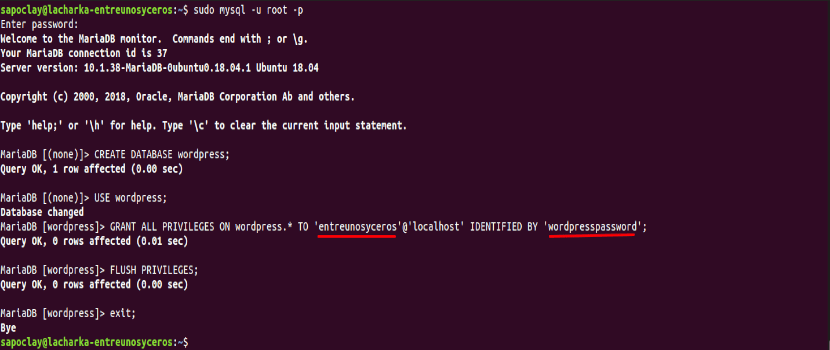
sudo mysql -u root -p
First we will create the database, call 'wordpress":
CREATE DATABASE wordpress;
Now we will activate the use of the database newly created:
USE wordpress;
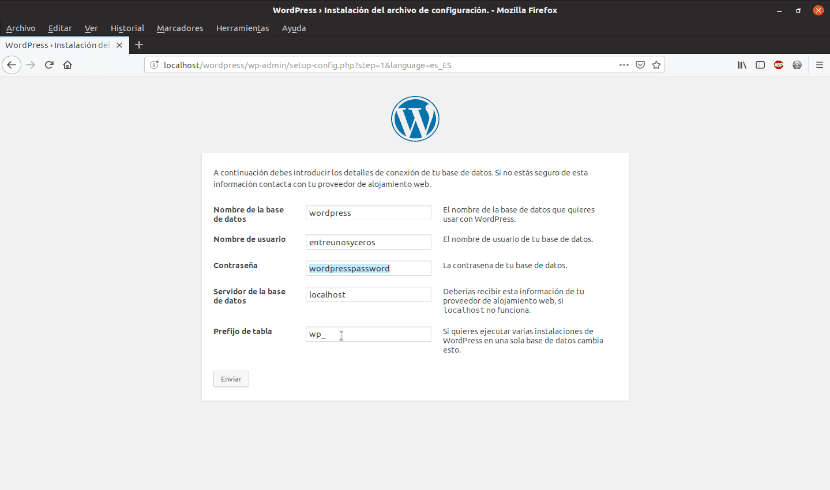
We continue giving the permissions on the database to the user 'interunosyceros'with your password'wordpresspassword":
GRANT ALL PRIVILEGES ON wordpress.* TO 'entreunosyceros'@'localhost' IDENTIFIED BY 'wordpresspassword';

FLUSH PRIVILEGES;

exit;
Now, we can install WordPress.
Install WordPress 5.1
First we are going to download WordPress. In a terminal (Ctrl + Alt + T) by typing:
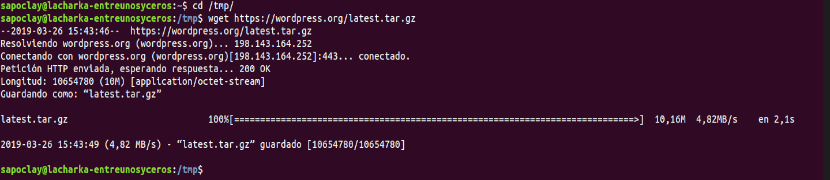
cd /tmp

wget https://wordpress.org/latest.tar.gz
Now unzip the file Discharged:
tar -xvzf latest.tar.gz
At this point, we will move the folder that was just created to / Var / www / html. Then we will change the owner from the folder and we will assign permissions.

sudo mv wordpress/ /var/www/html/
sudo chown -R www-data:www-data /var/www/html/wordpress/
sudo chmod 755 -R /var/www/html/wordpress/
At this point, we can complete the installation from the web interface.
Completing the installation
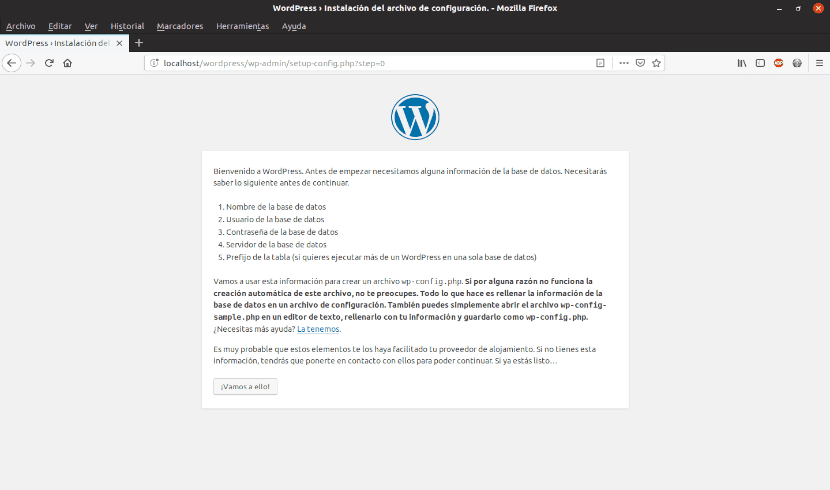
Now, through the web interface, you need to complete the installation. We open the URL http: // IP-SERVER / wordpress and you will see the following.
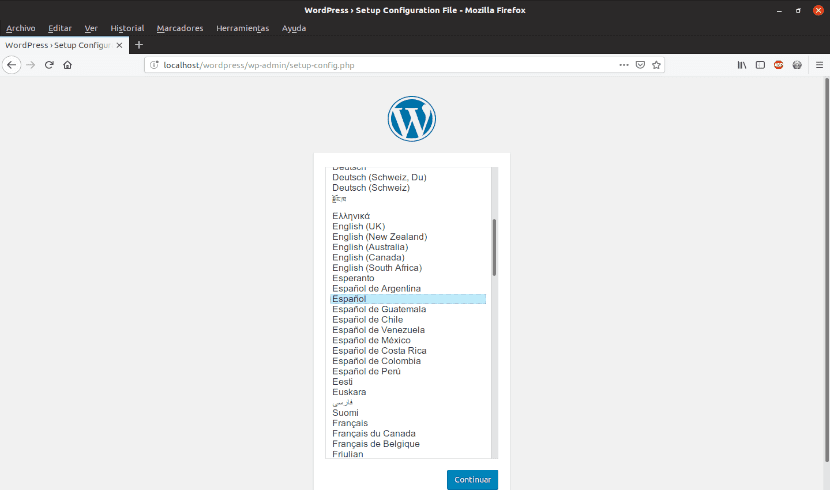
The first step will be select language for the installation. After which WordPress will inform us of the data that we will have to have on hand on the database that we created before.
In the next step, you will have to write the corresponding information to the database.
We continue with the installation.

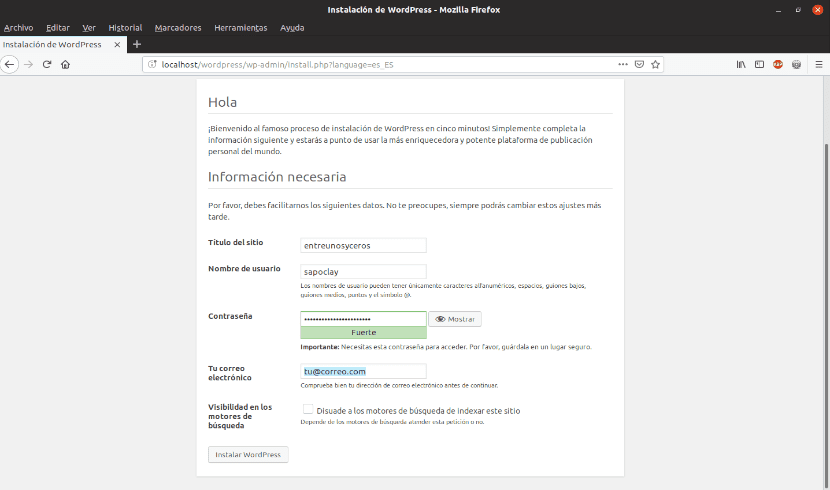
At this point, we will have to write the basic information of the website or blog you want to create. You also have to create username and password.
After finishing the installation, WordPress will notify us that everything has gone well by means of a message like the following:
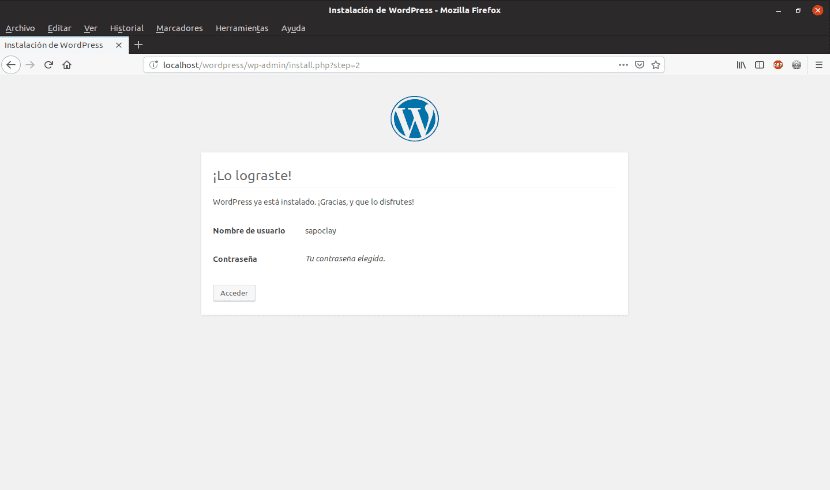
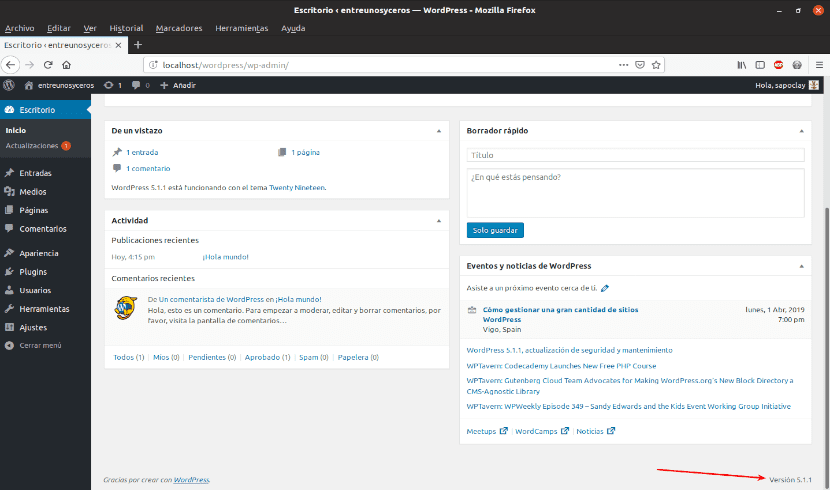
When you click on «Sign in«, You will be redirected to the screen to log in, with the administrator user and the password that we define in the WordPress installation. When you log in you will see the administration panel, if you scroll down, you will see the current version 5.1.1.
If you are interested in creating a blog or website, doing it through WordPress is a very good option. Its installation is simple and free, but without losing robustness and power.
Hello,
I have followed your tutorial step by step, and when I try to load the page localhost / wordpress I get the error:
«Your PHP installation appears to be missing the MySQL extension wich is required by wordpress»
I use ubuntu server 18.05 on a virtualbox virtual machine.
I have googled and all the solutions go through reinstalling php7.2-mysql, which I have already done ..
Any suggestions?
Thank you