In the next article we are going to take a look at the Qt Software Development Kit (qt sdk). This includes QtCreator IDE y Qt Framework Libraries with complete code examples, among other things. If you are an Ubuntu 19.10 user and want to develop GUI applications with Qt, you will need to install this Qt SDK with a C ++ compiler.
Qt is not a programming language by itself. It is actually about a framework written in C ++. This is a framework for the development of cross-platform applications for desktop and mobile. Installing it in 19.10 is slightly different from how it was done in 18.04. We will need to configure the compiler GNU GCC C++ on Ubuntu 19.10. After setup, you will have a complete and ready Qt SDK with Qt Creator.
It has to be said that Qt is a free and open source widget toolkit for creating graphical user interfaces. As well as cross-platform applications running on various hardware and software platforms such as Gnu / Linux, Windows, macOS, Android with little to no code base change.
The Qt project is open source and involves individual developers and organizations working to advance Qt. Is available under both commercial and open source licenses GPL 2.0, GPL 3.0 and LGPL 3.0.
Qt Creator is a cross-platform IDE programmed in C ++, JavaScript and QML which is part of the SDK with which you can develop Graphical User Interfaces (GUI for its acronym in English) with the Qt libraries. Qt Creator offers intelligent code completion, an integrated help system, debugger and also the integration of the main version control systems (for example git or Bazaar).
Install Qt SDK on Ubuntu 19.10
Install the compiler
The compiler that we are going to need is called g ++. We will be able to install it by opening a terminal (Ctrl + Alt + T) and typing in it:
sudo apt install g++
Install Qt SDK
This is the complete Qt. At all tools and source code examples are included. For the installation we will have to open a terminal (Ctrl + Alt + T) and write in it:

sudo apt install qt5-default qtcreator qtbase5-examples qtbase5-doc-html
Basic configuration of Qt Creator
Once the installation is finished, the first thing we will have to do is start our newly installed program. Next we will have to scroll to the Tools → Options menu.
Now we will have to click on the Option Kits. Finish by selecting the Kit tab and selecting Manual / Desk Kits.

In the window there will be select a compiler, even though the system can detect it automatically. It has to be said that this IDE needs a compiler configured as g ++ to build and be able to show the results of your projects.
In the "Compiler" section, we can see the C ++ option. Here we will not have more than select GCC C ++ 64 bit, if it is not already selected. To finish you just have to press «Apply ».
A basic test

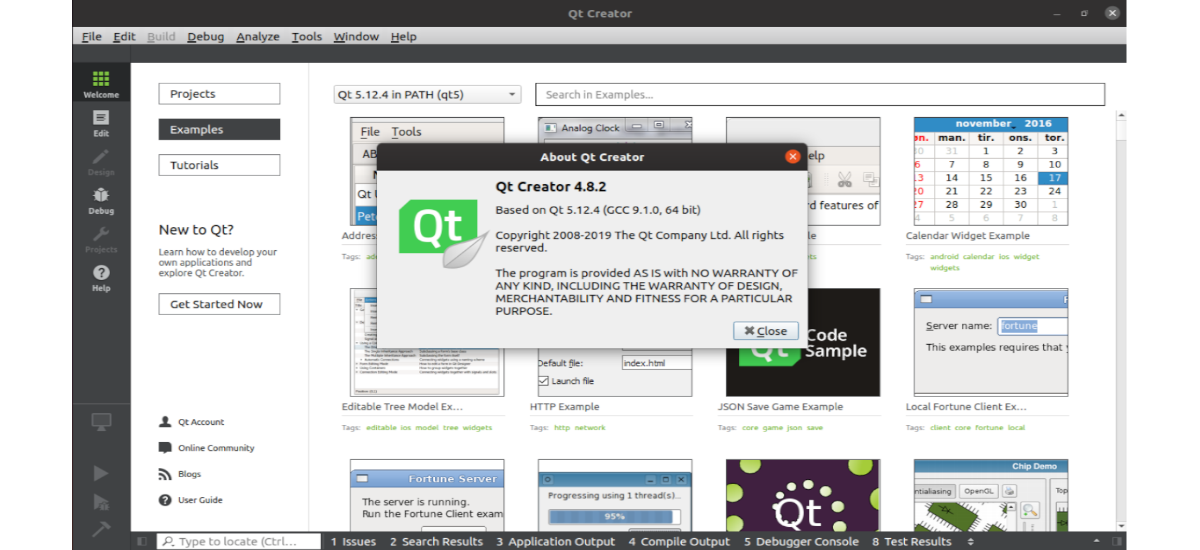
After all the steps above, we should now be able to start programming with Qt. During installation, also we install all the examples. These should be available from the main page of Qt Creator.

As with the code samples, all tutorials must be visible also on the main page. So accessing all of them will be very easy.
To do a basic test, we will only have to choose one of the examples from among all those that we will find available. Then we can compile it by hitting Ctrl + R, or using the green '>' button.
It should compile successfully, although we may need to select a location for this example.

We will be able to select it from the button "Unconfigured”Which can be seen in the previous screenshot.

This button will open a new window like the previous one. In it we will see within the option "Build & Run”→“Build”Marked in red, this possible error in the checkbox "Build directory". There will be no more to do click on the "Browse" button and select the folder.

After this we should be able to compile the example without errors. For more information, you can consult the Qt site.