
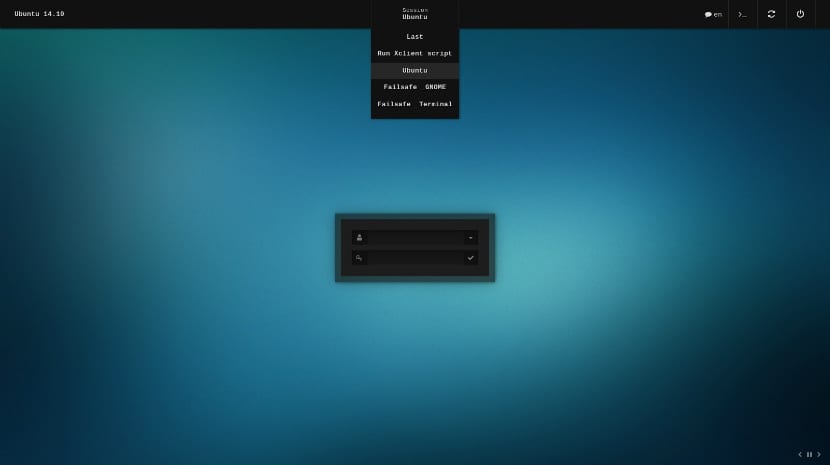
Display Manager or in Spanish known as login manager, is a graphical interface that is displayed at the end of the boot process, instead of the default shell. There are different types of managers Among which we can find from the simplest ones without any type of graphical interface to some with a good design.
In this little section I will show you how to change our startup manager and I will also share some of the most popular ones. that exist for our system.
Before starting, I must warn you that if you have no notion of what you are going to do, take the trouble to first carry out this process from a virtual machine, since if you do not have the knowledge and above all the patience to fix a bug, You can be left without your current manager and you will have to start a user session from a TTY.
How to change our login manager?
Depending on the flavor you have of Ubuntu, it will be the startup manager you will have, in the case of Ubuntu 17.10 as you will know, return to Gnome with which the startup manager is GDM.
Regardless of that, we only have to identify which one we are using, for when we want to change it or otherwise return to it, let us keep in mind what it is.
To change our manager we just have to open a terminal and execute the following command:
sudo dpkg-reconfigure tu_gestor_de_sesion_actual
Now I will go on to show some of the most popular managers.
KDM
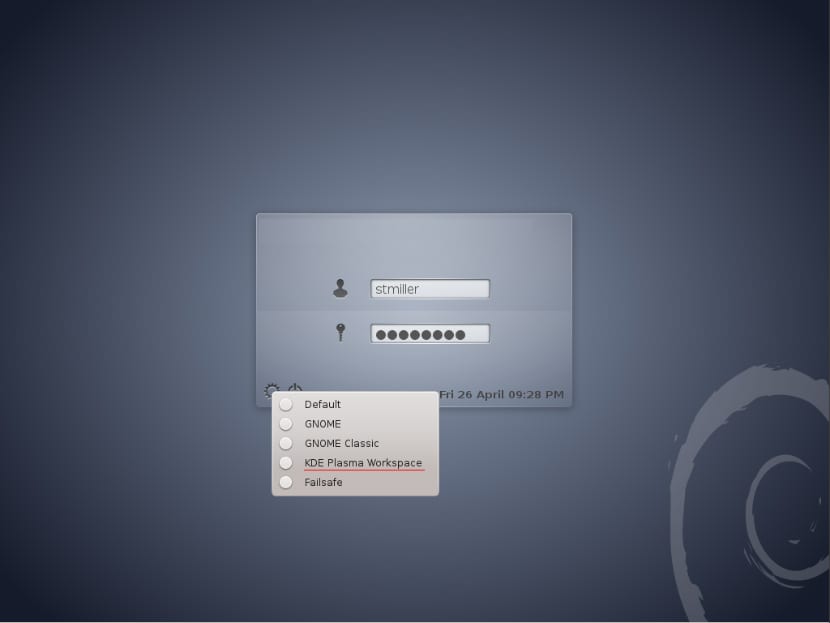
KDE DisplayManager is a login manager developed by the KDE team for their desktop environment, this manager allows the user to choose a desktop environment or a window manager when logging in. KDM uses the Qt application framework. It is configurable through the KDE system configuration; its appearance can be customized by the user.
To install it in our system we do it with the following command:
sudo apt-get install kdm
LightDM
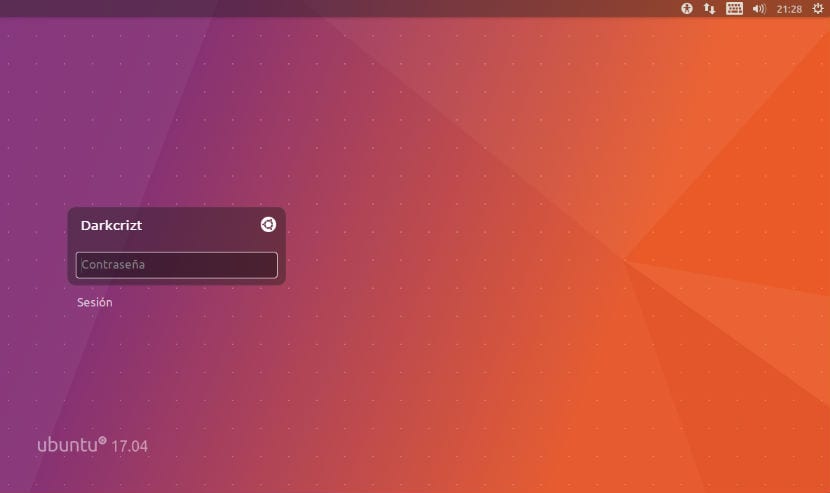
LightDM
LightDM It is the screen manager that was used in versions prior to Ubuntu 17.10, Launches X servers, user sessions, and the login screen, built to be lightweight, fast, adaptable to user needs, and work with a variety of desktop environments.
To install it, we just have to execute the following command in a terminal:
sudo apt install lightdm
LXDM
LXDM is a lightweight display manager for the LXDE desktop environment . The user interface is implemented with GTK + 2. This manager is quite simple so it is recommended for low-resource teams.
To install it we execute the following:
sudo apt-get install lxdm
SDDM
SDDM is another lightweight display manager this one was written from scratch in C ++ 11 and supports theme creation via QML. This manager is gaining popularity over time. It is the successor to KDE and is used in collaboration with KDE plasma.
To install it, we just have to execute the following command:
sudo apt-get install sddm
For versions prior to Ubuntu 15.10, we must add a repository to our system and install it with:
sudo apt-add-repository ppa: blue-shell / sddm

sudo apt-get update

sudo apt-get install sddm
MDM
MDM it is a fork of GDM it is fully compatible with the old GDM themes available on websites such as gnome-look.org.
To install this manager we must add a repository to our system, we must open a terminal and execute the following command
sudo add-apt-repository ppa:nilarimogard/webupd8
Now we just have to update our list of repositories with:
sudo apt-get update
And finally we only proceed to install the manager with:
sudo apt-get install mdm
These some of the most popular, for my part within the ones that I liked the most, were mdm and sddm. If you know of any other manager that we can include in this list or you simply want to share with us, do not hesitate to share it with us in our comments section.
Greetings: I recommend to all who are reading this page that NEVER follow the instructions that were described. ALL examples shown leave the system hopefully UNSTABLE. On more than one occasion the desktop just disappeared. I tell the author that before publishing something, check what he is publishing.
It is something typical of this page, they only dedicate themselves to copying articles from other sites.
I have a problem, I have ubuntu 18.04 installed and I installed the ligthdm for the login, I joined the computer to the company network and when I started the session it does not give me the option to change to another user other than the main user with which I did the installation. I want to enter with so-and-so@empresa.com and it does not give me the option, it only shows the Pedro Perez option.
What I can do ??
You have specified your Hostname, configured your DNS and also have SAMBA, LDAP, WINBIND, KERBEROS and PAM configured with which you will have your shared resources and they will be the ones who help you with what you need.
Use the methods mentioned here and if it worked.
After using the command and choosing the startup manager, the pc must be restarted.
Once this is done, you must choose the desktop environment to use on the login screen.
Everything worked correctly for me ... without any problem ...