
The Art of Customizing GNU/Linux: Using Conkys on the Desktop II
Continuing with, the series of posts on the “art of customizing Linux”, and specifically using Conky's, in this new entry we will delve a little more about the use of the Conky called Conky Harfo. That as we stated before, we have implemented it on a current customization based on Ubuntu of the Respin MiracleOS (MX Linux Distro).
Basically, we will deal with the specific and precise changes made, both graphically and via text, to give it the appearance achieved and shown in our previous installment. And an additional one for the enjoy and delight of all those interested in these conflicts.
The Art of Customizing GNU/Linux: Using Conkys on the Desktop
And, before starting this series of posts on the “art of customizing Linux”, for example, using Conky's, we recommend exploring the following related contents, at the end of reading this post today:
The art of customizing GNU/Linux using Conkys
How to use the Conkys to improve our art of customizing GNU/Linux?
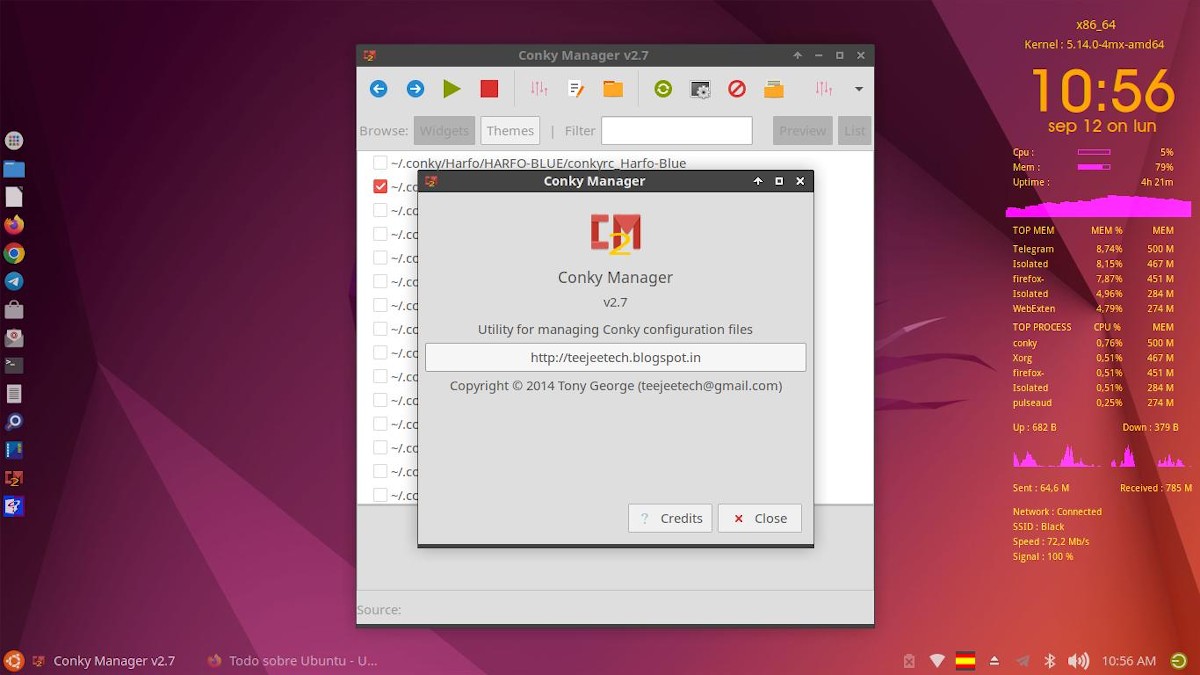
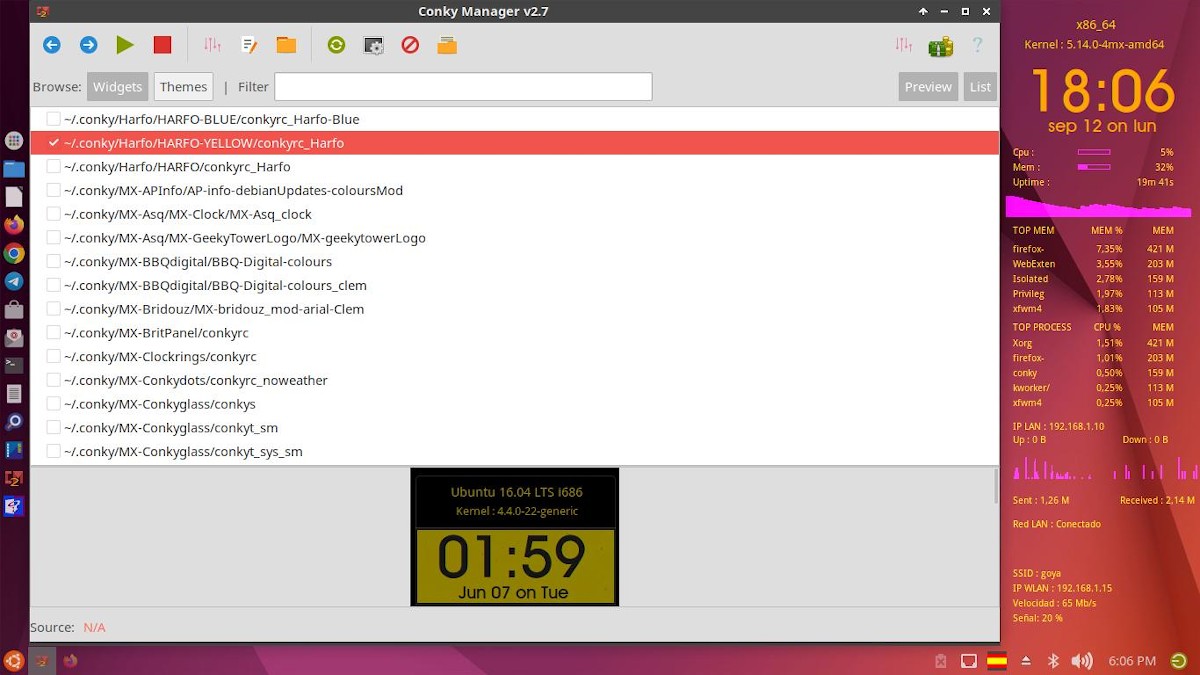
Step 1:
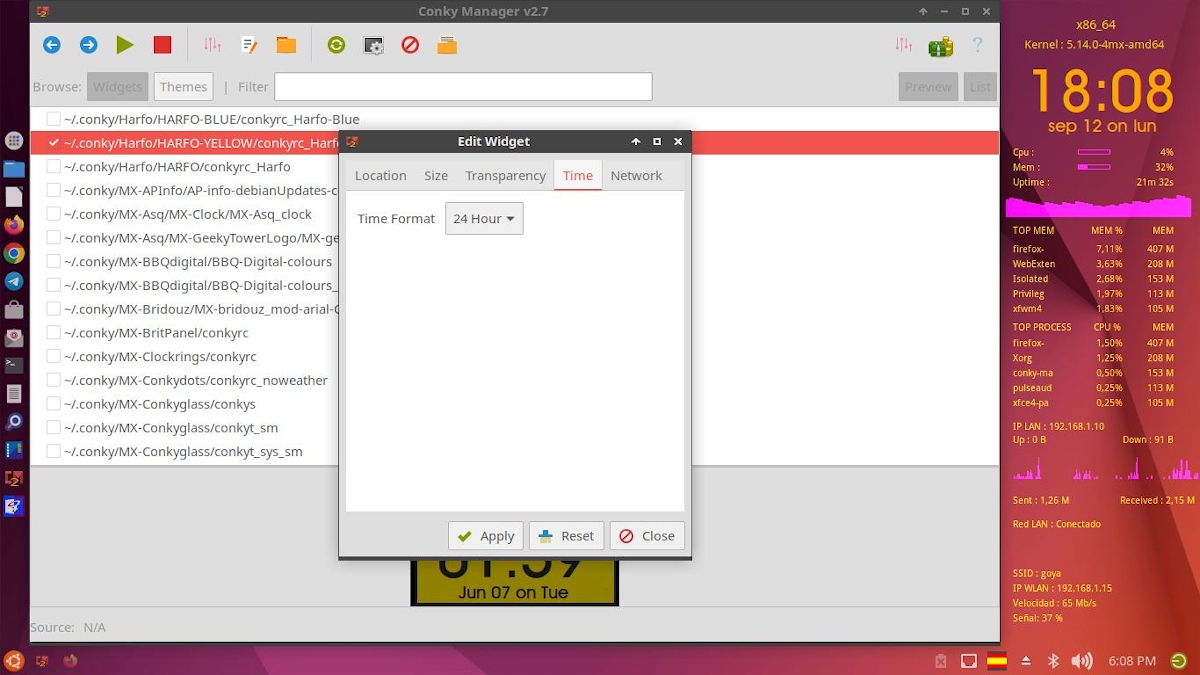
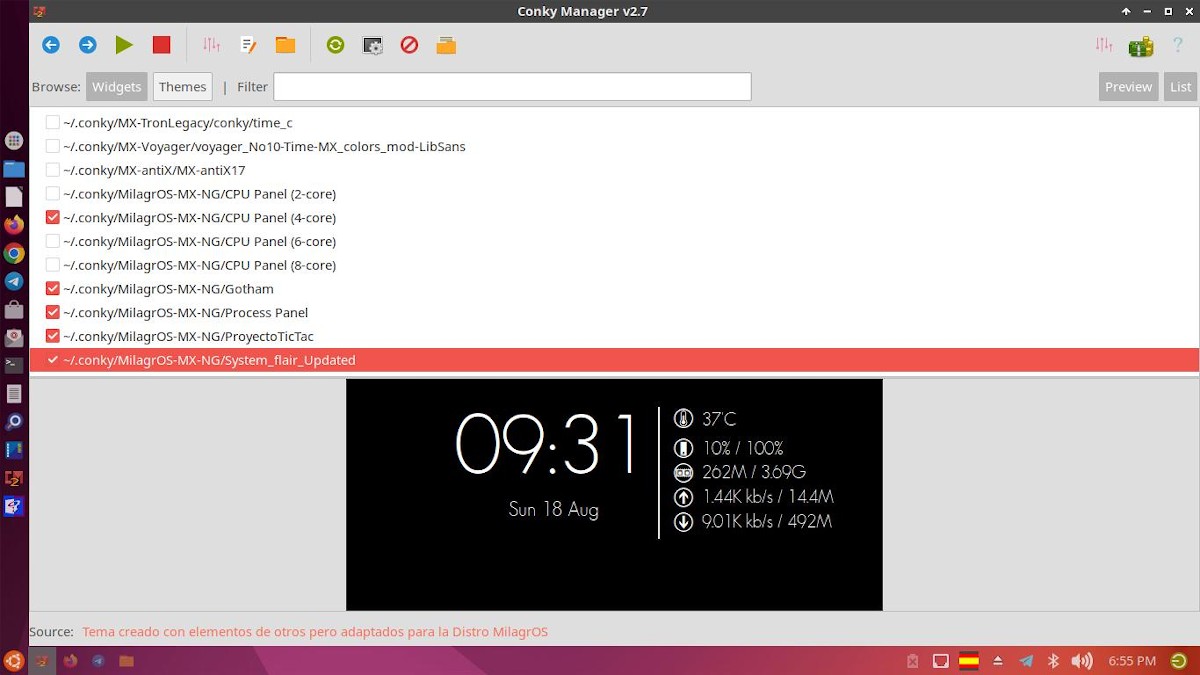
We execute Conky Manager about our GNU / Linux distribution, then select and activate the Conky Harfo.
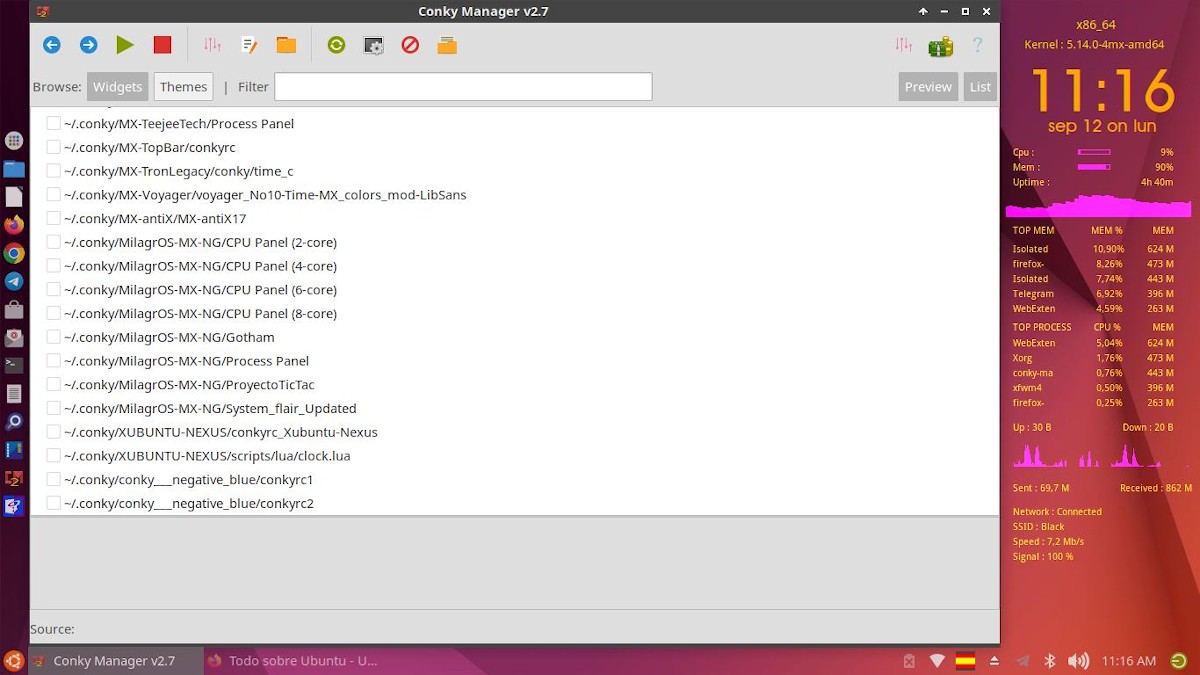
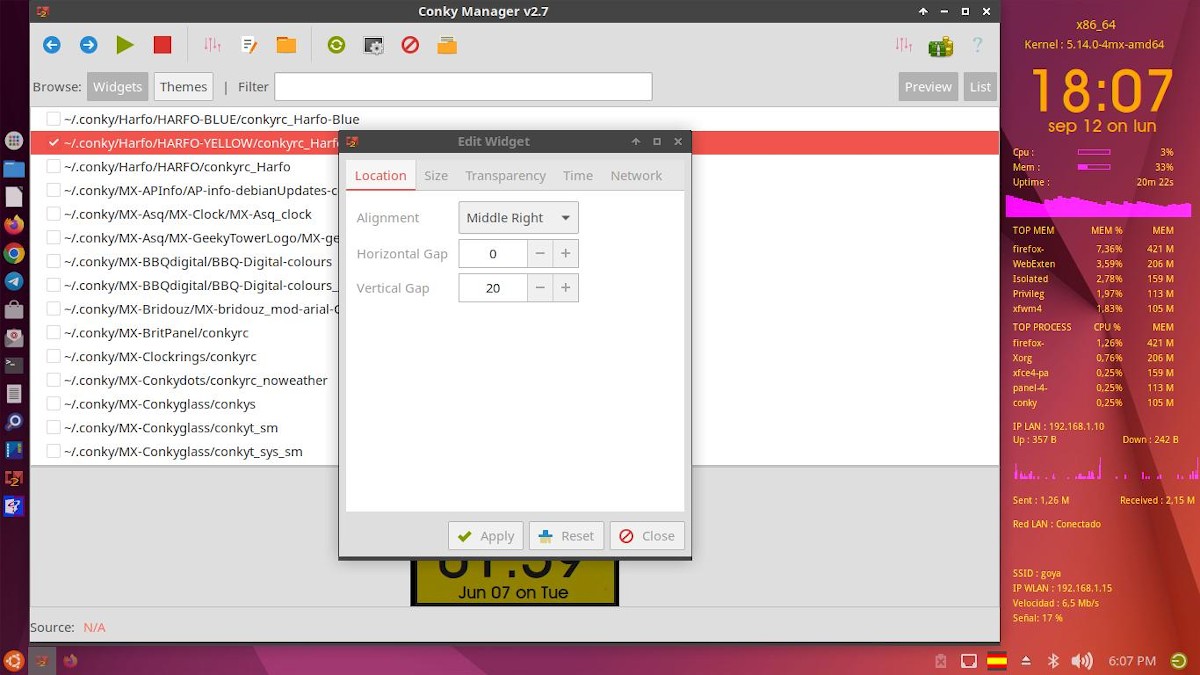
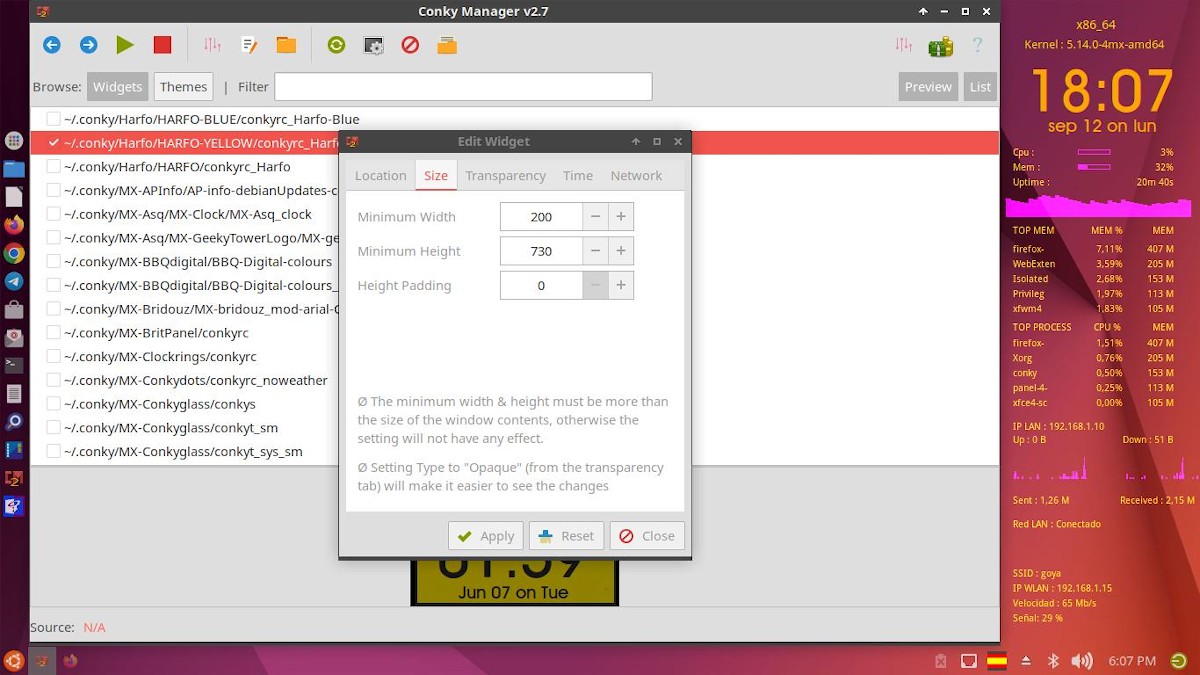
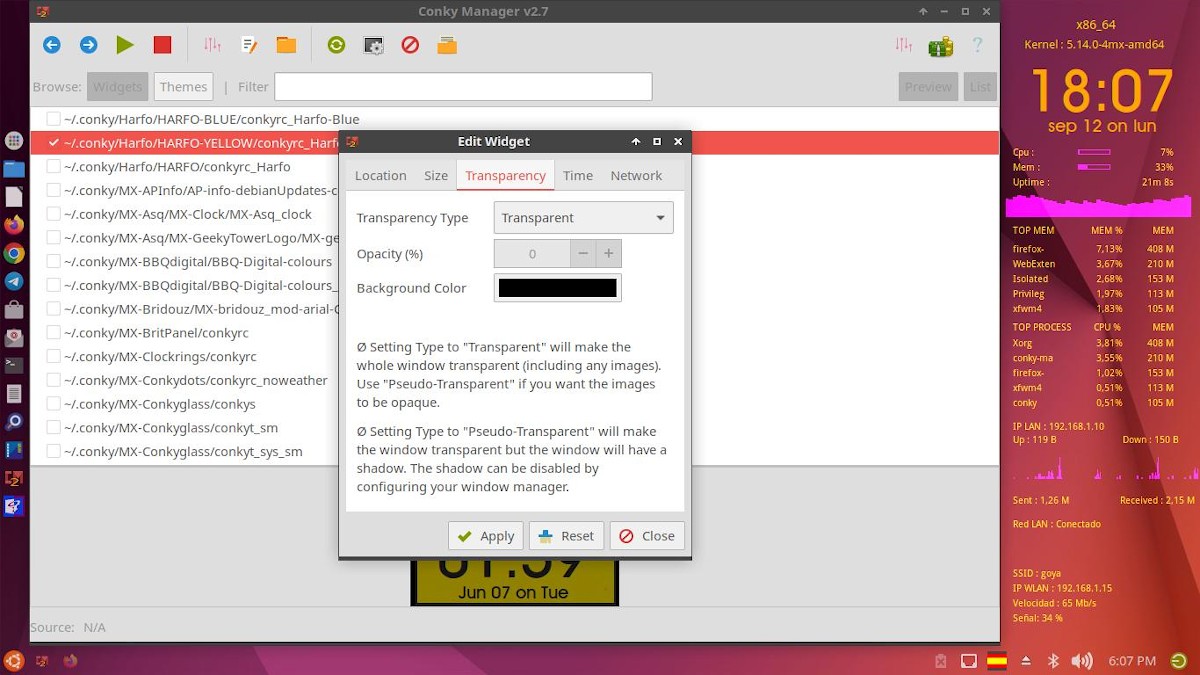
Step 2:
Next, we execute the following changes via Edit Widget button and also to position and change the Conky Harfo, as it appears next to the conky manager app.

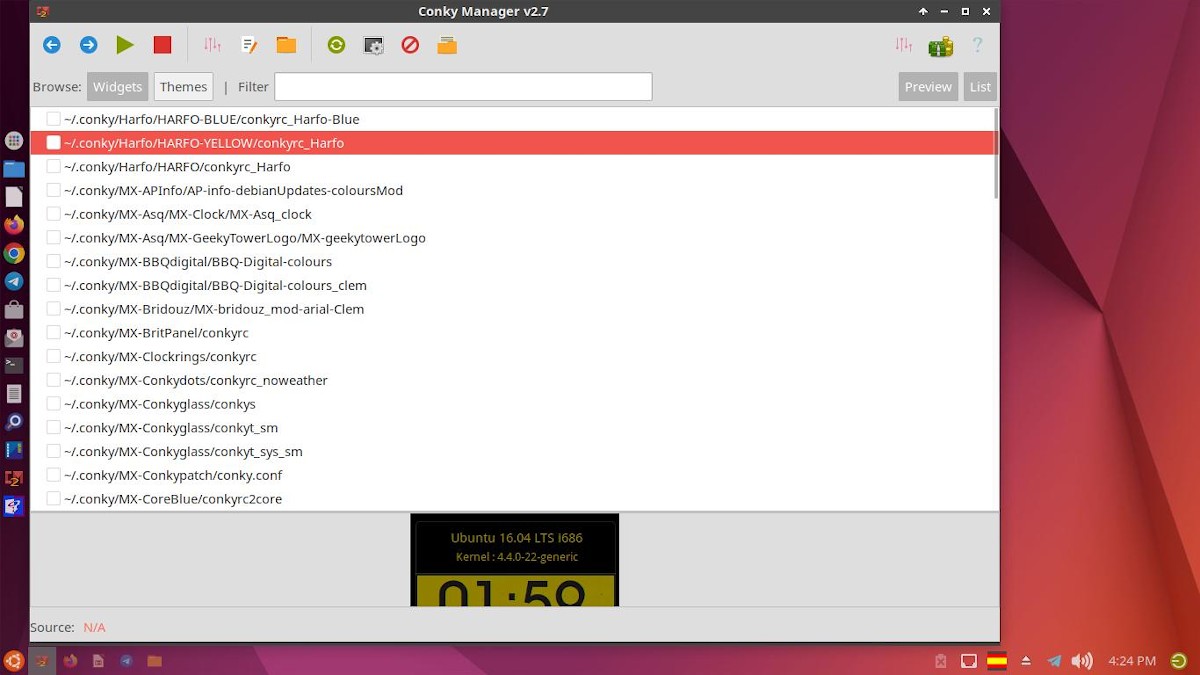
Step 3:
Then we press the Edit text file button, and on it we proceed to make the desired changes. For example, I did the following:
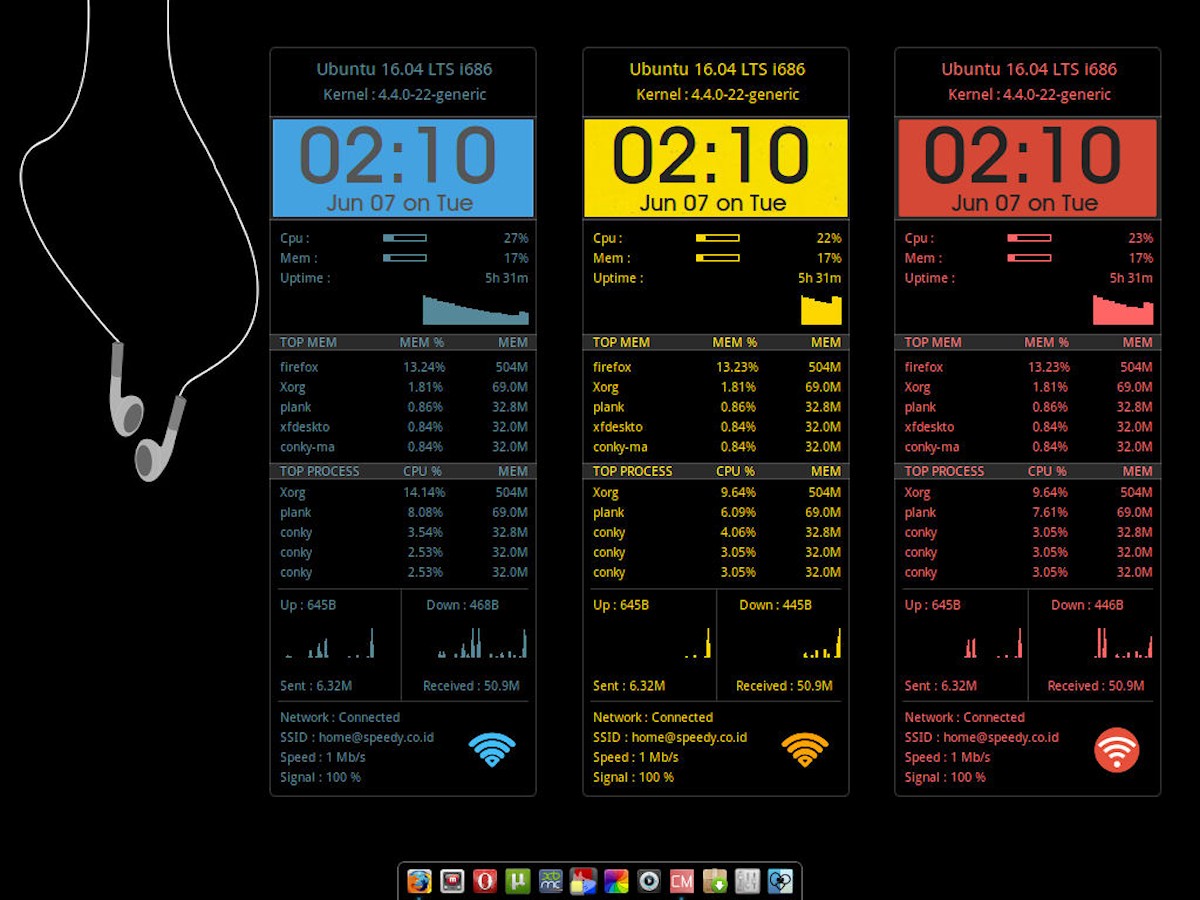
- Create 2 color schemes, color1 for orange and color2 for magenta.
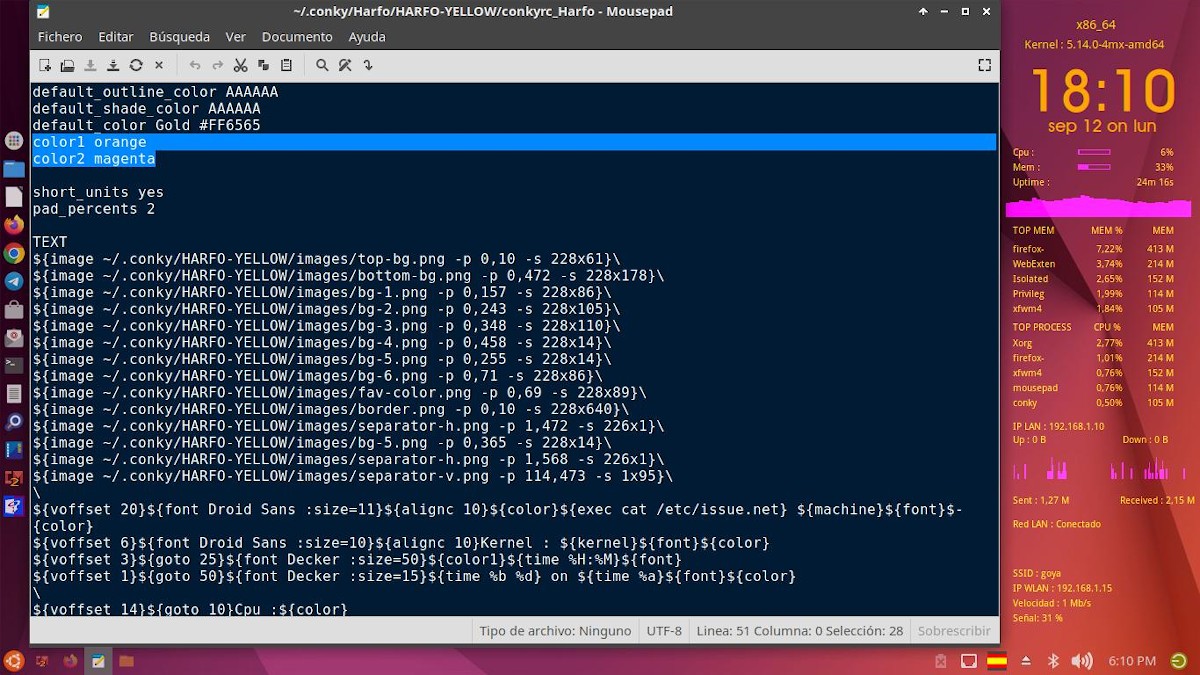
- Then, insert the ${color2} tag in the position shown to paint the first graphic bars magenta (a color similar to fuchsia, between purple and pink).

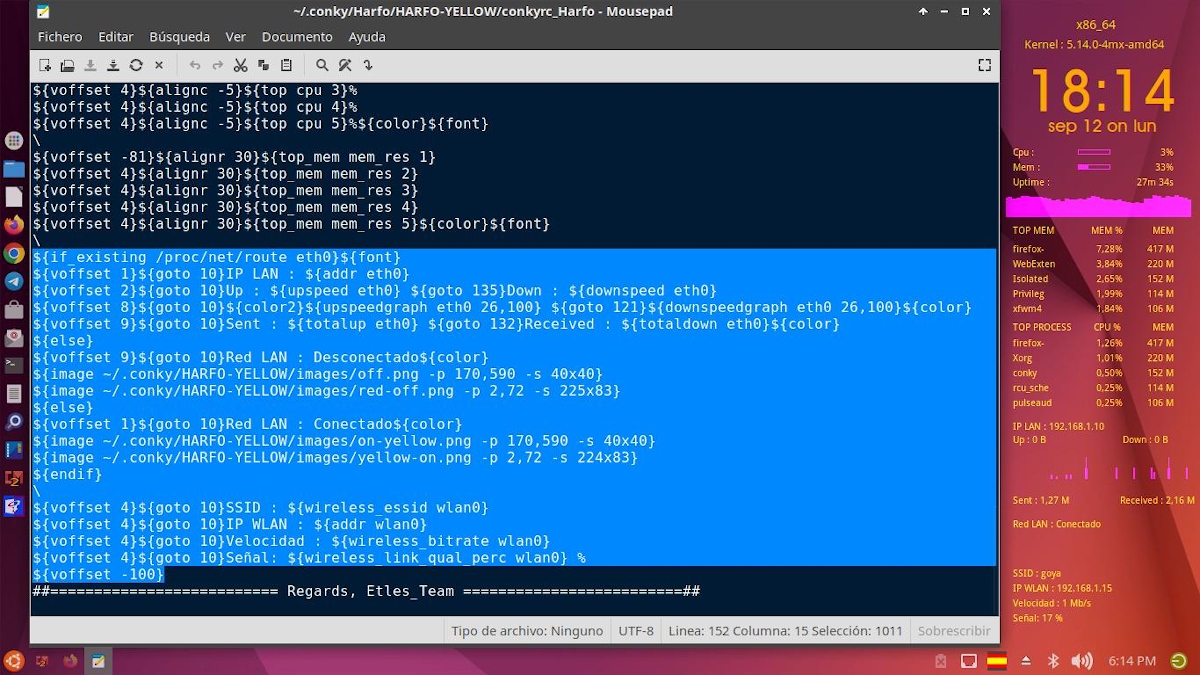
- Finally, in the section of the code corresponding to the network, we added some lines of code to display information on the LAN and WLAN network interface, since, by default, an unskillful network interface nomenclature came. Here, you can already put some translated labels, if some want it.
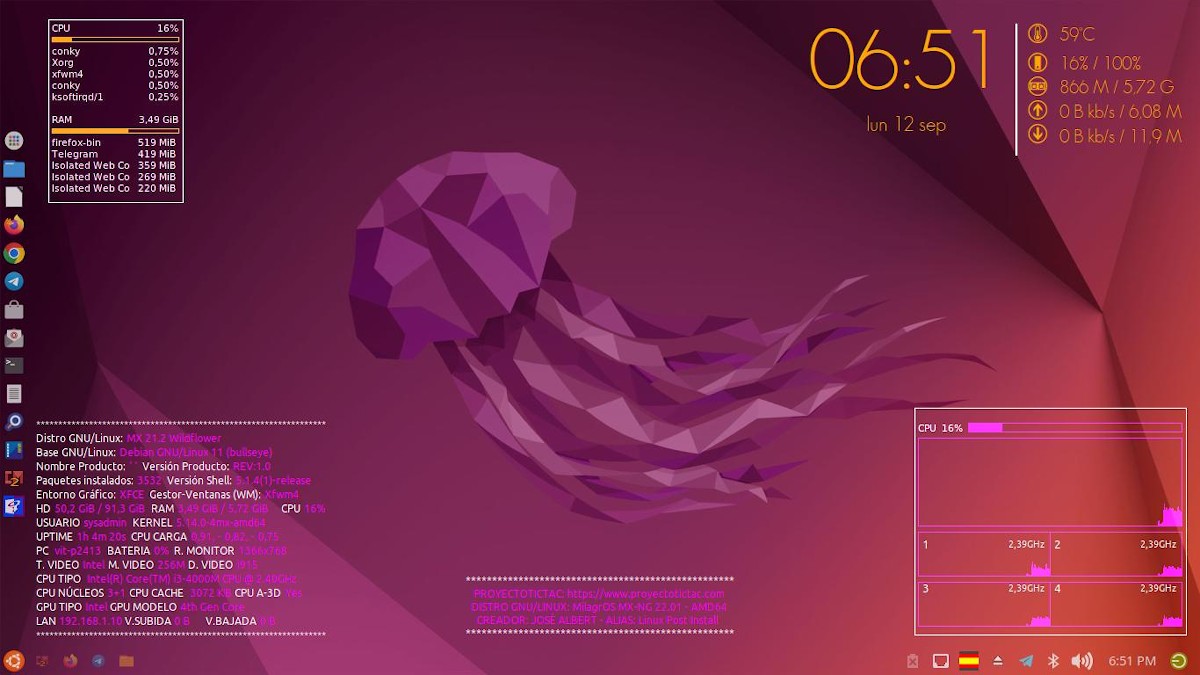
Step 4:
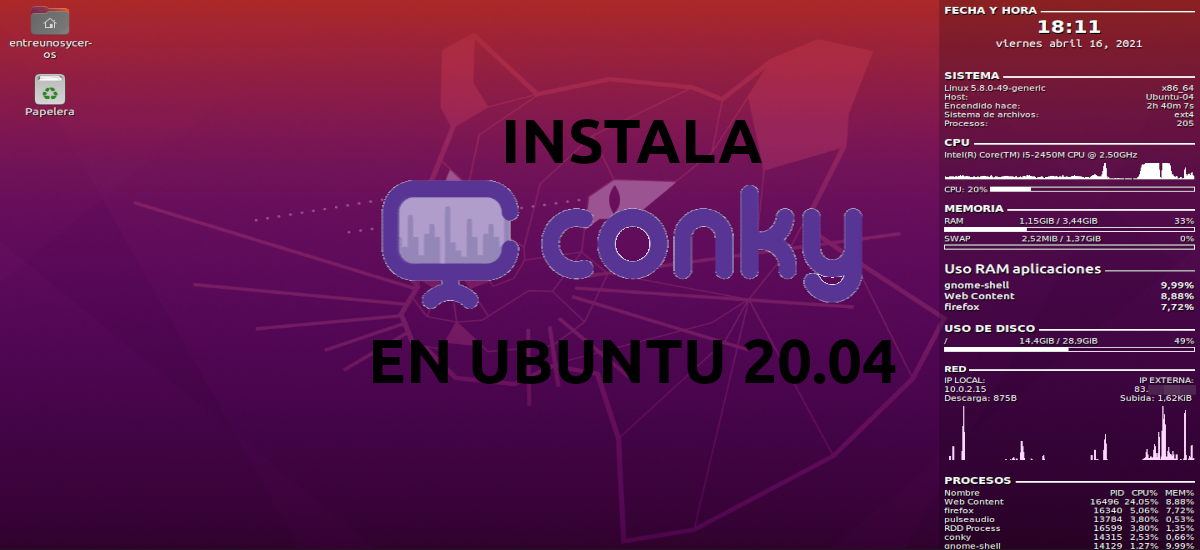
And as we said at the beginning, a additional conky settings adapted to me Respin Miracles, for him enjoy and delight of all those interested in these conflicts.


Summary
In summary, manage (change/optimize) the Conkys graphically or from your configuration files, it can be very fast and easy, when we learn to identify the structure, parameters and values of the Lua code implemented. So, I hope that this post about the “art of customizing Linux” be to the liking and usefulness of many. And soon, we will see new techniques and applications available to achieve this goal.
If you liked the content, leave your comment and share it with others. And remember, visit the beginning of our «site», in addition to the official channel of Telegram for more news, tutorials and Linux updates. West group, for more information on today's topic.
interesting