
In the next article we are going to take a look at Askbot. This is an open source software used to create question-and-answer-oriented internet forums. The site started in July 2009, and was initially similar to Stack Overflow or Yahoo! Answers. It is mainly developed and maintained by Evgeny fadeev.
Askbot is an open source question and answer (Q&A) platform that is based on Python and Django. With Askbot, any user can create their own question and answer platform. In the following lines we will see how Askbot can be installed on Ubuntu 20.04 or 18.04.
Thanks to this software, any user can create an efficient question and answer knowledge forum, in which the best answers will be displayed first, categorized by tags. It also includes a user control with reward systems, which give users karma for posting good and relevant information.
How to install Askbot on Ubuntu 20.04?
Install prerequisites
To install Askbot, first of all we must install in our system some necessary packages for a correct operation. We will only need to open a terminal (Ctrl + Alt + T) and execute the commands:
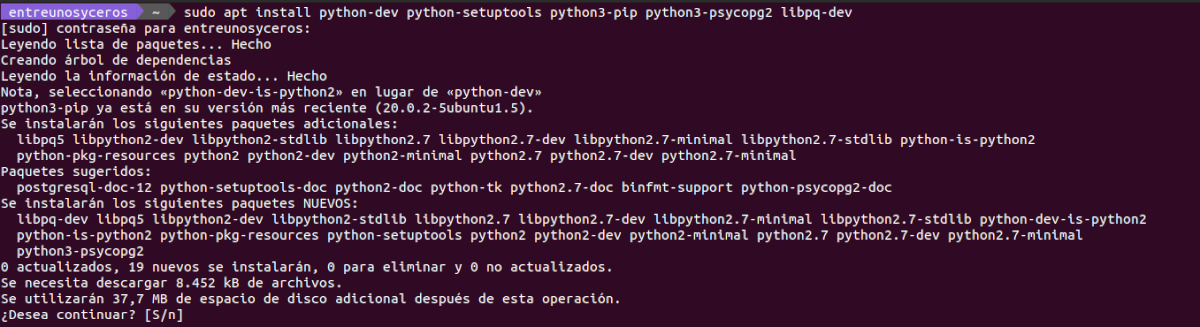
sudo apt update; sudo apt install python-dev python-setuptools python3-pip python3-psycopg2 libpq-dev
Install PostgreSQL
Now that we have the previous packages installed, let's to install PostgreSQL. To do this, in a terminal (Ctrl + Alt + T) the command to execute will be the following:

sudo apt install postgresql postgresql-client
After installing PostgreSQL, the following commands can be used to start and check your status:

sudo systemctl start postgresql.service

sudo systemctl status postgresql.service
Create PostgreSQL User Password
After installing PostgreSQL, it is a good idea create or change the default Postgres user password. To do this, we simply need to run the following command in the bash shell:

sudo passwd postgres
The above command should ask us to create a new password for the postgres user. After setting a new password, every time we want to access the PostgreSQL interactive shell, we will be asked to enter the password we just entered.
Create the PostgreSQL database
Now that PostgreSQL is installed, we will have to use the following commands to connect us to your shell console. This will ask us to write the password that we wrote in the previous step:

su - postgres

psql
In the shell console, we are going to type the following to create a new database called askbot:

create database askbot;
At this point, the next thing we'll need to do is create a database user named askbotuser with a new password. We will achieve this by writing:

create user askbotusuario with password 'tu-contraseña';
Next, we will have to grant to askbotuser full access to the database of askbot. Then we just have to exit the shell:

grant all privileges on database askbot to askbotusuario;

\q

exit
After creating the above database and user, let's edit PostgreSQL configuration file and enable md5 authentication. We can do this with our favorite editor.
sudo vim /etc/postgresql/12/main/pg_hba.conf
Inside the file, at the end of it, we are going to edit the lines highlighted in the following screenshot screen to refer to md5.

After editing the above file, we save it and exit. Now we will have to restart PostgreSQL with the command:
sudo systemctl restart postgresql
Install Askbot
To install Askbot, we will need to create a dedicated user account. We can achieve this by executing the following commands to create a new account called askbot:
sudo useradd -m -s /bin/bash askbot

sudo passwd askbot
Then we will make sure the user can run sudo as root:
sudo usermod -a -G sudo askbot
When we finish, we are going to execute this other command in the terminal to install Python virtual environment (virtualenv):

sudo pip install virtualenv six
At the end of the installation, we will switch to the account of askbot:
su - askbot
We continue creating a new virtual environment for askbot:

virtualenv askbot
The next step will be switch to the virtual environment and activate it:

cd askbot

source bin/activate
Then we will install the Askbot, Six and PostgreSQL modules:

pip install --upgrade pip

pip install six==1.10.0

pip install askbot==0.11.1 psycopg2
After the installation we will create a directory called miapp for askbot and configure it:
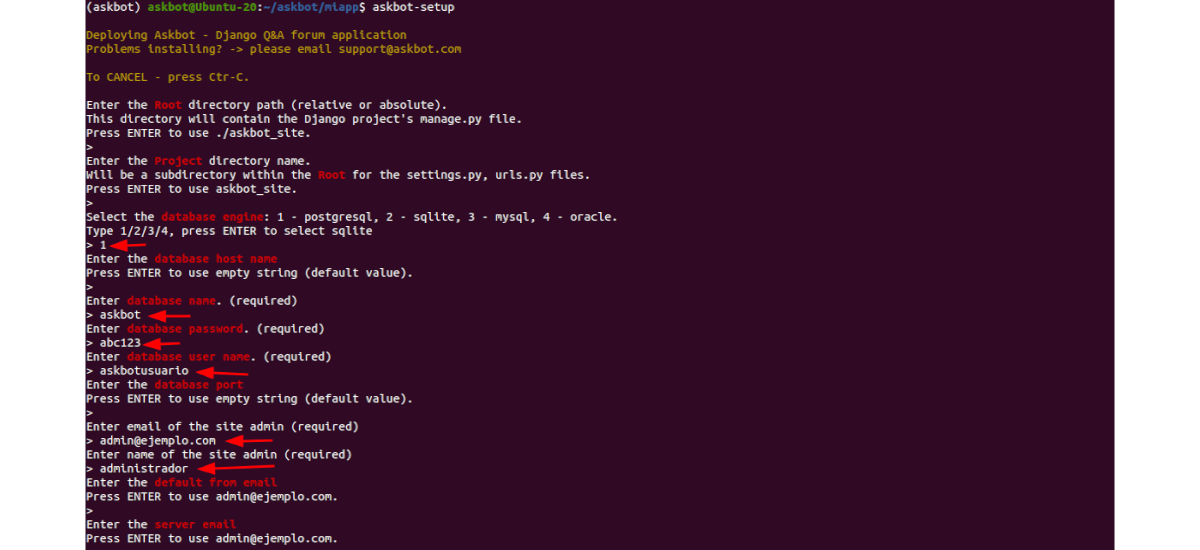
mkdir miapp

cd miapp

askbot-setup
The configuration command will request the details of the environment, as you can see in the following screenshot:
Then we will complete the configuration running the commands:
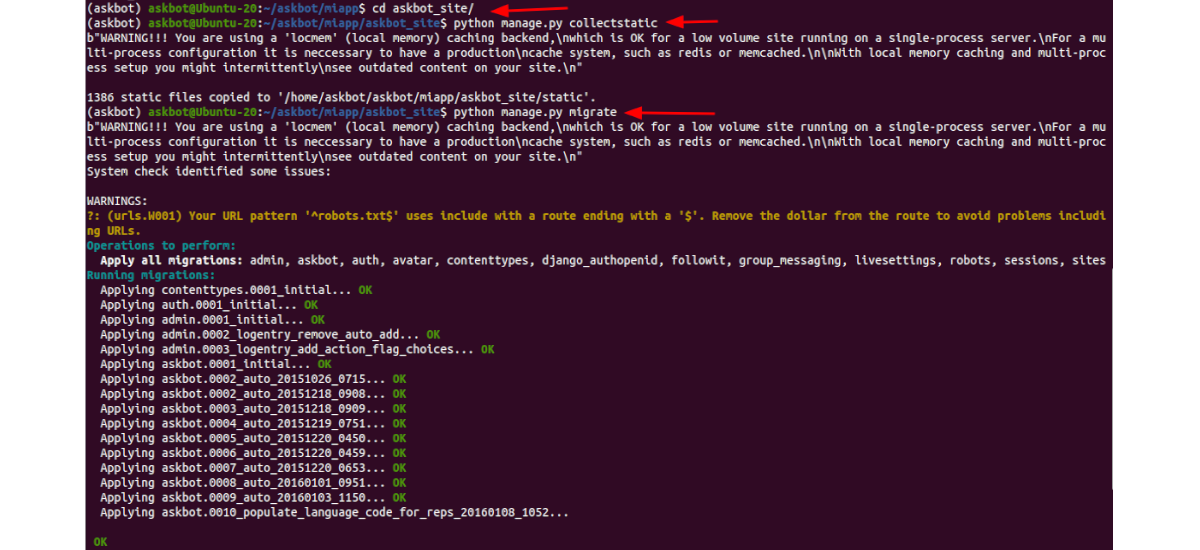
cd askbot_site/

python manage.py collectstatic

python manage.py migrate
Launch the app
Now for start the application server, in the terminal (Ctrl + Alt + T) we will use the command:
python manage.py runserver --insecure 0.0.0.0:8080
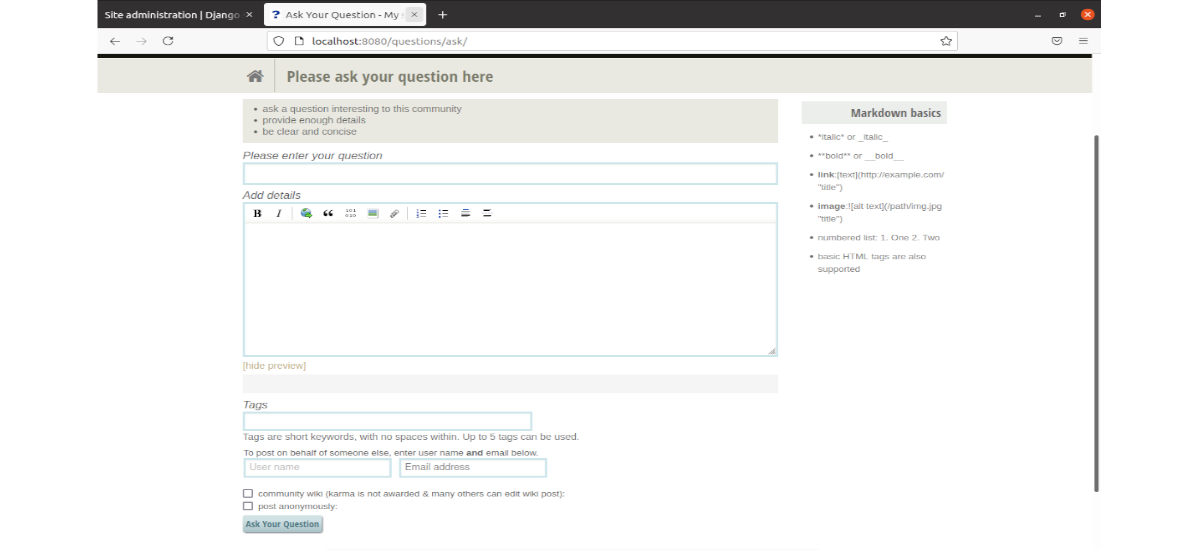
At this point we should be able to access our app via url:
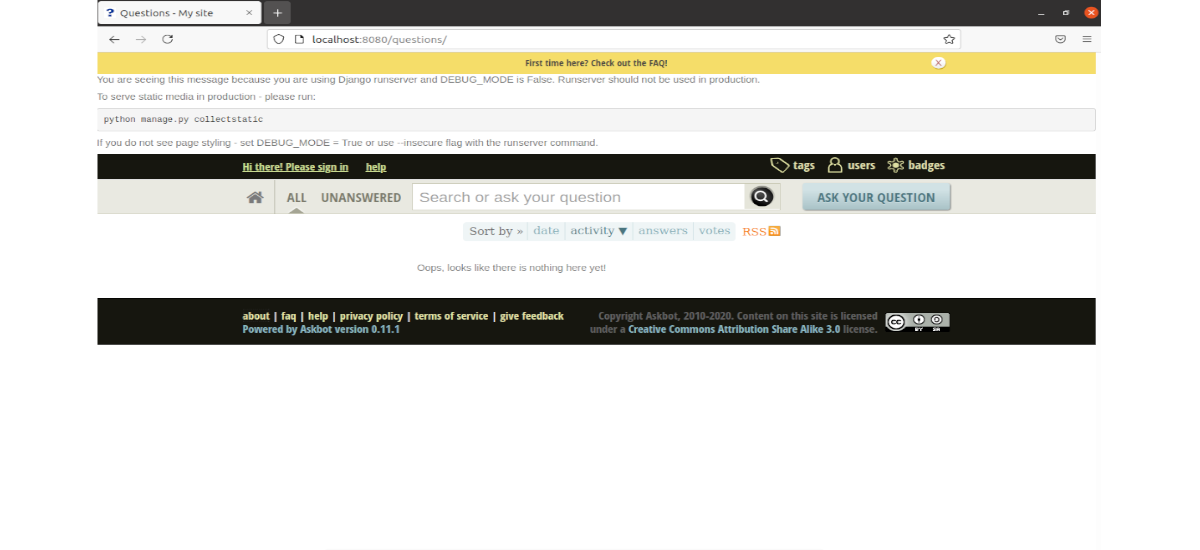
http://localhost:8080
We can also log into the backend as administrator with the following url. Although we will have to use the administrator credentials:
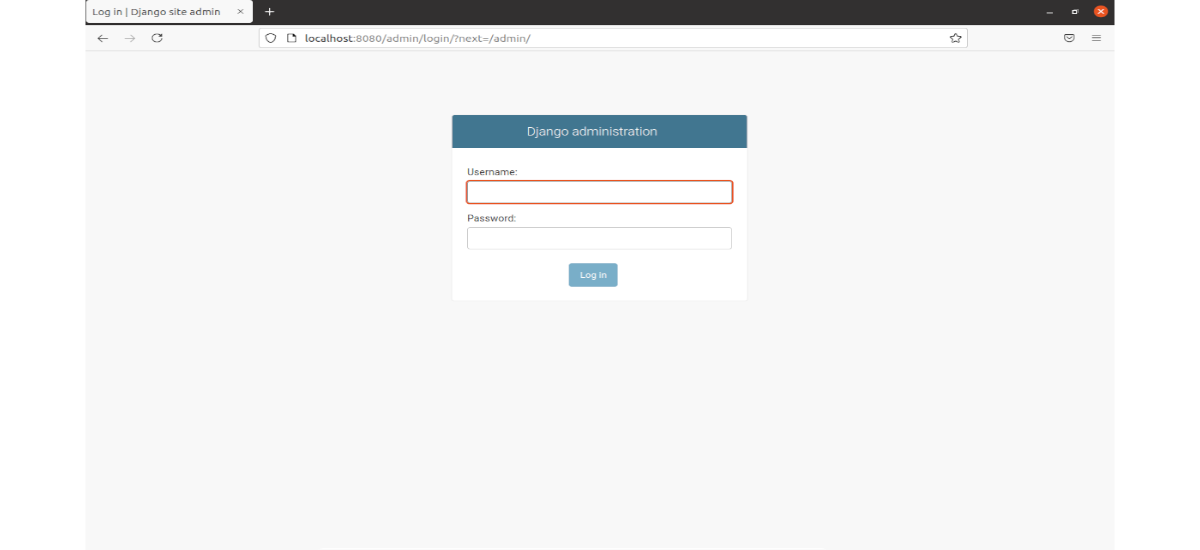
http://localhost:8080/admin
If you cannot log into the backend as an administrator, you can create a super administrator account by running the command in the terminal (Ctrl + Alt + T):
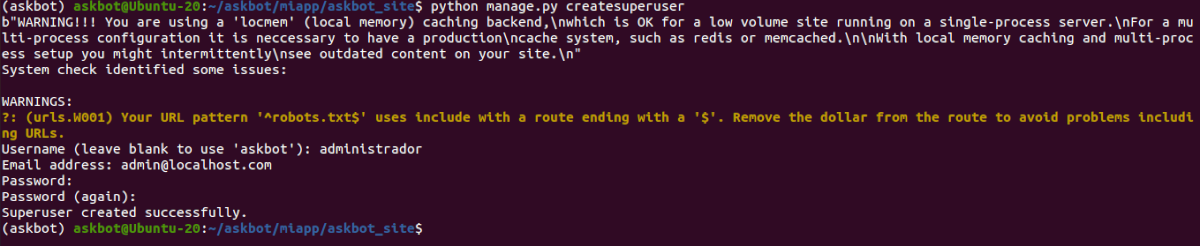
python manage.py createsuperuser
After this we can use the newly created credentials to enter the admin backend:
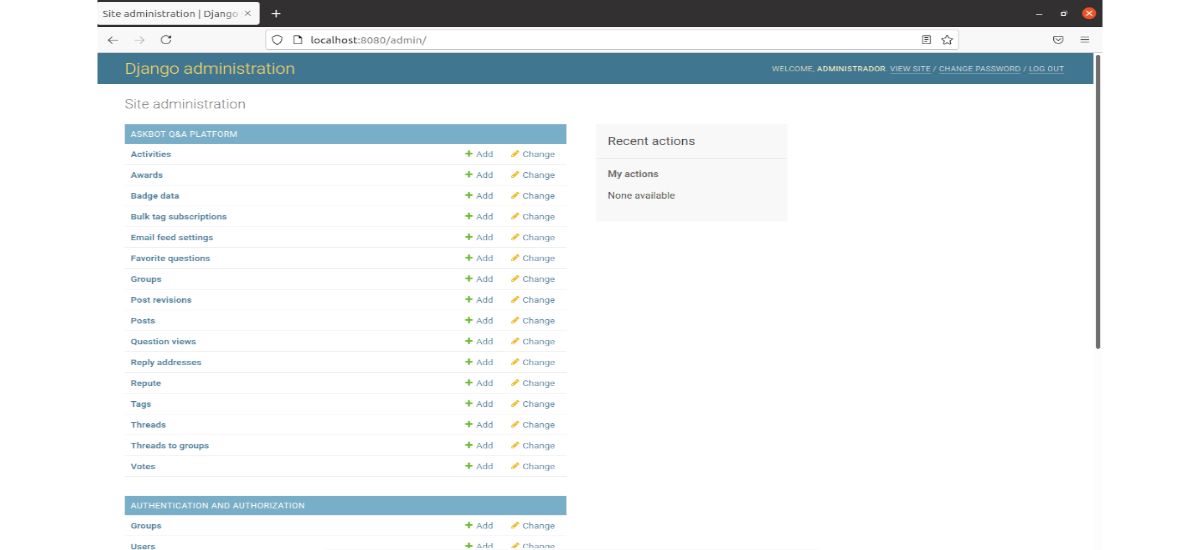
For individuals and businesses looking to create a question and answer forum, Askbot can be helpful. For more information about this project, users can consult the official website or in repository on GitHub.