
In the next article we are going to take a look at Composer. This is a dependency manager for PHP. It will install all the necessary PHP packages our projects depend on and manage them for us.
This program has been a application-level package manager for the PHP programming language which provides a standard format for managing PHP software dependencies and required libraries. Though this tutorial is written for Ubuntu 18.04, the same steps can be used for Ubuntu 16.04.
Before following the steps that are going to be shown here, be sure to have PHP installed on your Ubuntu 18.04 system. If you don't have it installed, open a terminal (Ctrl + Alt + T) and type:
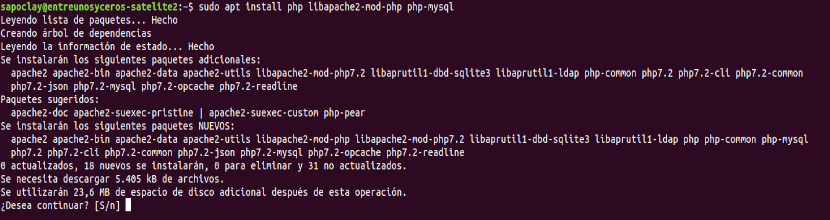
sudo apt install php libapache2-mod-php php-mysql
Install Composer
Before downloading and installing this dependency manager, first we have to install the PHP-CLI package, which is available in the Ubuntu repositories. In the terminal (Ctrl + Alt + T) we write:
sudo apt install php-cli
Now that we have php-cli installed on our machine, we can download the necessary installer with:
php -r "copy('https://getcomposer.org/installer', 'composer-setup.php');"
The above command will download the composer-setup.php file to the current working directory.

Next, we need to verify the integrity of the script data by comparing the script of the SHA-384 hash with the last hash of the installer. This can be found on the Composer Public Keys / Signatures page.
We will use the following wget command to download the expected signature of the latest installer from your Github page and store it in a variable called HASH:
HASH="$(wget -q -O - https://composer.github.io/installer.sig)"
Now run the following command to verify that the install script is not corrupted:
php -r "if (hash_file('SHA384', 'composer-setup.php') === '$HASH') { echo 'Installer verified'; } else { echo 'Installer corrupt'; unlink('composer-setup.php'); } echo PHP_EOL;"
If the hash values match, you will see the following result:

If the hashes don't match, you'll see something like “Installer corrupted”. Once the installer has been verified, we can proceed to the next step.
The following command will install Composer in the / usr / local / bin directory:

sudo php composer-setup.php --install-dir=/usr/local/bin --filename=composer
It will be installed as a system wide command and will be available to all users.
The last step is verify installation:
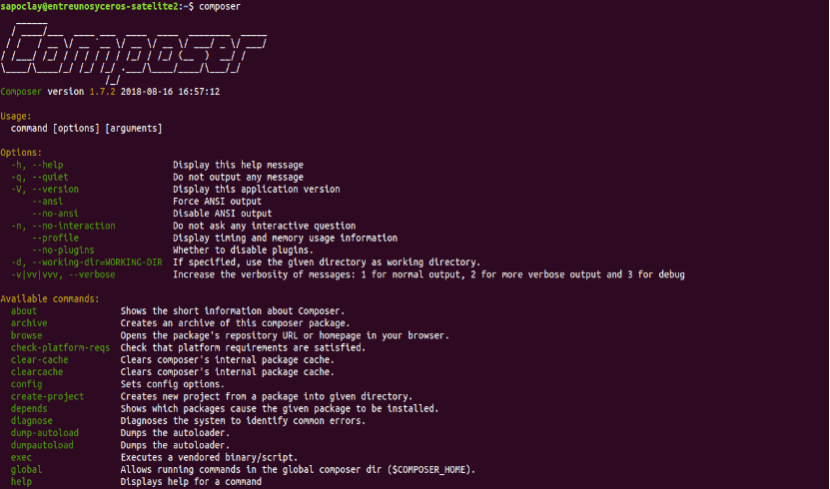
composer
The above command will print the available version, commands and arguments.
If you want to have one Composer installation per project, use the following command:
php composer-setup.php
This will create a file called composer.phar in your current working directory. You can use it by running:
./composer.phar comando
Getting started with Composer
Once the installation is finished on your Ubuntu system, we are going to a basic look at its use in a PHP project.
The first step is to create a directory that will be the root directory of the project and start a composer.json file. This file describes our PHP project, including PHP dependencies and other metadata.
mkdir ~/mi-primer-proyecto-con-composer

cd ~/mi-primer-proyecto-con-composer
The next step is to start a new composer.json using the "composer require package-name", Specifying the package we want to download.
In this example, we will create a sample application that will print the current time and date using a package called carbon.
Run the following command to start a new composer.json and install the carbon package:
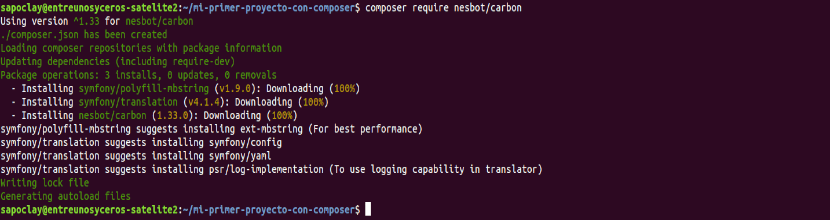
composer require nesbot/carbon
Directory of our project
If we take a look at the directory list for our project, we will see that it contains two files composer.json and composer.lock, and a directory called vendor.

- El vendor directory is the directory where the project dependencies are stored.
- The file composer.lock contains a list of all installed packages. Including the exact versions of the packages.
- composer.json describes the PHP project and all PHP dependencies.
Searchable in Composer repository Packagist PHP packages to use.
Test file
Composer provides self-loading capabilities that allow us to use PHP classes without the need to use require o includes In the files.
Create a file called test.php and add the following code:

<?php

require __DIR__ . '/vendor/autoload.php';

use Carbon\Carbon;

printf("Fecha y hora del sistema: %s", Carbon::now());
Saving the file, we will execute the script by typing:
php prueba.php
The result should look something like this:

Update your PHP packages
If necessary, if you want to update your PHP packages, you can run:
composer update
The command will search for newer versions of installed packages and if a newer version is found it will update the package, if possible.
For get more information visit the official documentation page Composer.
COMPOSE?
hahahahahahahaha
The fucking master!!!!!