
In the next article we are going to take a look at cpufetch. This is a tool that It will show us information about the CPU from the command line. It is a free and open source program available for Gnu / Linux, MacOS, Android and Windows. Cpufetch will show us different data, in addition to the name of the processor manufacturer, we can also obtain information on parameters such as frequency, cores, maximum performance, number of cores and threads or AVX, FMA, L1 cache sizes , L2, L3, among others.
This tool will also offer us the possibility of change the layout of the displayed information with a custom color scheme. In addition, it also offers us some themes that we can use, with which we can enjoy an additional degree of freedom when we want to see the results offered by the tool that coincide with all the Gnu / Linux configuration elements. It is a program similar to neofetch, and which is published under the MIT license.
With this program we can take a screenshot of the CPU information and then share it with our friends or acquaintances.
Information displayed by cpufetch
This tool will generate the manufacturer's logo (eg Intel, AMD) along with basic CPU information. Among this information it will show us information about:
- El CPU name.
- La microarchitecture.
- Technology of semiconductors in nanometersnm).
- La maximum frequency.
- Will show the number of cores and threads.
- Advanced vector extensions (AVX)
- Fused-Multiply-Add (FMA)
- Cache sizes L1, L2, L3.
- Performance.
Install cpufetch on Ubuntu
Unfortunately, cpufetch is not included in the Ubuntu repositories. It does not even offer ready-to-use .DEB packages, nor does it have SNAP or Flatpak packages available. We will have to compile it from source.
In order to compile the program from source, we just need to open a terminal (Ctrl + Alt + T) and start with install git, if you don't have it installed on your computer yet. To do this, in the terminal that we have opened we only need to write the command:

sudo apt install git
This command will install the latest version of git on our system. As I said, if you already had git installed on your system, you can skip the previous step.
The next step is going to be clone the repository using git. In the same terminal we only need to use this other command:

git clone https://github.com/Dr-Noob/cpufetch
When I'm done, let's move to the folder to be created and we will compile it typing:

cd cpufetch/ && make
To finish, we can run this tool through the command:
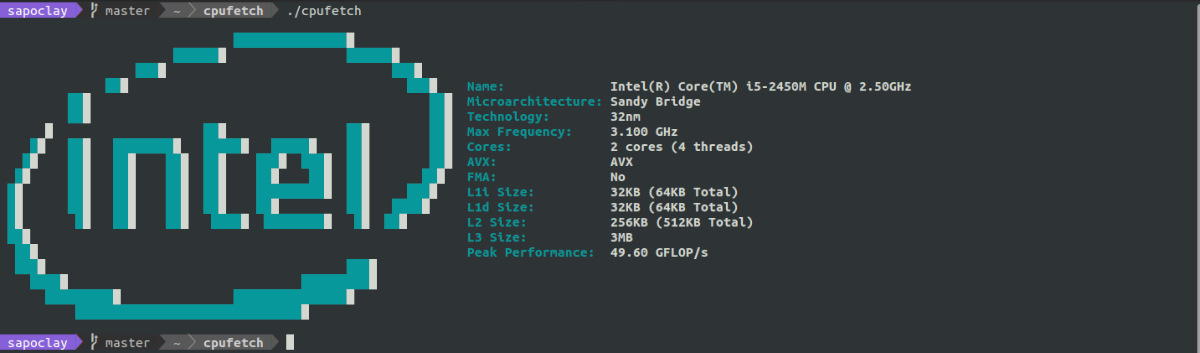
./cpufetch
As an optional step, also we can move this application to directory / usr / local / bin / to be able to run it from anywhere in the system using the command cpufetch:
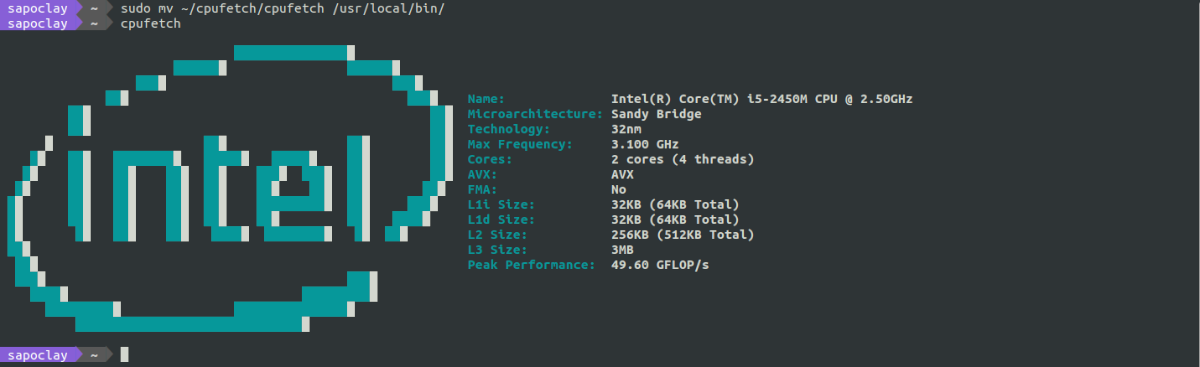
sudo mv ~/cpufetch/cpufetch /usr/local/bin/
Colors and style
By default, cpufetch will print the CPU graph with the system color scheme. However, we can set a custom color scheme. We can do this by specifying Intel or AMD in the command, or by writing the colors in RGB format:
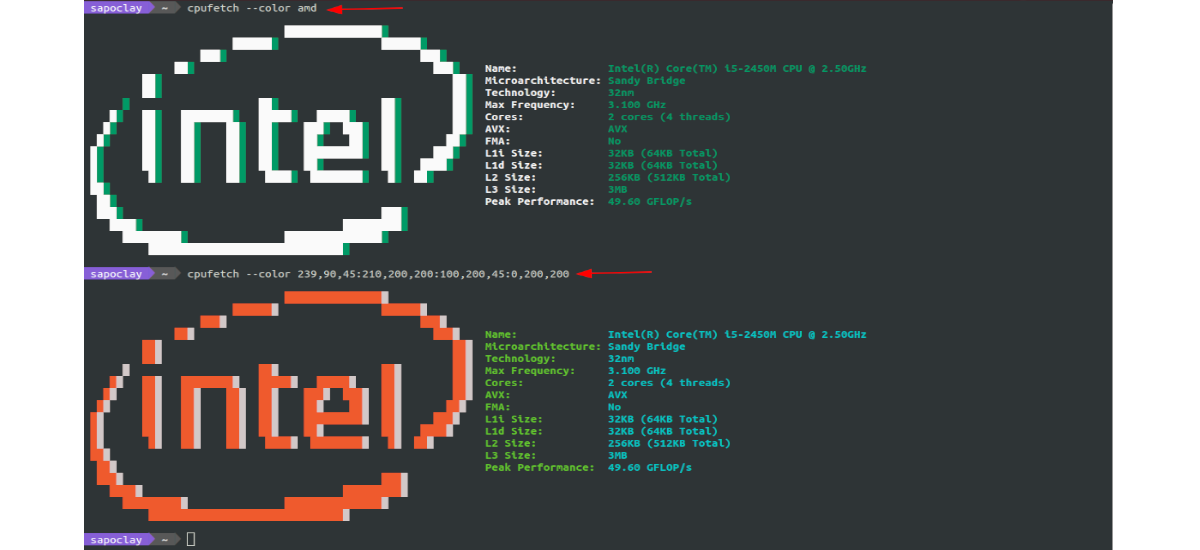
cpufetch --color intel (color predeterminado para Intel)

cpufetch --color amd (color predeterminado para AMD)

cpufetch --color 239,90,45:210,200,200:100,200,45:0,200,200 (ejemplo)
In the case of configuring the colors using RGB, 4 colors must be passed using the format; [R,G,B:R,G,B:R,G,B:R,G,B]. These colors correspond to the color of the CPU graphic (the first 2 colors) and for text colors (the next 2). With this we can customize all the colors that are shown on the screen.
uninstall
To remove cpufetch from the system, we will only need to remove the source folder. To do this we will only have to execute in a terminal (Ctrl + Alt + T) the command:
rm ~/cpufetch -rf
Y if you chose to move this tool to the directory / usr / local / bin / indicated in this article, you can remove it with this other command:
sudo rm /usr/local/bin/cpufetch
Users who want to know more about this project, can consult your page on GitHub.