The launch of the new version of GitBucket project 4.37, which is developed as a collaborative system for Git repositories with a GitHub, GitLab or Bitbucket style interface.
GitBucket comes with a set of scope features which includes, GitLFS support, issues, pull request, notifications, plugin system, Git public and private repositories, plus that can also be easily integrated with LDAP for managing accounts and groups. The GitBucket code is written in Scala and licensed under Apache 2.0.
GitBucket 4.37 highlights
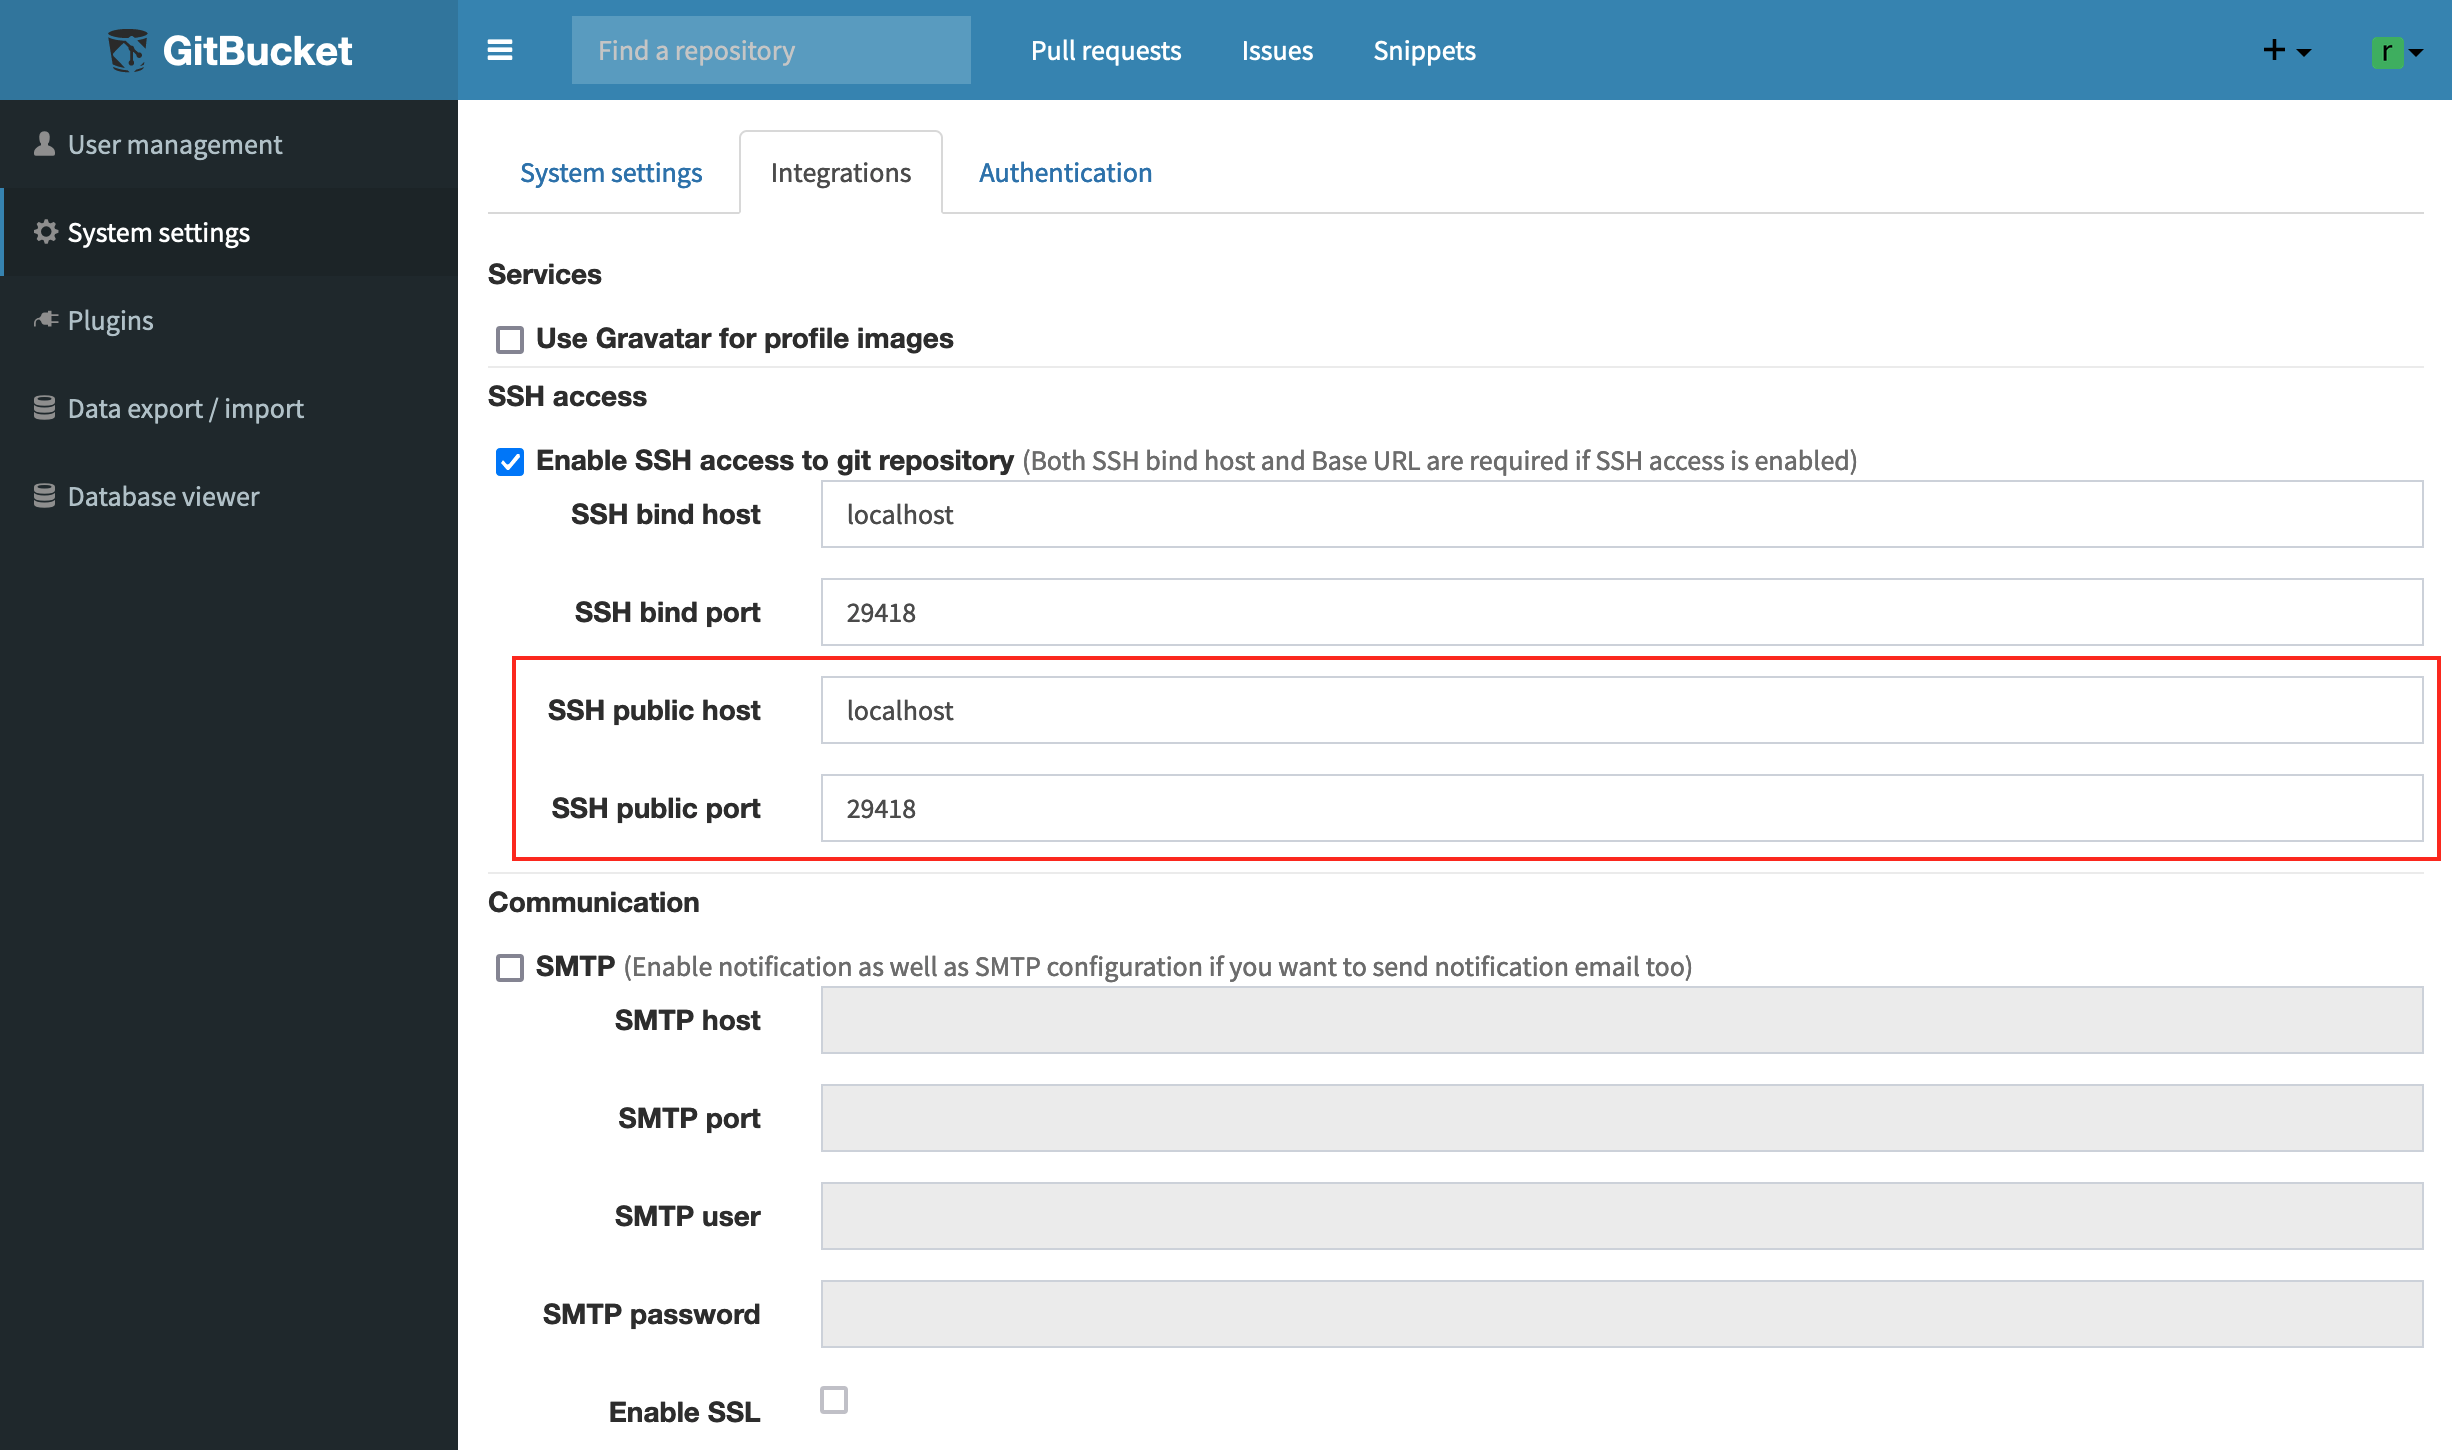
In this new version of GitBucket 4.37 it is that the user has the possibility to configure their own URL in settings to access the repository via SSH, which can be used when users accessing GitBucket through SSH is not done directly, but through an additional proxy server that redirects requests from clients.
Another change that stands out in this new version is that added ability to use EDDSA keys to verify digital signatures of confirmations. Support is provided by updating the apaceh-sshd and bouncycastle-java components.
Also It is noted that the restrictions on the maximum size of the password have been modified (the limit has been increased from 20 to 40 characters) and the WebHook URL (from 200 to 400 characters).
We can also find that Web API expanded and Jenkins system integration improved, in addition to additional API calls to work with Git (Git Reference API) and process problem lists, for example, support for data in test versions (milestones) was added and the ability to perform operations for all trouble records at once.
How to install GitBucket on Ubuntu server, Ubuntu desktop or derivatives?
As mentioned at the beginning, GitBucket is a collaborative development system that is self-hosted, so the installation of this is aimed at servers, although it is also possible can realize installation in desktop versions Ubuntu or some derivative of it.
You just have to take into account that in the instructions instead of placing a domain you must use the local IP in your home network, you must also consider the additional installation of packages necessary to launch a web service (PHP, Apache, some compatible database (MySQL or PostgreSQL) I can recommend that you install Xampp for Linux or the famous Lamp.
To install from GitBucket, first we must have the java package installed on the system, so if you don't have it, just run the following command:
sudo apt-get install default-jdk -y
Now we are going to create a new group and a user to be able to run GitBucket GitBucket 4.37,
sudo groupadd -g 555 gitbucketsudo useradd -g gitbucket --no-user-group --home-dir /opt/gitbucket --no-create-home --shell /usr/sbin/nologin --system --uid 555 gitbucket
Done this, now we are going to download the stable version more current since following link or from the terminal with wget:
wget https://github.com/gitbucket/gitbucket/releases/download/4.37.1/gitbucket.war
Once the download is complete, we will have to assign a space to GitBucket. For this we are going to type the following command:
mkdir /opt/gitbucket
Now just we have to move the downloaded file into the newly created directory:
mv gitbucket.war /opt/gitbucket
Now we must give permissions to the user that we create so that it can work on the created directory:
chown -R gitbucket:gitbucket /opt/gitbucket
Already with it, we are going to create a service in the system for this we are going to type:
sudo nano /etc/systemd/system/gitbucket.service
In the file we are going to place the following:
# GitBucket Service
[Unit]
Description=Manage Java service

[Service]
WorkingDirectory=/opt/gitbucket
ExecStart=/usr/bin/java -Xms128m -Xmx256m -jar gitbucket.war
User=gitbucket
Group=gitbucket
Type=simple
Restart=on-failure
RestartSec=10

[Install]
WantedBy=multi-user.target
We save with Ctrl + O and exit with Ctrl + X and we are going to reload all the services with:
sudo systemctl daemon-reload
And we enable the one we create with:
sudo systemctl start gitbucket
sudo systemctl enable gitbucket
Already with the service enabled and started, we must connect the database:
sudo nano /opt/gitbucket/database.conf
db {
url = "jdbc:h2:${DatabaseHome};MVCC=true"
user = "sa"
password = "sa"
}
And done with it The service can now be accessed from your domain entering the space allocated http://yourdomain.com:8080 or in a local installation with localhost: 8080
- User: root
- Password:root
Finally it is recommended to implement a reverse proxy, but the process differs in Nginx, Apache or Candy. You can check the documentation about it in the following link.