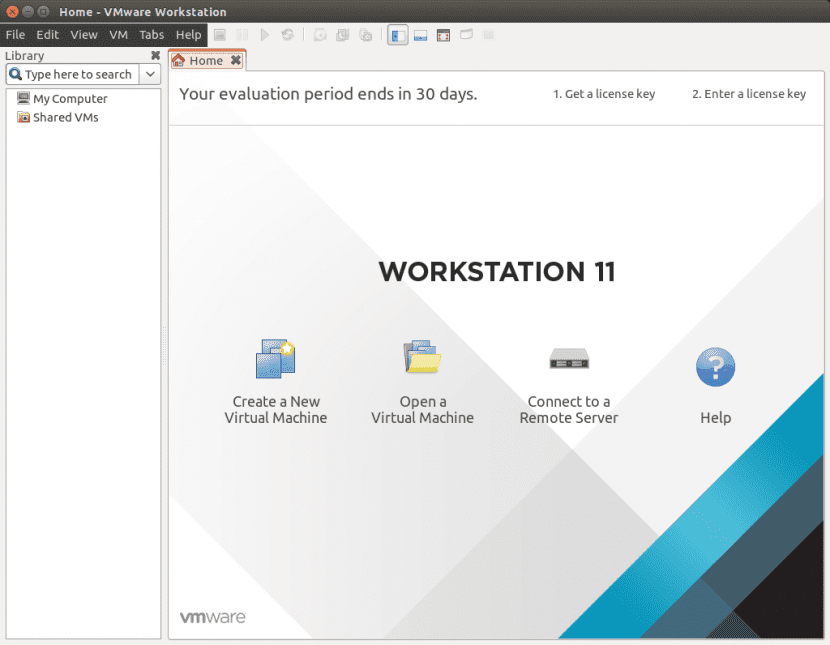
We recently saw the steps required to install VMWare Workstation 11 on Ubuntu 14.10, and once this process is finished, it follows that of being able to start using it. Something that is not too complicated although in fact it requires knowing a few steps to ensure that the final result will be as expected, that is, we can have virtual imagess of different operating systems running on our computers.
In this post we are going to show how to create a virtual machine in VMware Workstation 11, something that would be the logical continuation of the previous post in which we finished with the installation. Now that we have it in our team, then, we simply have to start it from the Ubuntu Dash, for which we only write 'vmware' in the text field of the search engine that the search tool offers us Canonical.
Once you VMware Workstation has started, we go to the tab 'Home' and we click on the button 'Create New Virtual Machine', after which we will have the possibility to use the wizard (which will recommend the simplest steps for our purpose) by selecting the 'recommended' options. In case of knowing very well what we are doing we always have the possibility of using the option marked as 'advanced', although this is supposed to be a guide for those who need some help so we will go with what is recommended.
select 'Typical' to tell VMware that we need a virtual machine without too many advanced specifications but rather something basic and to get it going as soon as possible. We click on 'Next' and the next thing we are going to need is specify path to ISO image that we are going to use as a basis for our task, for which we indicate which is the file (which generally corresponds to a Live CD of our favorite distro or one that we want to test.
Again we click on 'Next' and now we are going to select the guest operating system, which in our case is Linux since I have decided use a Linux Mint ISO. Another click on 'Next', now to be taken to the screen where we establish the location of the file that contains our virtual machine, and the name that it will have. Which may be the one that occurs to us, and in my case I have put 'Linux-Mint-17'.
We click on 'Next' and here comes an important step since we specify the hardware that our virtual machine will have, something for which we will have to click on 'Customize Hardware'. We will have before us the window of 'Virtual Machine Settings' in which we can indicate how many processors we will have available, how much RAM memory, the type of network adapter, the graphics card and the sound card, the type of screen and others.
We click on 'Close' and -after checking the checkbox next to 'Automatically power on this virtual machine after creation'- and 'Finish', and we will have already created our virtual machine in VMware Workstation. Now we can begin to test it, taking advantage of the fact that with the steps just indicated we have established that the image starts automatically after it has been created.
As we can see, the steps are few and they are very simple, and as in all cases there will be those who prefer this tool of virtualization or those who opt for others such as VirtualBox, Parallels (it is paid) or QUEMU among others.
Could not open / dev / vmmon: The file or directory does not exist.
Please make sure that the kernel module `vmmon 'is loaded.
How can i solve this? Greetings and thanks