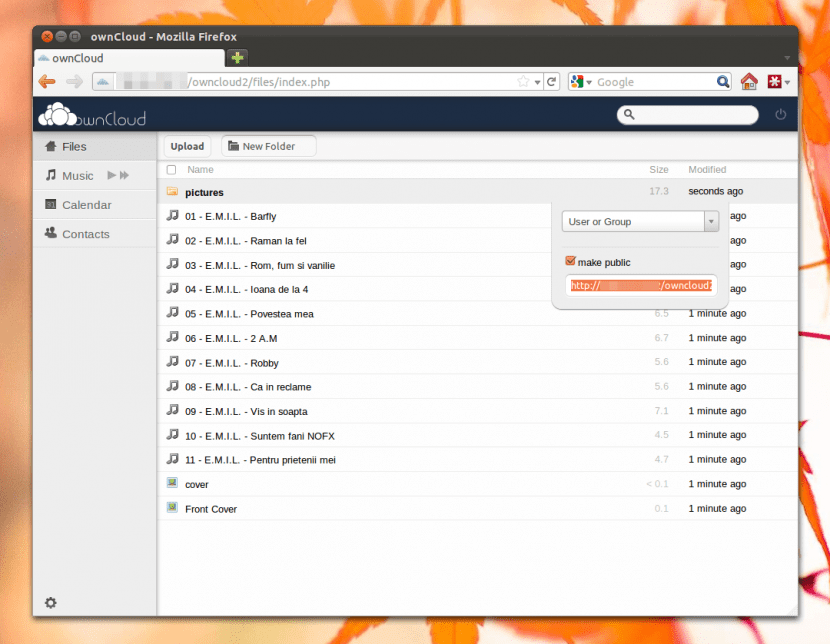
It took a few years, during which time the doubts of users and especially large corporations seemed to complicate the picture, but in the end the cloud has finally imposed itself as a concept looking to the future. And we already know the enormous possibilities that it offers us in many ways, despite which there are those who prefer more personalized solutions, in which you can reach out and have a little more control.
One of those solutions is ownCloud, which has long become an important alternative in the world of free software, especially thanks to the different options it offers. Well, in this post we will see how to install ownCloud client on Ubuntu, thanks to which we can access a server of said platform in order to have at our disposal the files, music, videos and other elements stored there.
The first thing we are going to need is to download the key from the repository, something we do using the wget utility. We open a terminal window (Ctrl + Alt + T) and write:
cd / tmp
wget http://download.opensuse.org/repositories/isv:ownCloud:desktop/xUbuntu_14.04/Release.key
Then we add the key:
sudo apt-key add - <Release.key
Now we can add the repository:
sudo sh -c "echo 'deb http://download.opensuse.org/repositories/isv:/ownCloud:/desktop/xUbuntu_14.04/ /' >> /etc/apt/sources.list.d/owncloud-client .list »
We update our repositories:
sudo apt-get update
And we are ready to install ownCloud client on our Ubuntu system:
sudo apt-get install owncloud-client
Once this installation is finished we have to start the tool for the first time ownCloud client, for which we enter "OwnCloud" in the text box of the search engine Ubuntu dash. When the program is offered to us, we select it, and it will open.
Now we start the ConnectionWizard, here we are going to have to enter the IP address of the ownCloud server which we want to access, which we write in the field "Server Address". In general, this is composed of the following way: http://direccionip/owncloudWhere 'IP adress' It is the mentioned address of our server.
Once we give Enter we have to enter username and password, since they are the following data that the client will request from ownCloud. Here we will be notified of the use of a secure connection (Https), which we can ignore and follow.
By entering our login data, the client will take a second or two to redirect our allocated space in the ownCloud server, and after that the process of synchronization, period during which all content stored on the server is 'brought'.
At the end we will have everything we need and we will be able to access all our contents from the ownCloud client installed on our Ubuntu computer. As we can see, it is a fairly simple procedure and it should not take us more than 10 minutes, unless we have a large number of files stored, in which case it may take a little longer (something that depends on also the connection speed we have).
If I write it like this: "sudo apt-key add - <Release.key", it tells me that the file or directory does not exist. If I write it like this: "sudo apt-key add Release.key", it says ok.
Then I put the following command, the one to add the repository and it tells me permission denied. And there I have stayed.
Any ideas?