A friend of mine, between jokes and for reasons that I am not going to tell, kept telling me: «whoever takes a lot of space, the less he tightens up«. That could be perfectly applicable to Windows, the Microsoft system that I have never been a fan of (I ran away from it as soon as I discovered Linux) and that in recent years has insisted on doing everything. Among this we have that we can install the Linux kernel in Windows with its WSL, and that allows us to install Ubuntu and other distributions.
I also said about covering a lot because in Windows 11 Android applications can also be run "natively", and WSL will improve to the point of being able to run Linux with graphical interface without great efforts. This article explains how to do more or less that with systems based on Debian/Ubuntu and Windows 10, the system that many still prefer if they have to use the "windows".
Ubuntu as system, Xfce as desktop
Although it also names a distribution or main flavor, Ubuntu is the operating system on which many others are based. The main flavor is Ubuntu with GNOME desktop, while Kubuntu is Ubuntu with KDE/Plasma desktop, Xubuntu is Ubuntu with Xfce… although they are all different, they are all Ubuntu.
What we are going to explain here is how to install Ubuntu on WSL2, and how to get into your desktop thanks to the native remote desktop tool. The steps to follow would be these:
- First of all you have to install WSL, currently in its version 2. As everything is improving, it is no longer necessary to remember many commands, but one. In Windows, we open Powershell in administrator mode and type
wsl --install. - We accept everything that appears on the screen until the installation is complete.
- Then we go to the Microsoft Store, search for Ubuntu and install it.
- Once installed, we open the application, something we can do directly from the Microsoft Store or from the start menu.
- The first time we start it, it takes a while to configure, but in no time, it asks us to add a username and password. We do it (the password twice).
- Once installed, we will enter the «prompt». Here we must update the system, with the usual sudo
apt update && sudo apt upgrade. - Now we are going to install the interface and make some configurations, for which we will write:
- With the above we will have installed the software to be able to connect to the remote desktop, the Xfce desktop and some apps from the same desktop. The latter is optional, but recommended if there is space. In this step, we will configure xrdp with these commands.
Last steps
- Now we edit the xrdp file adding how it will start. To do this, we write
sudo nano /etc/xrdp/startwm.shand we comment (hash in front) the “test” and “exec” lines so that they appear like this#test -x /etc/X11/Xsession && exec /etc/X11/Xsessionand so#exec /bin/sh /etc/X11/Xsession. - In the next step, without leaving the editor, we add two lines for startxfce4 to start. In the first we put
#xfce4, to help us remember what's next. In the second, it is without comment, we addstartxfce4. - Lastly, we type sudo
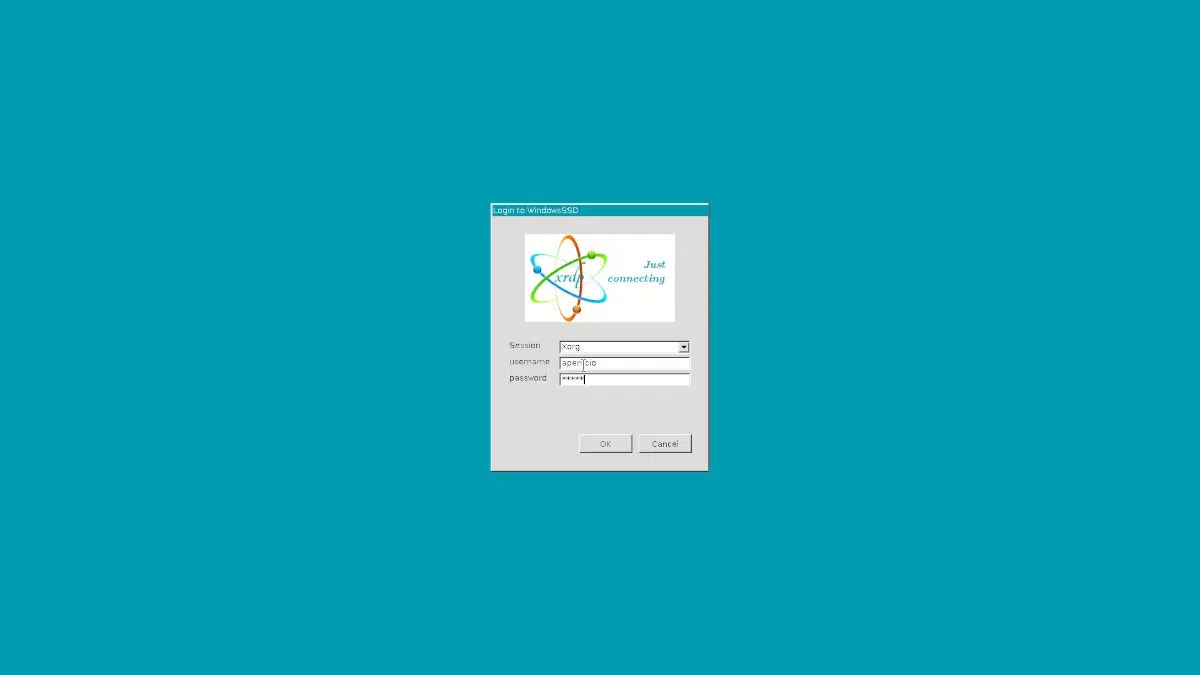
/etc/init.d/xrdp start. - We still have one step left: we open the windows remote desktop tool and type localhost: 3390, which is what we added in step 8. If not, we can type ip addr, copy the IP that has the INET name in front of it and use that address. A window will open in which we will have to log in. If we see that the firewall jumps, we give it to accept.
And what does Kali Linux have to do with an Ubuntu article?
Well, until it gets uploaded to Windows 11 and things get a little better, Kali Linux is a better choice for one reason: Win Kex. It is a tool that Offensive Security itself has developed with which we can connect to the Kali Linux desktop without relying on other packages or software, such as xrdp or remote desktop. We just start a Kali Linux session, install Win-Kex (sudo apt install kali-win-kex), and then start one of the options.
Win-Kex offers three possibilities: in the first we will execute the desktop in a window. In the second, the panel will open at the top and we will be able to open the applications as if they were part of Windows. The third is more designed for ARM.
The full screen version is run with the command kex --win -s, being the first option «window» and the second «sound». For the top panel, although it doesn't work for me, you have to use kex --sl -s. Because the other reason to opt for Kali Linux is that the sound also works without us having to complicate our lives. Basically, it's an Ubuntu, with a light interface and where the sound works, although the truth is that it stops working if we close the session and do not restart the host operating system (Windows).
and why all this?
Well, this blog is about Linux in general and Ubuntu in particular. The article talks about Ubuntu, but that's not the only reason. I encourage my acquaintances to try Linux, lately because there are people who want to use PHP on Windows and on Linux everything is easier. I leave the suggestion, and getting familiar with a distribution can be a good entry, even via WSL.
I am a fan of linux (elementary os), I have always used it because it seems to me the simplest things for everything that is development, but I entered a new job that is more the project management part where I require microsoft tools such as: word, excel, project, outlook, one drive, teams. Whatever they say but it is not possible to replace office with libreoffice, the documents are never read identically, worse if you want to share and allow editing to other people who use Moffice, perhaps you could use the web app but I tried and not (use came a headache to run MOffice), the integration of one drive is much better and teams on linux only has a preview version that does not work well at all (I had several problems). I never liked Windows for work, but with this WSL I was able to have the ubuntu terminal and everything that is development with ubuntu, at the same time I had all microsoft tools, now I can afford to run games without having to change OS... Anyway, I think that with WSL I can have both worlds, I'm starting to like it.