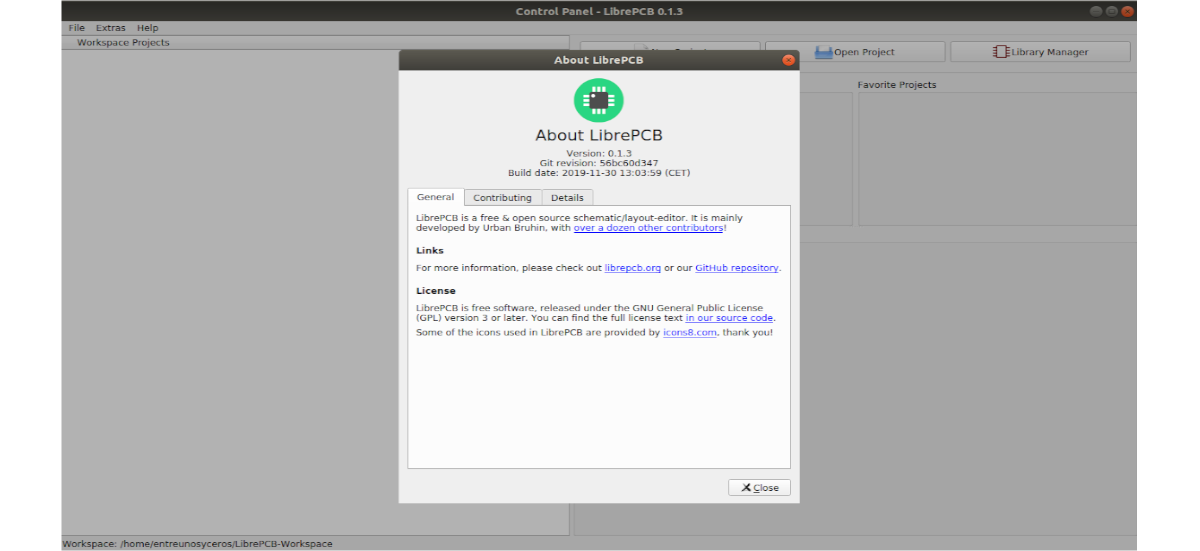
In the next article we are going to take a look at LibrePCB. This is a EDA Free and open source (electronic design automation) available for Gnu / Linux, Windows and macOS. With this software we can develop printed circuit boards. It comes with easy to use GUI, project and library management, schematics, board editors. It was released under the GNU General Public License v3.0.
Library and project file formats are human readable. One of the most important features of LibrePCB is that it is Multi PCB. With this feature we can use multiple variants of PCB of the same scheme. LibrePCB has a fairly intuitive graphical interface in addition to its control panel that will give us access to the projects we have in development, with an ideal management of the latest edits and the projects we use the most.
General characteristics of LibrePCB
- It is a software multi platform.
- Multilingual (application and library items)
- All in one: project management + library / schematic / dashboard editors.
- We will have a intuitive, modern and easy-to-use graphical user interface.
- Su library design it is powerful.
- File formats are human readable for libraries and projects.
- Function of Multiple PCB (different PCB variants of the same schematic)
- The control panel is going to give us quick access to all our projects, especially to recently used and favorite projects. It will also show us the description of the projects without opening them, if they are available.
- El schematic editor is powerful and easy to use.
- All existing boards are always in sync with schematics. By adding components to the schema, LibrePCB will allow us to choose our components from a category tree, no matter which library provides them.
- The LibrePCB library manager will allow you to download, install and update libraries directly from the Internet.
- The library editor UI helps you quickly draw new symbols, footprints, and more. Thanks to integrated rule checking, even warn us of common mistakes right away.
These are just some of the features of this project. They can consult all of them in detail in their GitHub page or project website.
Install LibrePCB EDA on Ubuntu
LibrePCB will be available for Ubuntu through a Snap, Flatpak, AppImage and a .run installer.
Through the installer for Gnu / Linux
To start we will have to download from the project website the LibrePCB installer for Gnu / Linux from the Linux section, which can be seen in the above screenshot. In this example the name of the downloaded file is'librepcb-installer-0.1.3-linux-x86_64.run'.
Once the download is finished, we only have to click with the right mouse button on the downloaded file and select the Properties option. Then we will have to go to the Permissions tab and in it we will mark the option "Allow to run the file as a program".
After this we only have double click on the file to start the installer and follow the steps.
After installation we can start the program by clicking on "Show Applications”In the Ubuntu dock and write FreePCB in the search box.
Via AppImage
If we want to test LibrePCB EDA software in AppImage format we can download the file from the download section from the project page. Here the name of the downloaded file for this example will be 'librepcb-0.1.3-linux-x86_64.AppImage'.
Once the download is finished, we are going to open a terminal (Ctrl + Alt + T) and we will execute the following command to make the file executable:
sudo chmod +x librepcb-0.1.3-linux-x86_64.AppImage
After the previous command, we can start LibrePCB EDA software by double clicking on the file or by typing in the same terminal:
sudo ./librepcb-0.1.3-linux-x86_64.AppImage
Via Flatpak
First of all, if we still do not have this technology enabled in our system, we can follow the following link to install and configure flatpak in our system.
After that, we will just have to open a terminal (Ctrl + Atl + T) and run the following command to install the program:
flatpak install flathub org.librepcb.LibrePCB
After the installation, we can start LibrePCB as flatpack running the following command in the same terminal:
flatpak run org.librepcb.LibrePCB
Through Snap
For install this app as snap We will only have to open a terminal (Ctrl + Alt + T) to write the following command in it:
sudo snap install librepcb
For more information about this program, users can turn to user manual to solve doubts and consult how to use LibrePCB.


