In the next article we are going to take a look at Nginx. This is a web server / reverse proxy High-performance lightweight and proxy for email protocols (IMAP / POP3). It is free and open source software. There is a commercial version distributed under the name of nginx plus.
Es multi platform, so it will work on Unix-like systems (GNU / Linux, BSD, Solaris, Mac OS X, etc.) and Windows. It is a server that is responsible for managing the load of some of the largest sites on the Internet. In this post we will see the basic steps to install and manage Nginx on a computer with Ubuntu 18.04.
Before starting with the steps, we will have to make sure that we are logged in as a user with sudo privileges and that we do not have Apache or any other service running on port 80 or 443.
Nginx installation
We will find this server available in Ubuntu's default software repositories. The installation is quite simple, we will only have to open a terminal (Ctrl + Alt + T) and type the following commands:
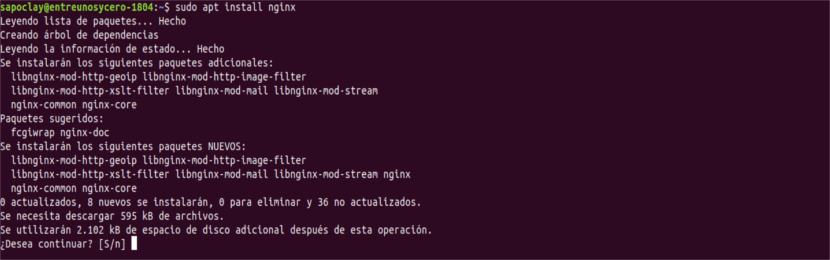
sudo apt update && sudo apt install nginx
After the installation is complete, we will verify the status of the service with the following command:
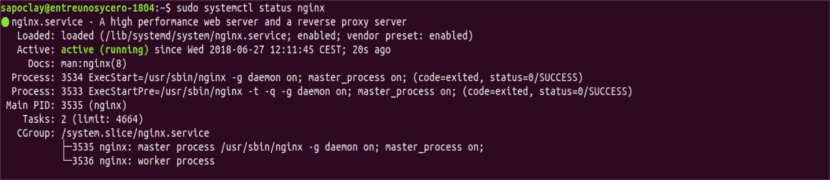
sudo systemctl status nginx
We can see the version we are using with the following command:

sudo nginx -v
Configure UFW
If you are using ufw, you will need to open HTTP port 80 and / or HTTPS port 433. Ufw comes with profiles based on the default ports of the most common daemons and programs.
To open both ports for Nginx, run the following command:

sudo ufw allow 'Nginx Full'
We can verify the change with:

sudo ufw status
Testing the installation
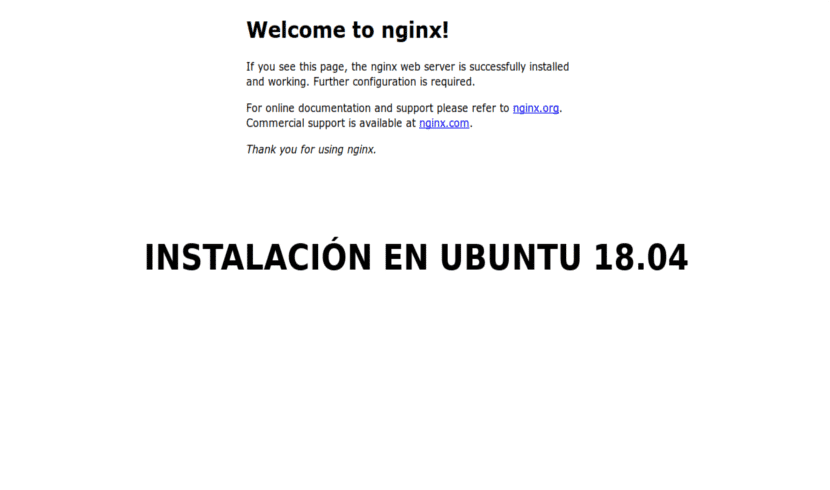
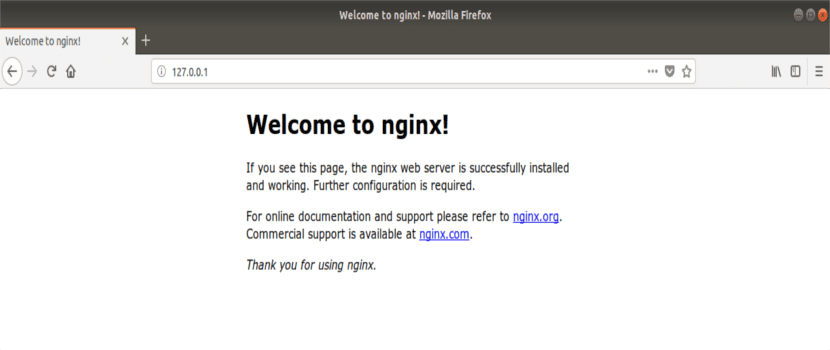
Opens http://TU_IP en tu navegador. In this case I am installing on my local network. Now we should be able to see the default home page as shown below:
Control Nginx services with systemctl
We can manage the Nginx service like any other systemd unit.
For stop the server, we will execute in the terminal (Ctrl + Alt + T):
sudo systemctl stop nginx
Whenever we want start using it again, we write in the same terminal:
sudo systemctl start nginx
If what we are looking for is Reiniciar the service:
sudo systemctl restart nginx
For reload everything after making some configuration changes:
sudo systemctl reload nginx
If we want disable server:
sudo systemctl disable nginx
We can do it again enable again with the command:
sudo systemctl enable nginx
Configuration file structure

All configuration files are in the directory / etc / nginx /.
The file of main configuration It stands at /etc/nginx/nginx.conf.
To make the settings easier to maintain, it is recommended create a separate configuration file for each domain.
The server block files are stored In the address book / etc / nginx / sites-available, and we will have to create them as we need them. The configuration files found in this directory are not used by Nginx unless they are linked to the directory / etc / nginx / sites-enabled. To activate a server block, we must create a symbolic link from the sites in the configuration file.
It is a good idea to follow a standard nomenclature. If your domain name is mydomain.com, then the configuration file should be called /etc/nginx/sites-available/mydomain.com.conf.
Directory / etc / nginx / snippets contains configuration snippets that can be included in server block files.
The log files (access.log and error.log) are in the directory / var / log / nginx /. It is recommended to have different access and error log files for each server block.
We can set the root directory of our domain document to whatever location we want. The most common locations for webroot include:
- / home / user / sitename
- / var / www / sitename
- / var / www / html / sitename
- / opt / sitename
Now you are all set to start deploying your applications and using your new server as a web server or proxy. It is also necessary to emphasize that a secure certificate is a 'must have' feature for all websites today, a free Let's Encrypt SSL certificate.
Obviously this is only a beginning when it comes to working with Nginx. Who wants to know more about how to work with it, can consult the official documentation.