In the following article we are going to take a look at how to install Plex Media Server on Ubuntu 20.04. This is perhaps one of the most popular solutions for managing media. Is about a free and proprietary media center that can run as a dedicated media server on Gnu / Linux, Windows, Mac and BSD systems.
Often times, we can find ourselves in a situation where we want to transfer digital video or audio from one medium to another or we want to share video or audio files with other users. This could be time consuming if the files being shared or transferred are large, and Plex can help with this.
Also this media server will allow us to organize our content. We will also be able to name files, make adjustments to the metadata so that the correct cover appears in these files, etc.
Installing Plex Media Server on Ubuntu 20.04
In the following lines we are going to see two simple ways to download and install Plex.
Using the .deb file
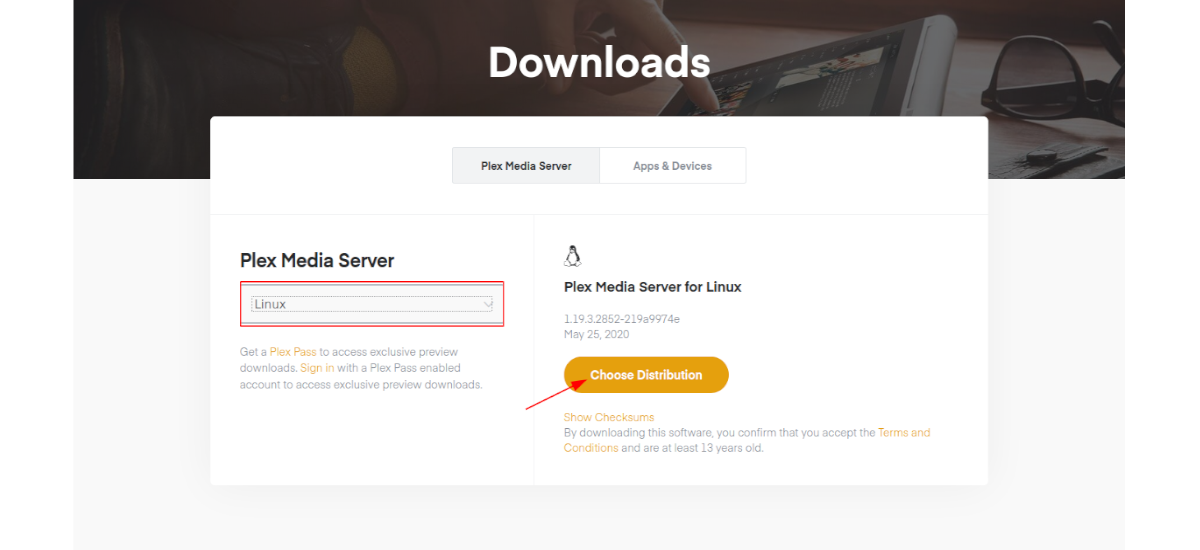
First, we are going to go to the download page from Plex Media Server and select Linux as a platform.

Once in it we will have to choose Ubuntu Distribution to download the .deb file. In this example, I am going to select the one marked in the previous screenshot.
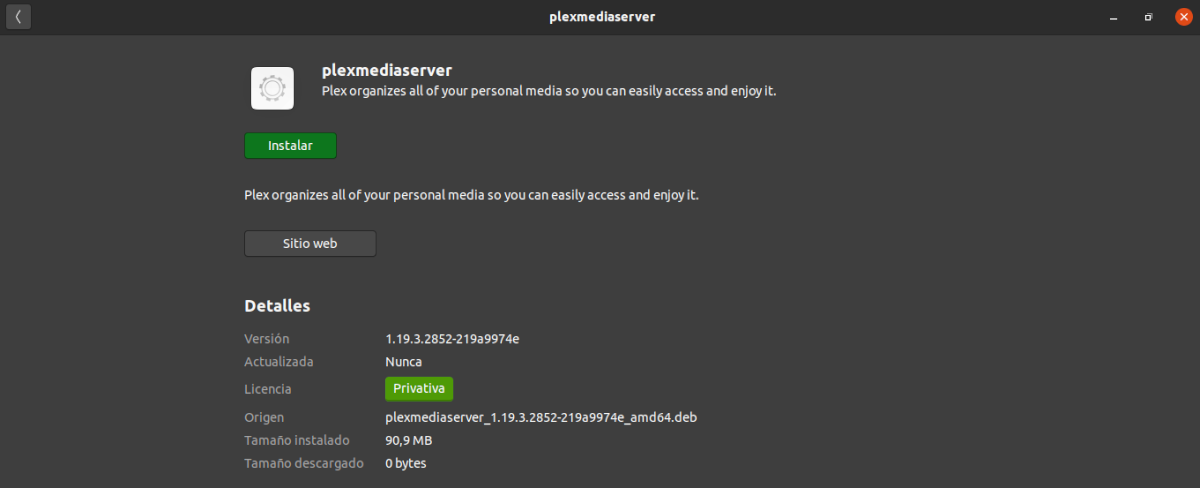
Once the download is finished, you just have to move to the directory where we have saved the package, and double-click on the .deb file. This will take us to the Ubuntu software option to proceed with its installation.
If you prefer to install Plex from the terminal, all you have to do is open a terminal (Ctrl + Alt + T) and use wget with the link that we can find on the download page:

wget https://downloads.plex.tv/plex-media-server-new/1.19.3.2852-219a9974e/debian/plexmediaserver_1.19.3.2852-219a9974e_amd64.deb
Once the download is finished, we will only have to move to the directory where the file is saved. In the same terminal we will use the following command to install the package:
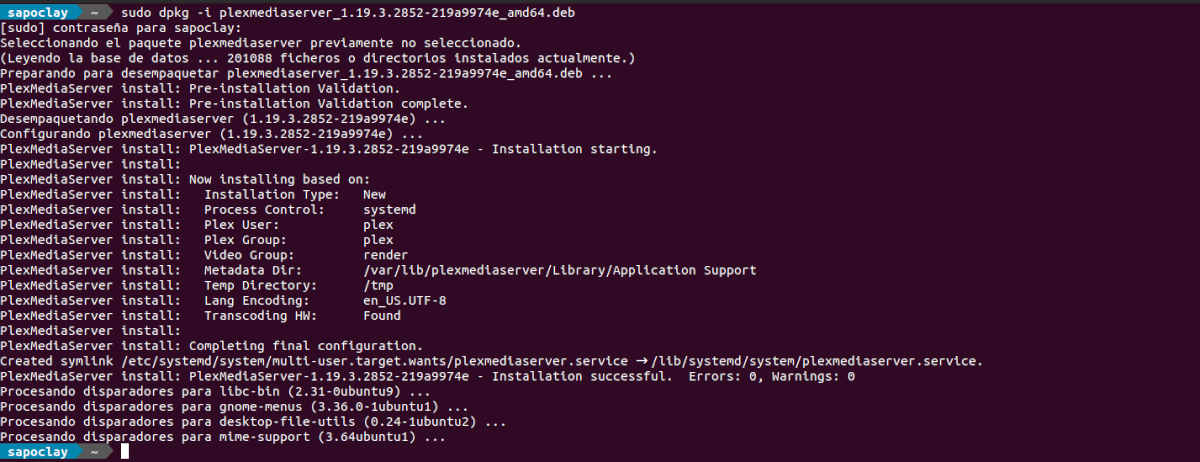
sudo dpkg -i plexmediaserver_1.19.3.2852-219a9974e_amd64.deb
Once Plex has been installed, we can check program status with the following command:
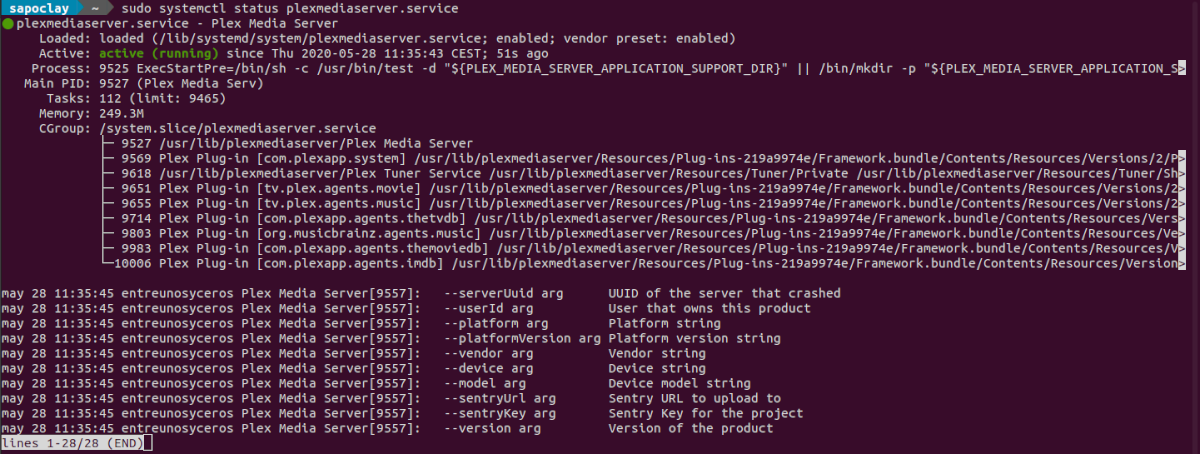
sudo systemctl status plexmediaserver.service
uninstall
We will be able uninstall this media server opening a terminal (Ctrl + Alt + T) and using the following command:

sudo apt remove plemediaserver
Using the Plex repository
Another way to install Plex is by using the official repository. To do this, we must first import GPG key from repository. This can be done using the following command in the terminal (Ctrl + Alt + T):

curl https://downloads.plex.tv/plex-keys/PlexSign.key | sudo apt-key add -
Then we can add the repository to the system with the command:

echo deb https://downloads.plex.tv/repo/deb public main | sudo tee /etc/apt/sources.list.d/plexmediaserver.list
We continue updating apt cache:
sudo apt update
At this point already we can install plex running the command:
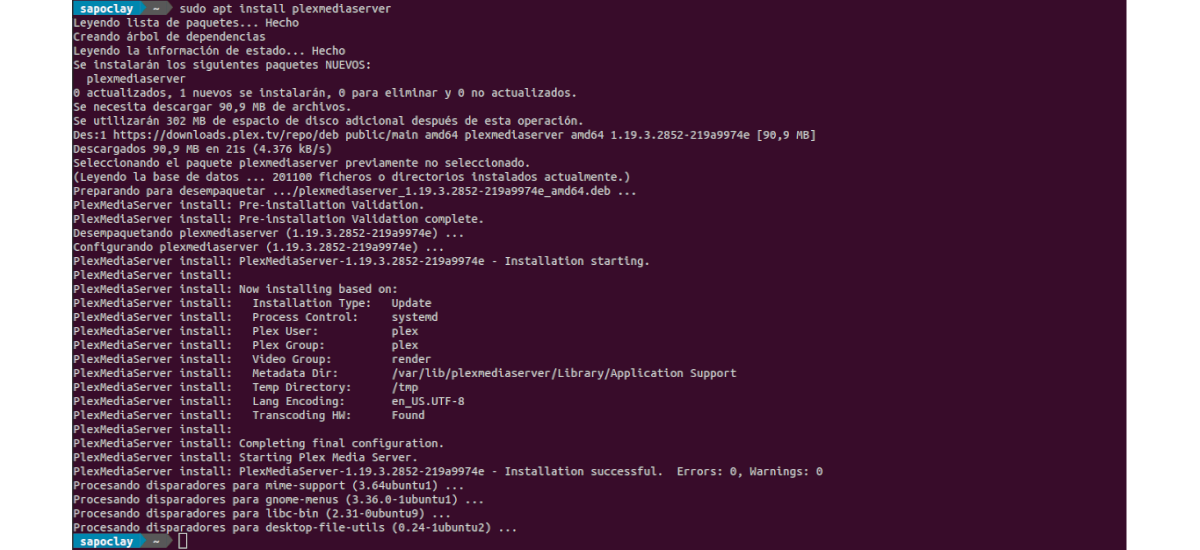
sudo apt install plexmediaserver
Once Plex is installed, we can check server status running:
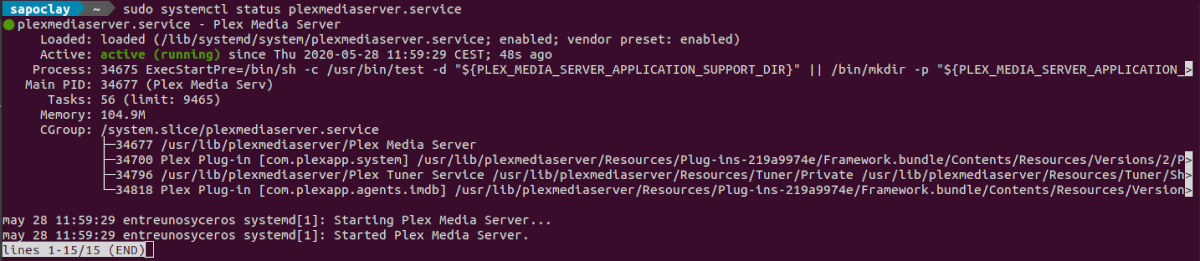
sudo systemctl status plexmediaserver.service
This shows that Plex Media Server has been installed on the system and is currently active.
uninstall
If we choose to install this media server using the repository, we will uninstall server first. We will do this by opening a terminal (Ctrl + Alt + T) and using the command in it:

sudo apt remove plexmediaserver
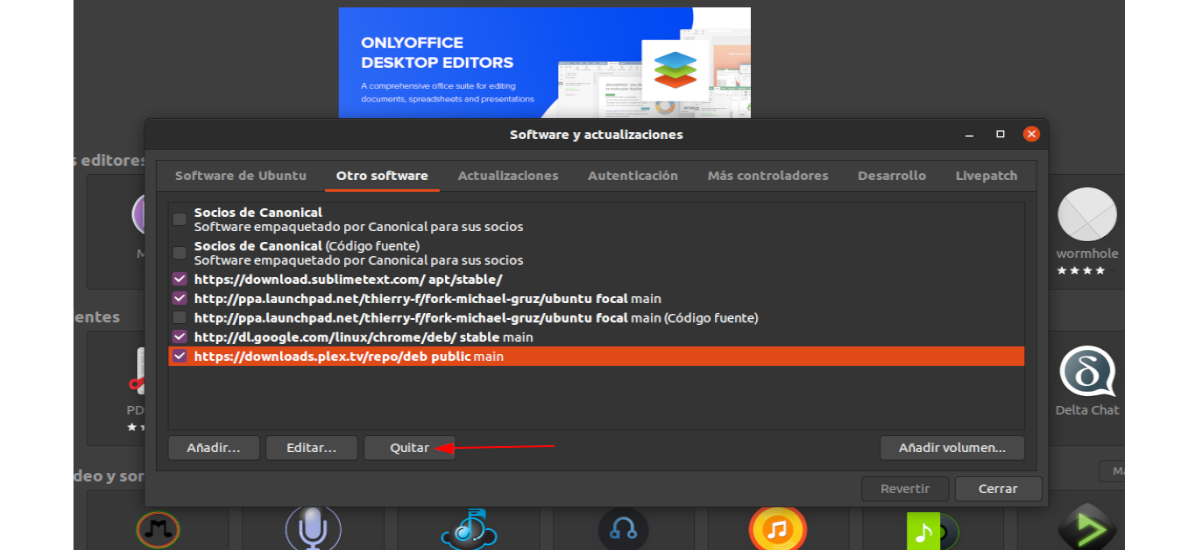
To delete the repository, we can use the Ubuntu / Sofware and Updates software tool.
Plex Media Server Basic Configuration
After confirming that the Plex server is running, we need to do some configuration first. Plex Media servers listen on ports 32400 and 32401. To begin, we are going to open the browser with the URL:
http://direccion-ip:32400/web
You can also use localhot instead of the IP address:
http://127.0.0.1:32400/web
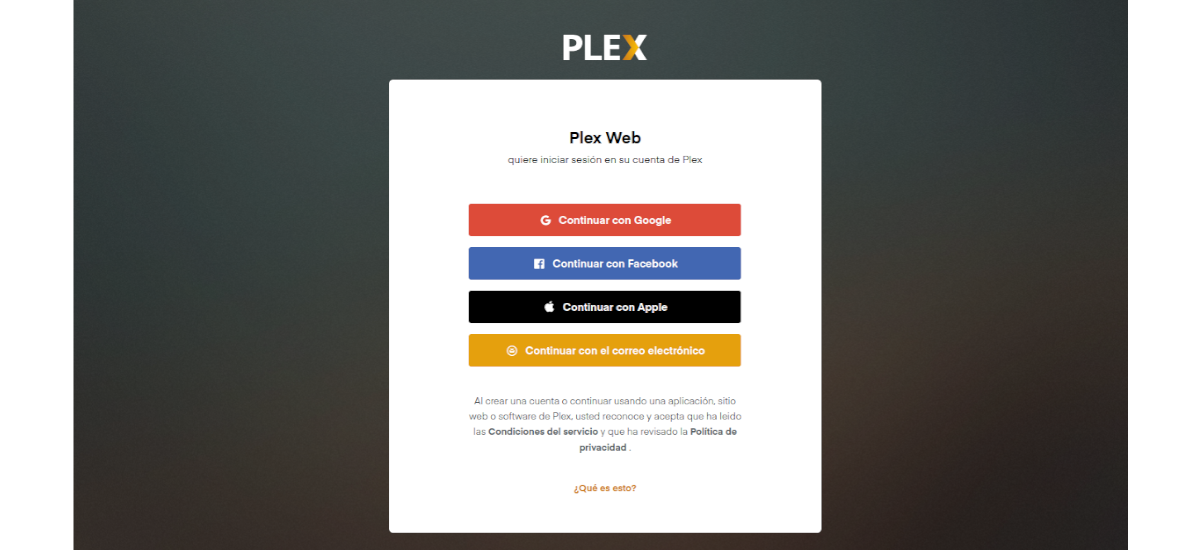
When we open the link, we will see a login page.
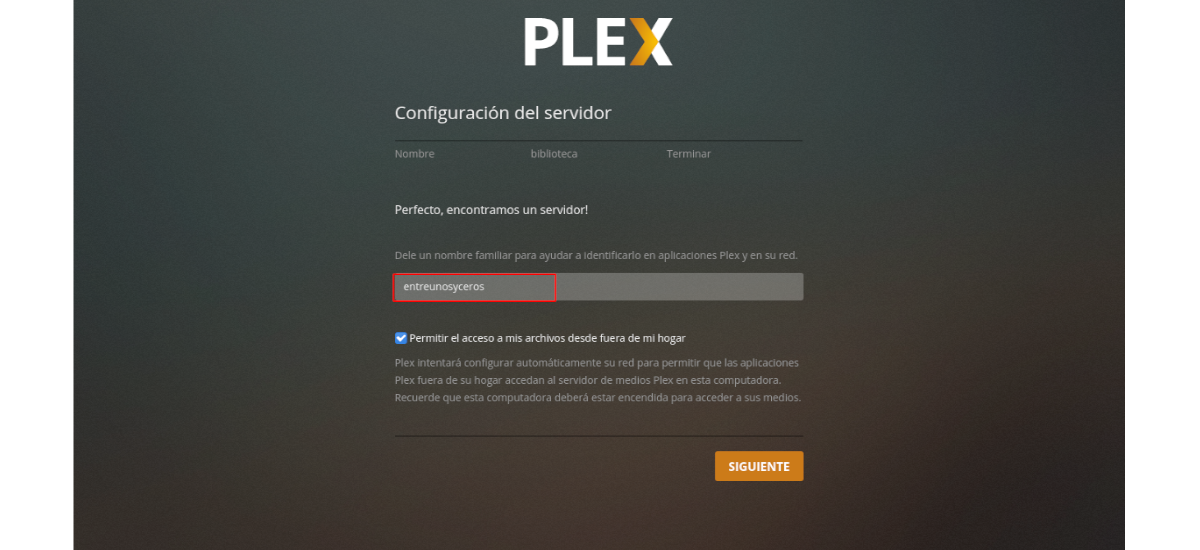
After logging in, we will go to the server settings screen. On this screen, we must choose a name for the server.
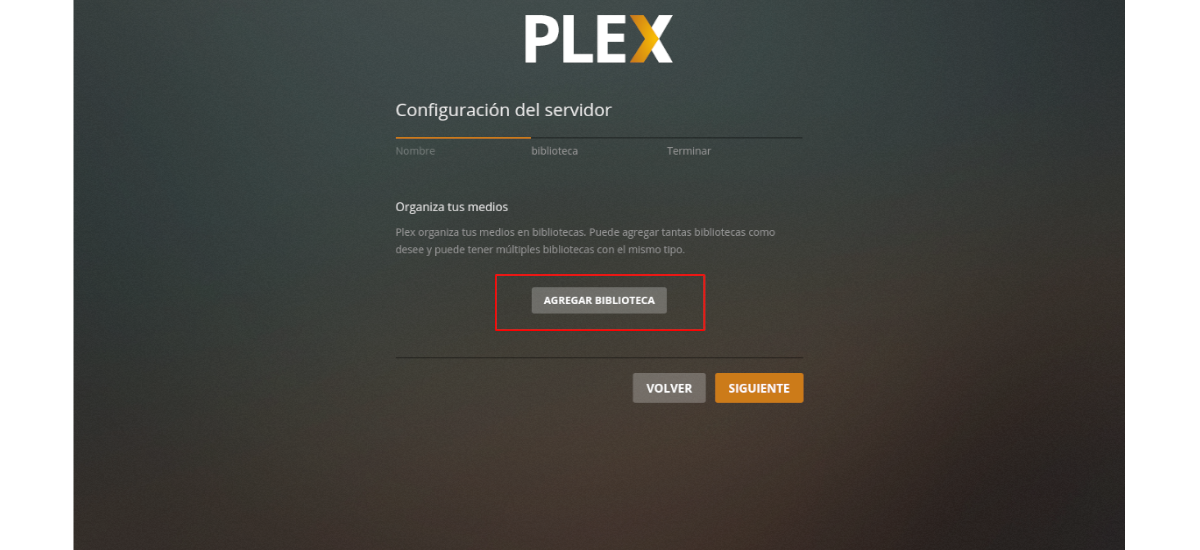
After clicking 'Next', we will have add our Library to the server. To do this, we are going to click on the button 'Add Library'.
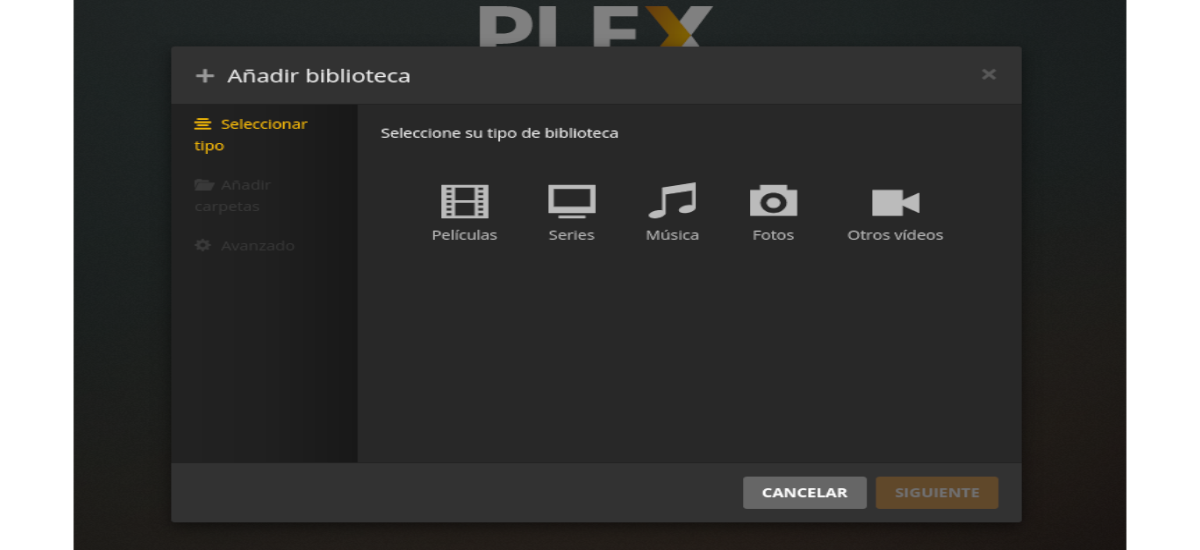
Now let's select the type of library we want to add. You can also change the name of the library and even the language.
After clicking 'Next‘, the server will ask us to add folders to the library. Click on 'View media folder'to add them.
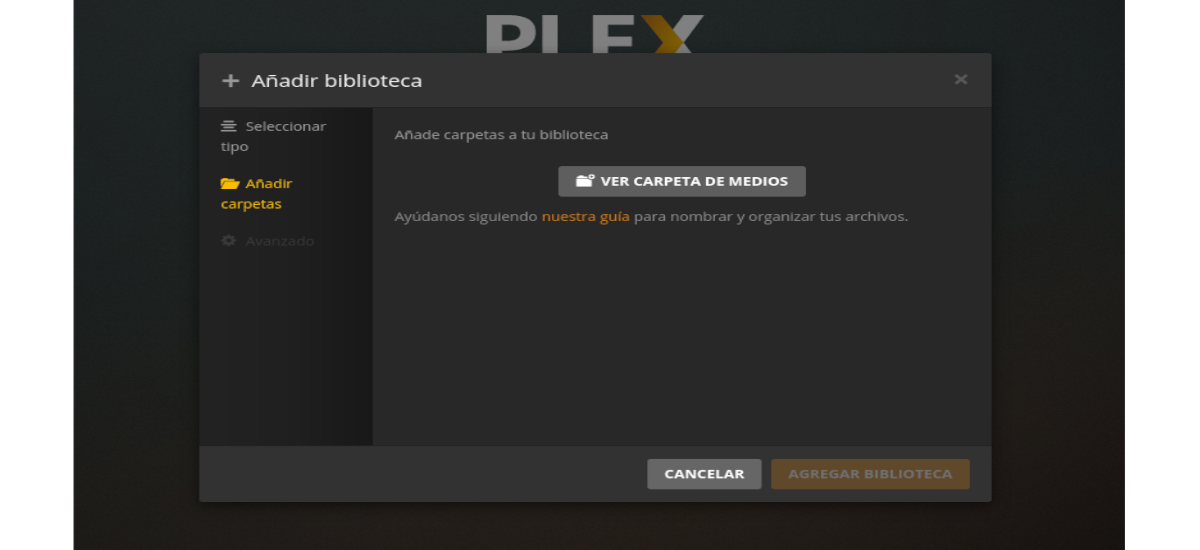
When we're done, we can see the list of added libraries in the Organize your media section.
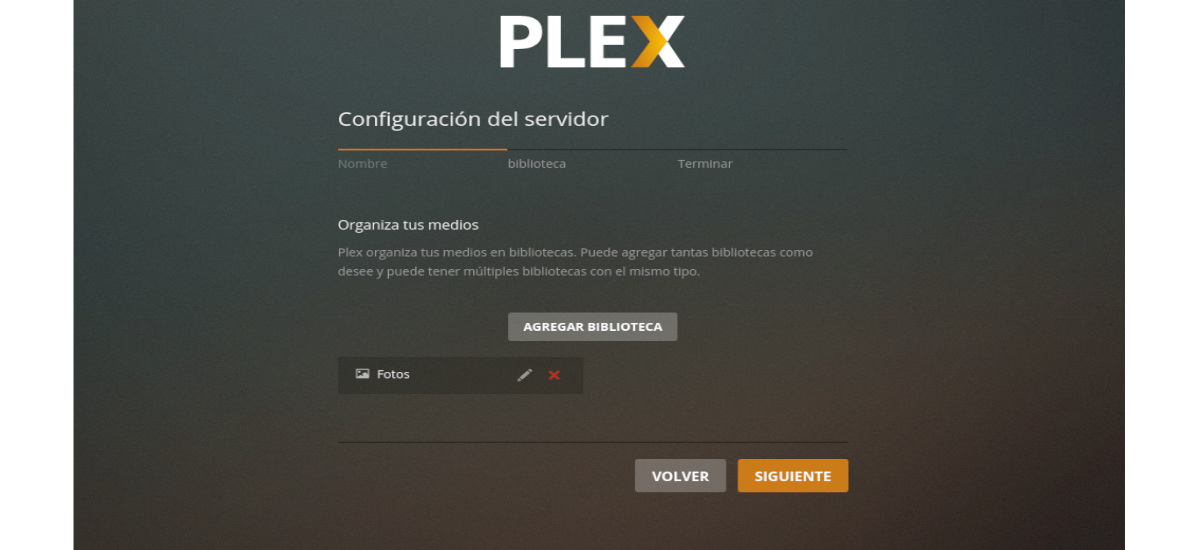
Multiple libraries can be created in this window, each of which can contain multiple folders that will store different types of media.
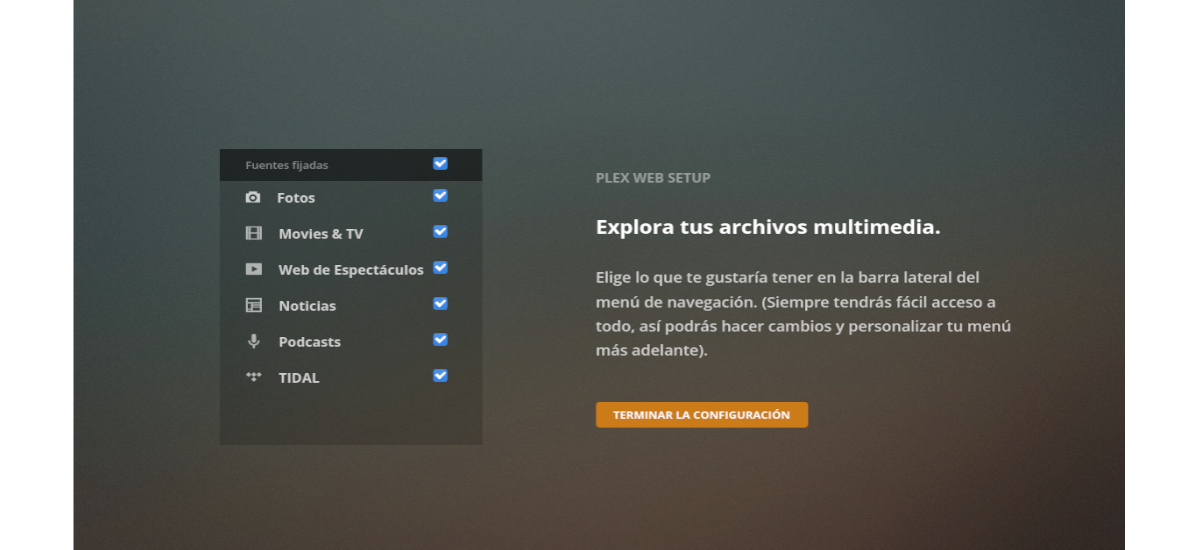
Once we finish adding files to the library, Plex will ask us to customize the Menu. Here we can activate or deactivate any type of medium. When we are done with everything, simply click on 'Finish setup'.
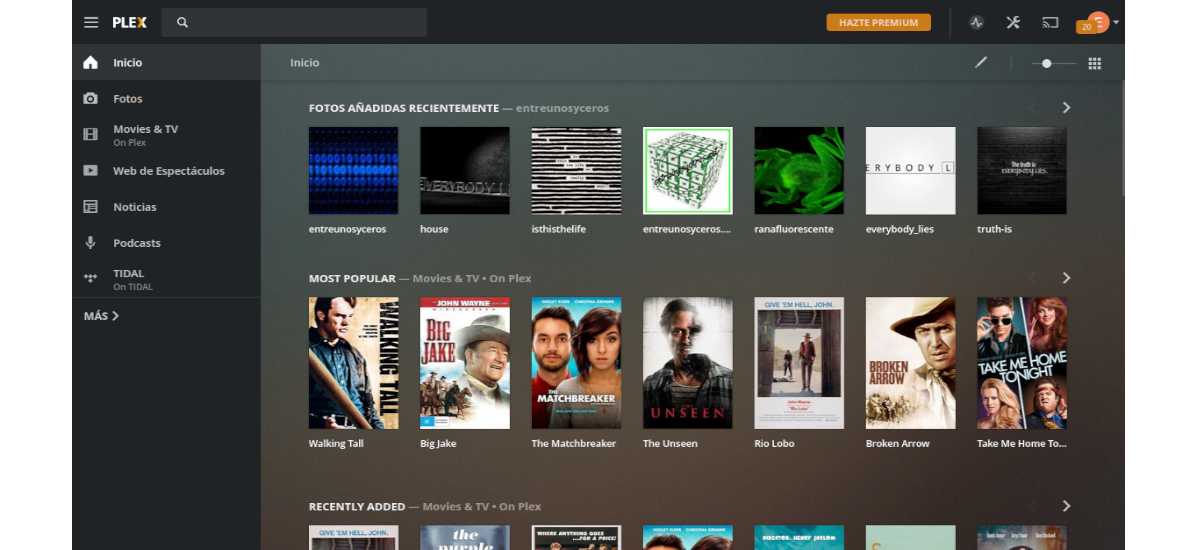
Esto It will take us to the desktop where we can access all our videos and files added to Plex. In addition, it will also allow us to transmit these files to allow others to access the content easily. More information can be found in the support articles that they publish on the project's website.
Hello, the tutorial is very good. Do you know how to clear the Plex cache or move the folder with the cache to another location? Because I see that it is taking up a lot of system memory. Thanks a lot!
Hello. Try what they say on the support page for Plex https://support.plex.tv/articles/202967376-clearing-plugin-channel-agent-http-caches/ maybe I can help you with your problem. Salu2.
Thanks Damian! That way I was able to delete it although, at least in Ubuntu / Linux, it is somewhat complicated because they are protected folders and it is not as simple as giving it delete.
The problem is that the cache is regenerated and it takes up a lot of space on the system. I already tried to remove the thumbnail view but it seems that these files keep multiplying constantly ... Greetings!