
In the next article we are going to take a look at how we can install Ruby on Ubuntu. This is an open, dynamic, object-oriented and balanced programming language which has been developed by Yukihiro 'Matz' Matsumoto in Japan. It is implemented by combining the features of other popular programming languages, such as PERL, Smalltalk, Ada, etc.
This is a programming language designed to simplify some of the tasks in scheduling. It reduces some of the complex parts of programming and makes it possible for the programmer to quickly build something from scratch. Is designed primarily for people who want to start programming, but anyone can use this language to create complex applications.
We will be able to install Ruby on Gnu / Linux in several ways. Use apt package manager is the easiest way to install Ruby in Ubuntu. In this post we are going to see how we can install Ruby from the command line and execute a basic example code that we are going to generate with this language.
Install Ruby
To begin we are going to open a terminal (Ctrl + Alt + T) in our Ubuntu. In this case I am using Ubuntu 18.04, but we can install it in different versions of this distribution. Before running the command to install Ruby, we must update system software list. If it doesn't update, it may not install properly. To update the list, we are going to execute the following command:
sudo apt update
Once the update of the software sources is finished, we execute the following command with root permission to install ruby:
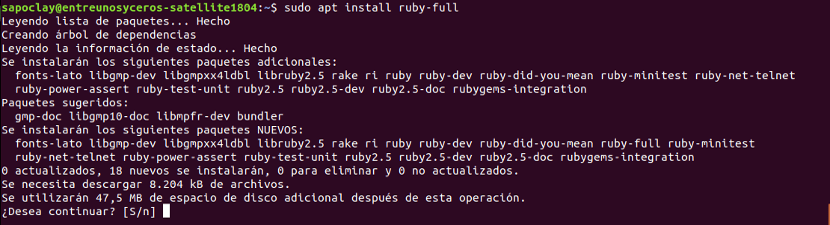
sudo apt install ruby-full
We will have to press 'Y' when it asks us for permission to complete the installation process.
If the installation is completed successfully, we can check that Ruby works correctly or not by running the following command. If everything is correct, the system will show us the version of ruby that is installed on the system. The result it shows is that version 2.5.1 has been installed on the system I'm using for this example:

ruby -v
Create a sample program with Ruby
We will be able use any text editor to write the example script using Ruby. In this case I am going to use the nano editor. We will have to use for the file that we are going to generate the extension .rb. For this example I am going to create a file called hi.rb. Knowing this, we execute the following command from the terminal (Ctrl + Alt + T) to open the editor:
nano hola.rb
In this script we will see the simple input and output operations. The command gets is used in ruby to receive user information and the command puts is used in this language to print to the console. In Ruby, the + operator is used to combine string values.
To carry out this example, we will copy the following code into the editor. We save the content of the file by pressing Ctrl + O and pressing Enter. We will finish by pressing Ctrl + X to exit the file.
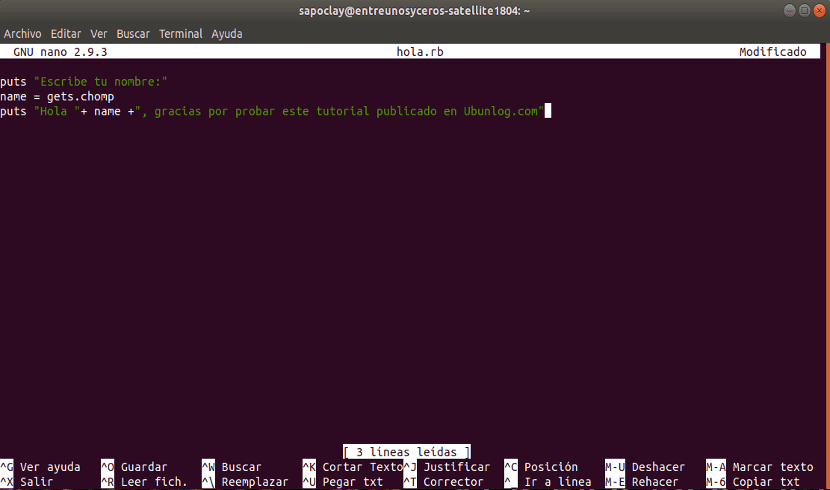
puts "Escribe tu nombre :"
name = gets.chomp
puts "Hola "+ name +", gracias por probar este tutorial publicado en Ubunlog.com"
Running our sample program

To launch this example, we will have to write the following command from the terminal and so on run the newly created file. If the script is free of errors, it will first print the message 'Enter your name'. There we will have to write something and press Enter. Next, it will print the message that we have saved in the variable “name”. This printing will be done between the text strings that are already defined in the created file. To execute the file, in the terminal (Ctrl + Alt + T) we write:
ruby hola.rb
As you can see, despite being a very simple example, if you are new to programming, you can choose the Ruby language as one of your first options to start in the world of programming. Although to start from scratch, perhaps the best option is Python. By following this simple article, anyone is going to be able to easily install Ruby on their Ubuntu system and start creating pretty quickly.
If anyone wants know more about this language, you can go through the project website and check its characteristics or documentation that can be found there.