
In the next article we are going to take a look at TLPUI. As already explained to us by a colleague in a previous article, TLP is an advanced power management tool. With it we will be able to optimize the battery life in our laptops with Gnu / Linux. Its default settings are usually enough to see an improvement in battery life. However, TLP offers a wide range of configuration options that can be modified by editing its configuration file.
TLP is a command line tool that does not provide a graphical user interface by itself. But to help, there is a XNUMXrd party GTK GUI interface (written in Python) for TLP, called TLPUI that will facilitate its use.
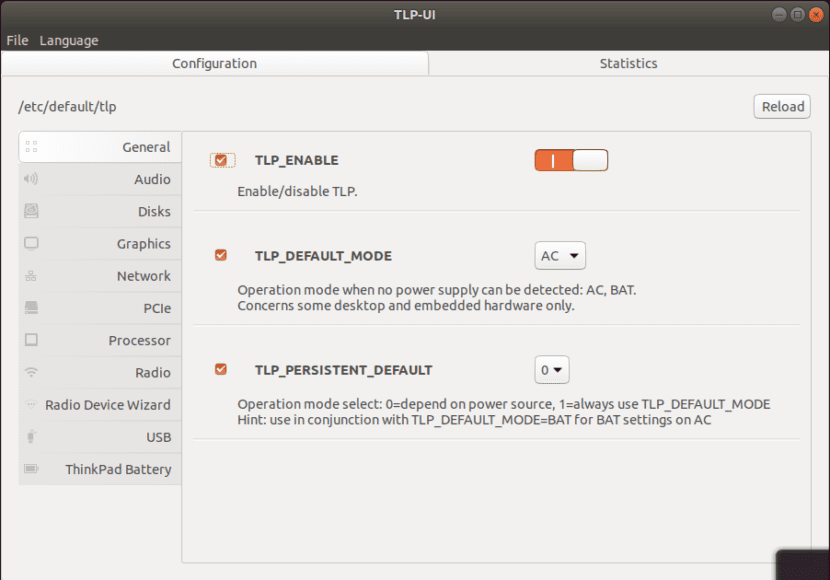
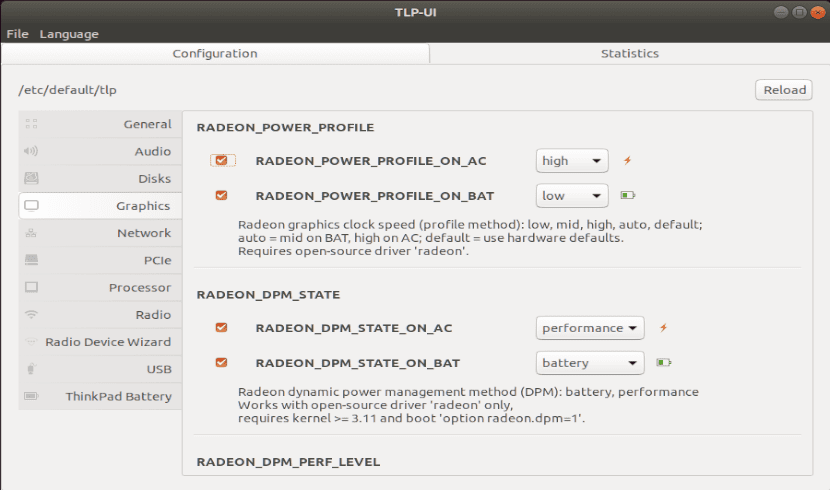
This graphical interface is still in an early stage of development. Don't be surprised if you run into a problem. At this stage of development, you can read, view, and save the TLP configuration. It will also be able to show us information about configuration changes (defaults and saved / unsaved status), as well as displaying the statistics of tlp-stat.
The tool project page mentions that TLPUI still needs some translation optimizations. There are also no binaries at the moment, so to use TLPUI you will need to install it from source.
Install TLPUI on Ubuntu, Debian or Linux Mint
Next we are going to see what we have to do to install TLPUI on Ubuntu, Debian or Linux Mint.
Install TLP
TLPUI does not work without TLP. For this reason, the first thing to do is install TLP. The tool is available in the Ubuntu repositories and in all supported Debian versions. You can install it by opening a terminal (Ctrl + Alt + T) and using this command:
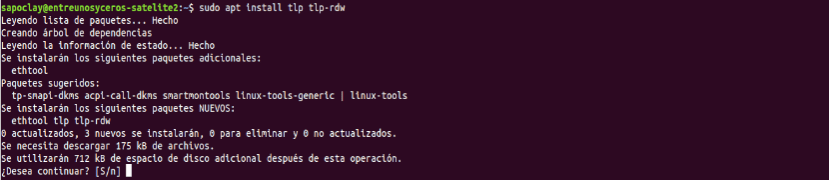
sudo apt install tlp tlp-rdw

sudo tlp start
With the second command, we will start TLP. As well there is a TLP PPA that we can use to get the latest version of TLP. Installation instructions for the PPA can be found in a previous article that a colleague posted a while ago.
Install the packages needed to download and create a TLPUI .DEB package
To get the latest code from Git, we will need to install git. To compile the package, you need to install python3-setuptools and python3-stdeb, along with some other packages that are automatically installed as dependencies on these two.
To install these packages in Debian, Ubuntu or Linux Mint, we will open a terminal (Ctrl + Alt + T) and write in it:
sudo apt install python3-gi git python3-setuptools python3-stdeb
Now we can get TLPUI from GitHub and create a .DEB package to install it. To start, we open a terminal (Ctrl + Alt + T) and write each of the orders that we are going to see next. One by one.
git clone https://github.com/d4nj1/TLPUI

cd TLPUI

python3 setup.py --command-packages=stdeb.command bdist_deb

sudo dpkg -i deb_dist/python3-tlpui_*all.deb
The command dpkg installs the generated TLPUI .DEB package, but we can also install it using a graphical tool. We will find the TLPUI .DEB package generated in the TLPUI / deb_dist folder.
TLPUI user configuration solution
In my case, the TLPUI configuration file was empty at first, it contained only a default entry after trying to run tlpui. This prevents the tool from running with administrator privileges. To avoid this problem, open the file ~ / .config / tlpui / tlpui.cfg with a text editor. Create the file in case it doesn't exist. For example, you could use the following commands to create it with the vim text editor. Open a terminal (Ctrl + Alt + T) and type:
mkdir ~/.config/tlpui

vim ~/.config/tlpui/tlpui.cfg
Replace or include the following content inside the file:

[default]
language = en_EN
tlpconfigfile = /etc/default/tlp
activecategorie = 0
windowxsize = 900
windowysize = 600
Remember to save the file when you are done.
Once installed, we will not find a launcher in our system menu for TLPUI. For this reason, if you don't want to create it, you can start the graphical interface by pressing ALT + F2 or by opening a terminal (Ctrl + Alt + T) and typing in either of the two options:
tlpui
After making any changes to your TLP configuration using TLPUI, remember to select File> Save so that the changes you have made to the TLP configuration are actually saved.
For talk to us about this graphical interface of TLP, it can be consulted in the page on GitHub of the project.