
In the next article we are going to take a look at Vagrant. This is a command line tool for creating and configuring virtualized development environments. It will allow us to define the services to install as well as their configurations. This tool is designed to work in local environments and we can use it with shell scripts, Chef, Puppet or Ansible.
By default, Vagrant can provision machines on VirtualBox, Hyper-V and Docker. Although other providers such as Libvirt (KVM), VMware and AWS can also be installed through the add-on system.
As I mentioned above, Vagrant is used to help us create and configure virtual machines with certain features and components. The great advantage of this software is that it has a configuration file called Vagrantfile where all the configuration of the VM that we want to create is centralized. We can use the Vagrantfile to create a VM exactly the same as many times as we want. It is also super light, so we can add it to our repo or send by email to co-workers.
Vagrant is generally used by developers to set up a development environment that works on multiple operating systems. It can work on Gnu / Linux, Mac or Windows. Remote development environments force users to give up their favorite editors and programs. Vagrant works on the local system with tools that we are already familiar with.
In the following lines we will see how to install Vagrant on an Ubuntu 20.04 machine. For this we are going to use VirtualBox, which is the default provider.
Install Vagrant on Ubuntu
The first step, as usual, will be to download and install the tool, but in this case we will also have to install the virtual machine provider that we want to use. This by default will be VirtualBox, since it is free and comes integrated in Vagrant.
Si VirtualBox it is not installed on your system, it can be installed by opening a terminal (Ctrl + Alt + T) and running the commands:
sudo apt update; sudo apt install virtualbox
As I write these lines, the latest stable version of Vagrant is 2.2.9. For your download, users can visit the download page or see if there is a new version of available. We can also run wget from terminal (Ctrl + Alt + T) to download the .deb package necessary:

wget https://releases.hashicorp.com/vagrant/2.2.9/vagrant_2.2.9_x86_64.deb
Once the download is complete, we can install the package typing in the terminal:

sudo apt install ./vagrant_2.2.9_x86_64.deb
When the installation is finished, we can verify that everything has been correct by executing the following command, which will print the version installed:

vagrant --version
Starting
Create a Vagrant project is as simple as setting the project root directory and defining a Vagrant file.
To begin with, all you have to do is run the following commands to create the directory and then access:

mkdir ~/mi-proyecto-vagrant

cd ~/mi-proyecto-vagrant
Now let's create a new Vagrantfile using command vagrant init, followed by the box that we are interested in using.
Boxes are the package format for Vagrant environments, and are vendor specific. Can be found a list of Vagrant Boxes publicly available on the Box catalog.
In this example, I'll use the debian / stretch64 box:

vagrant init debian/stretch64
Vagrantfile is a Ruby file that describes how to configure and provision the virtual machine. The users we can open the vagrantfile, read the comments and make adjustments according to the needs of each one.
Now we will execute the command vagrant up for create and configure the virtual machine:

vagrant up
Vagrant mounts the project directory on / vagrant in the virtual machine. This will allow us to work on our project files on our host machine.
For access the virtual machine, we will execute:

vagrant ssh
Once in it, we can make the changes that interest us:
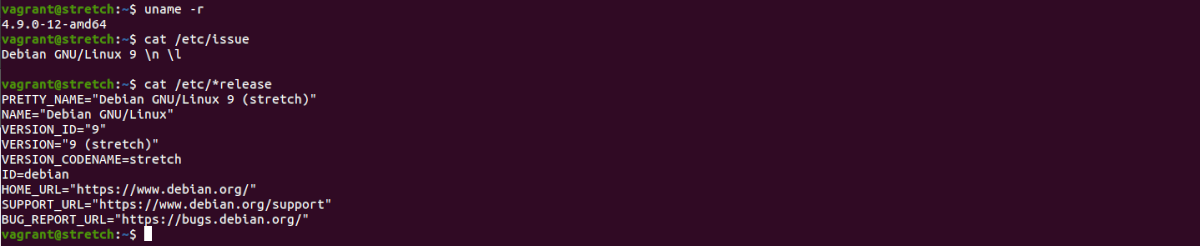
We can stop the virtual machine whenever we want with the following command:
vagrant halt
For destroy all resources created during machine creation, the command to be used will be:

vagrant destroy
And in general lines with this, we have seen how to install Vagrant on Ubuntu 20.04 and create a basic project. Users who need it, can obtain more information about the installation and use of this tool visiting the official page, where you can find the official documentation.