
In the following article we are going to take a look at how to install and configure the ZFS file system on Ubuntu 18.04 LTS. ZFS is a file and volume system developed by Sun Microsystems for your Solaris OS and is now maintained by the OpenZFS community. On this filesystem A colleague on this blog already spoke to us some time ago.
ZFS stands out for its great capacity, integration of the previously separated concepts of file system and volume manager in one product, new structure on disk, lightweight file systems and a easy storage space management. You can know more about this file system for Ubuntu in the Wiki
ZFS file system installation
We must first ensure that the core, restricted, universe, and multiverse software sources are enabled. To make sure we will execute the following command in the terminal (Ctrl + Alt + T):
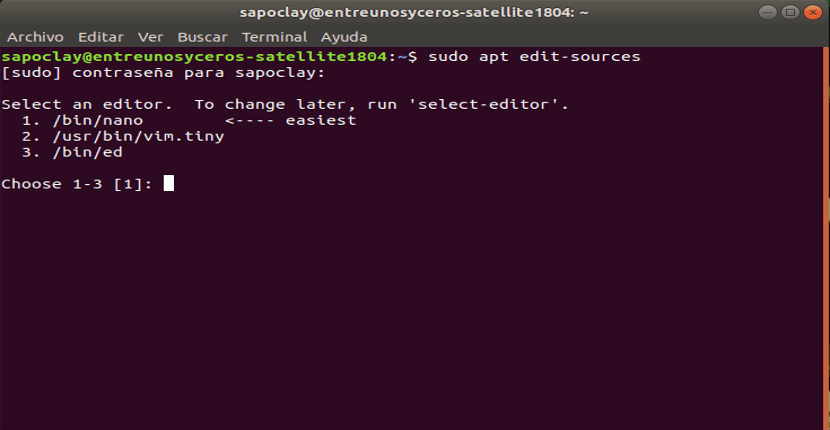
sudo apt edit-sources
Press Enter to continue.
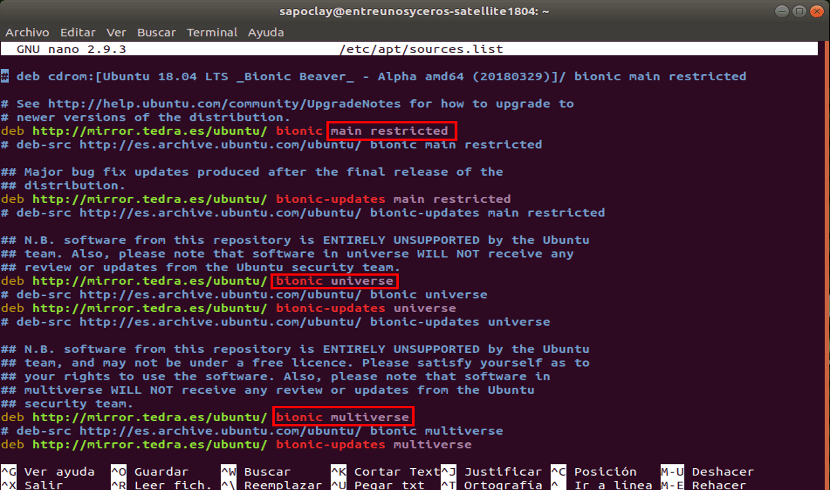
As you can see from the screenshot, I have all these software sources enabled. In case you do not have any of these sources activated, we will have to enable them. To do so, we will only have to execute the following commands one by one as needed:
- To add the main repository in the terminal (Ctrl + Alt + T) we will write:
sudo apt-add-repository main
- If we need to add the sources restricted we will write:
sudo apt-add-repository restricted
- In case you need the sources Universe, we will type:
sudo apt-add-repository universe
- And for the sources multiverse:
sudo apt-add-repository multiverse
After this we execute the following command to update cache from the apt package repository:
sudo apt update
Now we can run the following command to install ZFS file system on Ubuntu 18.04 LTS:
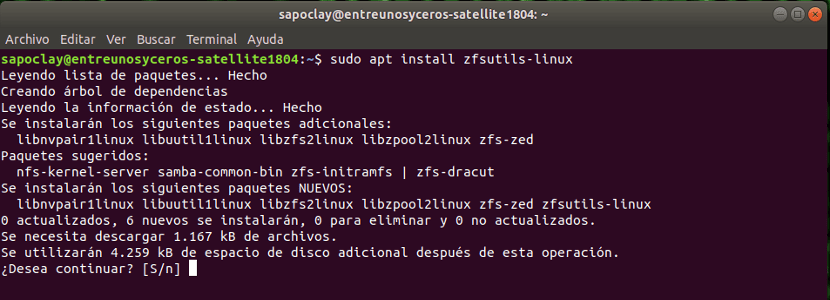
sudo apt-get install zfsutils-linux
ZFS RAID 0 Pool Configuration
In this section, we will see how to configure a ZFS RAID 0 Pool. RAID 0, add some hard drives. These add up to create a single large virtual drive. This increases the write / read speed considerably.
But there is a big problem in RAID 0. If one of the added drives fails, all data will be lost.
Verify ZFS Pools
Can check the status of ZFS pools with the following command:
![]()
sudo zpool status
As you can see, I don't have any pools available yet.
Let's see how to configure our first ZFS pool. But before that, you have to make sure have at least 2 hard drives installed in the team. For this example, I installed 2 virtual hard drives (20 GB size), in addition to the disk on which I have the operating system installed, in my virtual machine with Ubuntu 18.04 LTS.

Now we will create our first ZFS group, I'm going to call it files. Of course, you can call it something else if you want. Run the following command. In the debit include disks that are not in useCome on, the operating system should not be included.

sudo zpool create -f archivos /dev/sdb /dev/sdc
Now we can run the following command to list the ZFS group:

sudo zpool list
As you can see in the above screenshot, the group NAME is files and the SIZE is 19,9 GB (10 GB x 2 = 20 GB).
The ZFS group is to be mounted in / files automatically, as you can see from the output of the df command.

By default only root can write to this directory. We can change this so that any ordinary user can make changes to the directory, by typing in the terminal (Ctrl + Alt + T):
sudo chown -Rfv USERNAME:GROUPNAME /archivos
NOTE: Here USERNAME and GROUPNAME are your username. They are usually the same name.
As you can see in the following screenshot, directory / files ownership it was changed successfully.

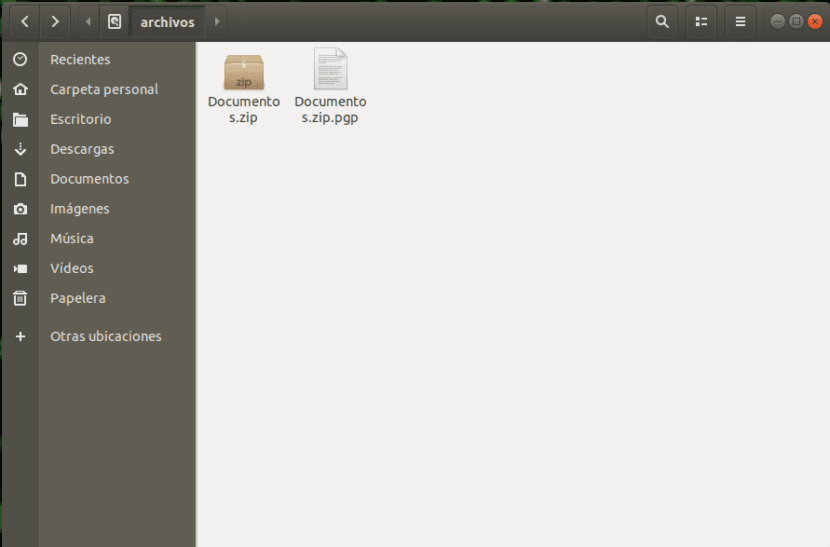
As you can see from the screenshot below, I can now already copy and paste files in the / files directory as an ordinary user.
Changing the mount point of the existing ZFS group
If at a time, we want or need to mount the existing ZFS group in another location, we can do it easily. For example, if we want mount the files directory of the ZFS group in / var / www, we can do it with the following command:
sudo zfs set mountpoint=/var/www archivos
NOTE: Make sure the directory where you are going to mount the ZFS pool exists before running this command.

As you can see from the output of the df command, the mount point is changed to / var / www.
Deleting a ZFS Pool
Now we will see how to delete the ZFS pool that we just created. To do this, we will only have to execute the following command:
sudo zpool destroy archivos
As can be seen in the screenshot below, ZFS set removed that we had created.

This is how you can install and configure the ZFS file system on a virtual machine running Ubuntu 18.04 LTS.
It will be the same method for LVM if not, explain better and if they are a ssd disk and the other mechanic also applies this method of file management, I would appreciate your prompt response