
In the next article we are going to take a look at AppImageLauncher. This tool will offer users the possibility of integrate the applications in AppImage format with our Ubuntu system, using a single click. In addition, it will also allow you to manage, update and delete them. It will also allow us to double click on the AppImages to open them, without having to make them executable first.
Because there are different Gnu / Linux distributions, developing applications for each distribution can become quite a tedious task for developers. For this reason, today many developers are moving to package formats like AppImages, FlatPak and Snap.
AppImage is one of the most popular universal package formats. Many popular applications have been released in this format. These types of files are portable and can run on any Gnu / Linux system. They include all the necessary dependencies and are distributed as a single file. It is not necessary to install them.
General Features of AppImageLauncher
- Desktop integration. This is the main characteristics of this program, and it is that it will allow us to integrate the AppImage files that we download in the applications menu, so that it is faster to start them. It is also responsible for moving the files to a central location, where we can find them all together.
- Update management. After integration on the desktop, if we right-click on the AppImage program launcher that we will find in the applications menu, we will see the context menu. That is where we will find an option called 'Update'. This is going to launch a small help tool to apply updates. Although I have to say that in the tests I did with different AppImage files, none showed this option.
- Remove AppImages from the system. If we click on the option 'Delete'in the context menu of the AppImage application available in the applications menu, the removal tool will ask for confirmation. If we choose to do so, the desktop integration is undone and the file is removed from our system.
- We can also count on a CLI tool called ail-cli. This offers the possibility of performing basic operations from the terminal, for automation in scripts, etc.
These are just some of the features of this program. They can consult all of them in detail from the project's GitHub repository.
Install AppImageLauncher on Ubuntu
Via .DEB package
AppImageLauncher can be found packaged for DEB-based systems. Ubuntu users can download the .deb packages from the releases page of the project.
For install the newly downloaded package we just need to open a terminal (Ctrl + Alt + T) and install it with the command:
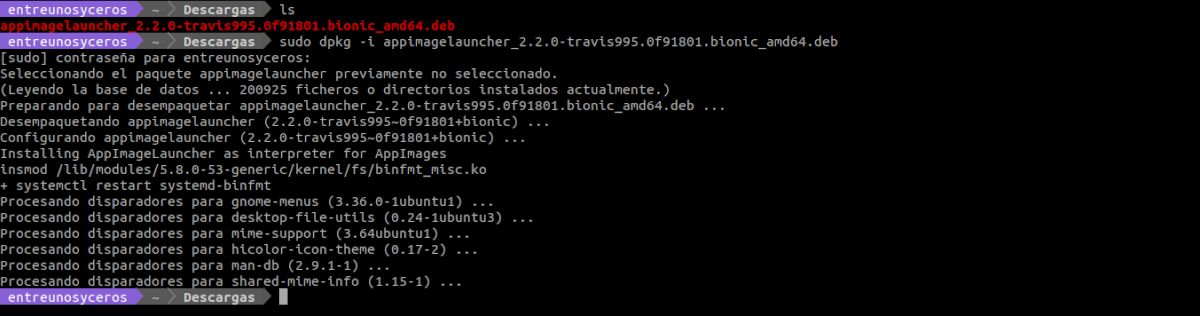
sudo dpkg -i appimagelauncher_2.2.0-travis995.0f91801.xenial_amd64.deb
This command will vary depending on the version of the program downloaded. After installation we can search for the application launcher on our computer.

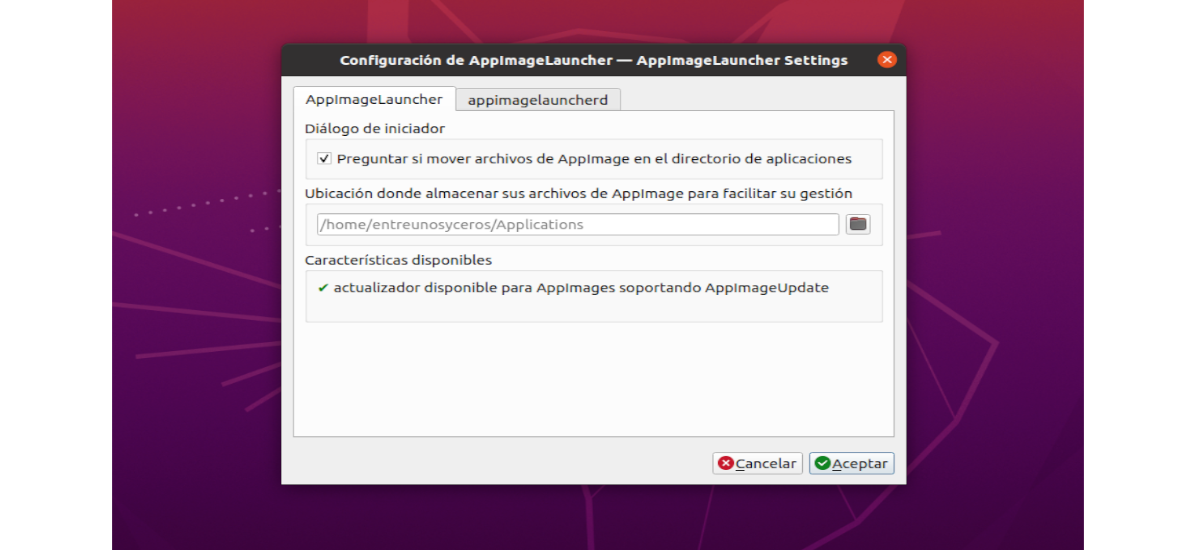
If we launch the program, we will see the configuration options it offers.
Through PPA
There is also a PPA available for Ubuntu and its derivatives from which we can install the program. In order to add the PPA and install AppImageLauncher We only need to open a terminal (Ctrl + Alt + T) and execute the command in it:

sudo add-apt-repository ppa:appimagelauncher-team/stable
After updating the list of software available from the repositories, we can now proceed to installation running this other command:

sudo apt install appimagelauncher
Integrate AppImages to the application menu
To illustrate this example, I'm going to use the AppImage file from Obsidian.
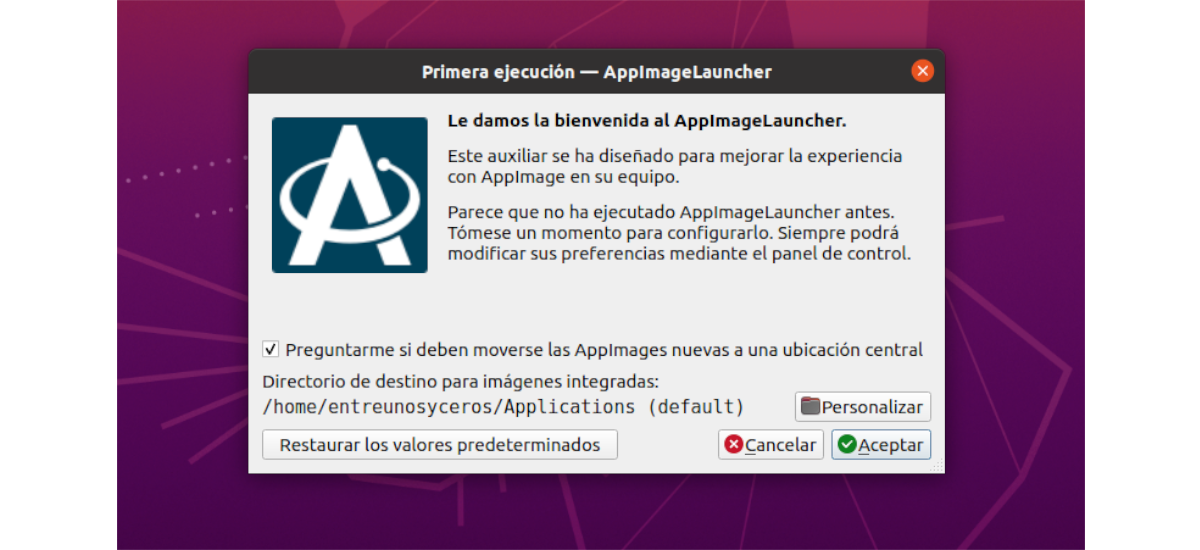
If we double click on the AppImage file that we want to use, it will it will ask us to configure the destination location to add the AppImages. The default location is $ HOME / Applications. This can be changed to another location, from this window or from the configuration options that have been seen previously. After choosing the location for the new AppImages, we just need to click Accept to continue.
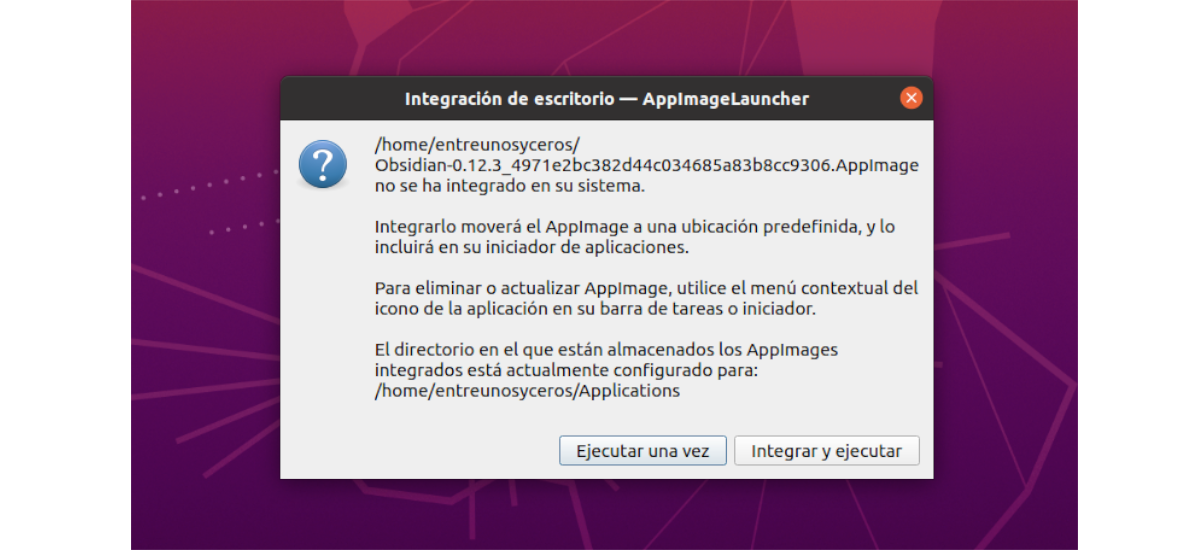
Next, it will ask us if we want to move the AppImage to the central location and integrate it into the applications menu (if it is not already added). In order to move our AppImage to this location and include it in the application launcher, we just need to click the 'buttonIntegrate and execute'. If you don't want to add the AppImage to this menu, just click 'Run once'.

If you have chosen the option 'Integrate and execute', AppImageLauncher will move the respective AppImage file to the predefined directory ($ HOME / Applications) or the one we select. The program will create a desktop entry and a relevant icon in the necessary locations.

If we right-click on the AppImage that we can find, we will see that the Update and Delete options appear in the context menu. We can use these to update the AppImage or remove them from the system.
In these lines we have seen a little above what AppImageLauncher is, how to install it and how to use AppImageLauncher to add AppImages to menus or application launchers in Ubuntu. If you use a lot of AppImages, AppImageLauncher can be useful for organizing and managing them on your system. More information on how to install and use AppImageLauncher can be found in the project wiki.