
In the next article we are going to take a look at Asciinema. This application will help us to record Terminal sessions. This tool will make us forget about the heavy profits of screen recordings. Asciinema is a fast, lightweight and open source burning tool.
Unlike other similar applications, this one not only records our Terminal activities but also helps us to share the recordings from the web. We will be able to share the recordings by copying the URL that will be generated and will allow us to send them to our friends or publish them on our social networks. This tool is compatible with GNU / Linux, Mac OS X and * BSD.
This application can be useful in many situations, which will depend on the needs of each user. The possibilities are endless, especially when it comes to recording a terminal session and then sharing it. In this post we will see how install asciinema on Ubuntu and how to record our Terminal sessions.
Install Asciinema
The good thing about this tool is that the developers have packaged it for almost all GNU / Linux distributions, and they also offer us different installation possibilities for our Ubuntu.
Install Asciinema from PPA
This application is available in the official repositories of many GNU / Linux distros. But if we don't find it we can use the following PPA. To do this we open a terminal (Ctrl + Alt + T) and write in it:
sudo apt-add-repository ppa:zanchey/asciinema && sudo apt-get update && sudo apt-get install asciinema
Install Asciinema via snap
We will also be able to find this tool available as snap pack. To install it, we open a terminal (Ctrl + Alt + T) and type:
sudo snap install asciinema --classic
Install Asciinema using pip
If we want to install this application through pip, our system must have pip3 installed before.
sudo pip3 install asciinema
Install Asciinema from source
If none of the above methods work on your computer, you can compile it manually. Your system must have Python 3 installed in order to install correctly. We open a terminal (Ctrl + Alt + T) and write the following commands:
git clone https://github.com/asciinema/asciinema.git
cd asciinema
sudo python3 -m asciinema --version
To install asciinema on Unix and other operating systems, you can refer to its installation page. We can also see all its features and possible facilities from its page of GitHub.
When we run "Asciinema" without any argument will show us the help section.
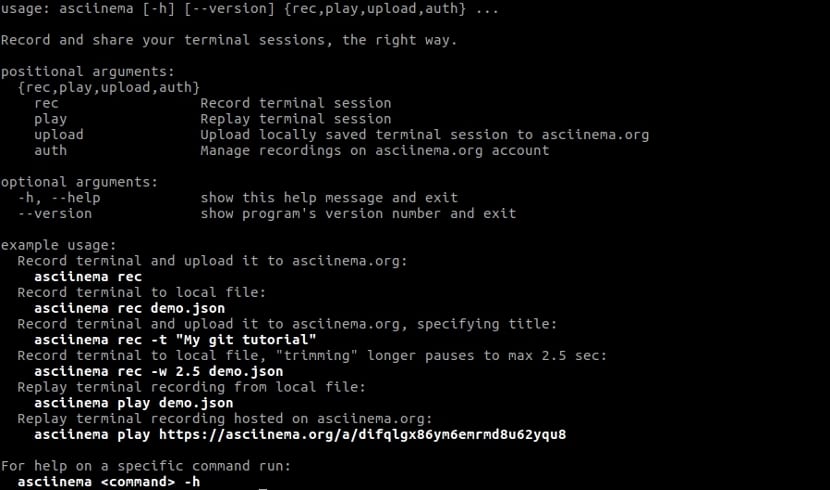
asciinema
Record terminal sessions
Now, we are going to record a terminal session. To do this, we will execute:
asciinema rec test
Once you run the above command, the following output will be shown.
- Asciicast recording started.
- Hit Ctrl-D or type "exit" to finish.
Since then, Terminal activities are being recorded and saved in the file called "test" in the current working directory.
To give a bit of content to this example, we are going to write some commands.
uname -a
echo "Hola ubunlog.com"
ls -l
pwd
df -h
This will suffice for the example. To end the recording, we will have to press «CTRL + D» or we can also type «exit». When the recording is finished, the following message will be displayed on the screen.
- Asciicast recording finished.
Playback of the recorded session
We will be able to reproduce the recorded Terminal session using the command:
asciinema play test
"Test" is the name of the file in which the recording is being saved.
Upload the recording session to asciinema.org
Si file name not specified for recording, the resulting recording will be uploaded to the asciinema.org website. Thanks to this we will be able to share it with our friends, social media or add it to our own blog / website.
This is the example output when the file name is not specified.
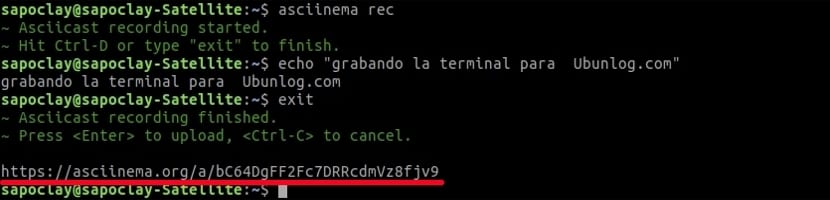
If we press the ENTER key, the recording will start uploading to asciinema, org, the terminal will return a unique web URL like the previous one after a few seconds.
You just have to share this URL with whom you want to see the Terminal session in their web browser.

For share the recording session, we just have to click on the share button located in the lower right corner of the web. What's more, we can download the recording. To do this, just click the Download button at the bottom.
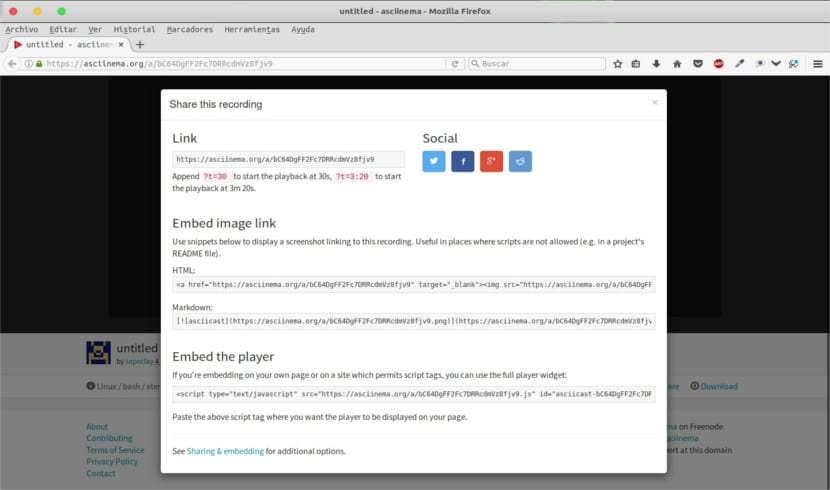
All our recordings will be kept private on the website by default. They are not listed in search engines or other websites. They will only be visible to whoever owns the URL.
Manage your recordings at asciinema.org
You can manage your uploaded sessions on the asciinena.org site. To do it, you must authenticate on the site by running the following command in Terminal:
asciinema auth
This command will produce a URL that will take you to the account settings on the website asciinema.org. Once all the data has been covered (it is free and can be filled in in a moment), you will be able to delete the recorded Terminal session.

You just have to click on the Gear button next to the "Download" button at the bottom and hit the "Delete" option. And with this it will be eliminated.