![]()
In the next article we are going to take a look at Fish. This name is an acronym for friendly interactive shell. It is a well-equipped, smart, and easy-to-use shell for Unix-like systems. It comes with many important features such as autosuggestion, syntax highlighting, search history (such as CTRL + R in Bash), smart search functionality, VGA color support, web-based configuration, manual page completions, and many other ready to go. use.
We will only have to install this shell to start using it in a short time. Forget about complicated configurations and installing extra add-ons or plugins. In this article, we will see how install and use Fish shell on Ubuntu, although it is available for different Gnu / Linux systems. You will be able to know more in the project website.
Install Fish
Despite being a shell very easy to use and rich in features, it is not included in the default repositories of most Gnu / Linux distributions. It is available in the official repositories of very few Gnu / Linux distributions, such as Arch Linux, Gentoo, NixOS and Ubuntu. In the next article I I'm going to test this shell on Ubuntu 17.10. To install it, you just have to open a terminal (Ctrl + Alt + T) and write in it:
sudo apt-get update && sudo apt-get install fish
Use of Fish
For switch to Fish from our default terminal (Ctrl + Alt + T), we will only have to type the following:

fish
You can find the Default Fish configuration in ~ / .config / fish / config.fish. If it doesn't exist, we'll just have to create it.
Automatic suggestions
Once this shell is started, when we write a command, it automatically suggests a command in a light gray color. If you write the first letters of a Gnu / Linux command and press the Tab key to autocomplete the command if there are more possibilities, it will list them.
We can select the commands listed from the list using the up / down arrow keys. After choosing the command we want to execute, we will only have to press ENTER to execute it.
As we already know, we do the reverse search by pressing (Ctrl + R) to search for commands in the bash shell history. But this is not necessary with this shell. We will simply have to write the first letters of a command and choose the command from the list.
Smart search
We can also do a smart search to find a specific command, file or directory. For example, yes we write the substring of a command, then we just have to press the down arrow key to write what we want to search for.
Syntax highlighting
We are going to notice the syntax highlighting when typing a command. We can see the difference in the screenshots below when I type the same command in Bash and Fish.

Bash

Fish
As you can see, "sudo" has been highlighted in Fish. What's more, you will show invalid commands in red by default
Web-based configuration
This is another cool feature. We will be able set up our colors, change the Fish indicator, and view functions, variables, history, key bindings, all from one web page.
For launch web configuration interface, we will simply have to write:
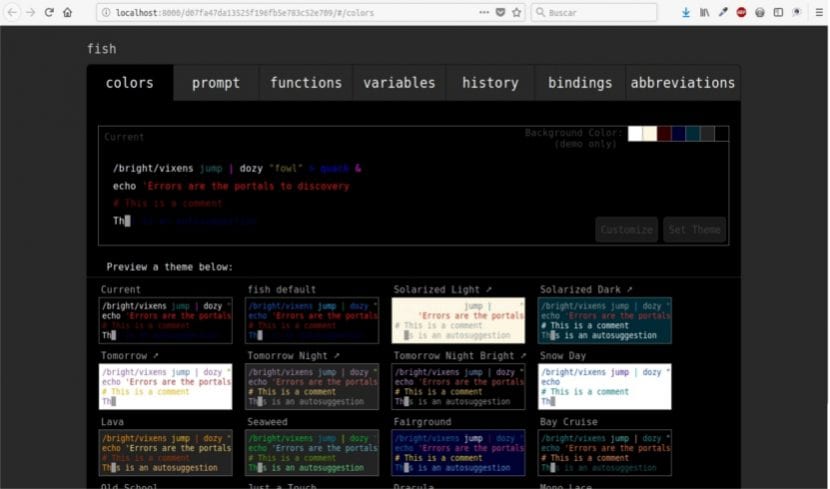
fish_config
Programmable terminations
Bash and other shells support programmable terminations, but only this application generates them automatically when analyzing installed man pages. To do so, run:

fish_update_completions
Disable greeting
By default, this shell will show us a greetings to the beginning (Welcome to fish, the friendly interactive shell). If we don't want this greeting message to appear, we can disable it. To do this, we will have to edit the configuration file:
vi ~/.config/fish/config.fish
Once in the file we will add the following line:
set -g -x fish_greeting ' '
If instead of disabling the greeting we prefer to customize it, we will do so by adding the message in the line that we add to the file
set -g -x fish_greeting 'Bienvenid@ usuario'
Getting help
For open the Fish documentation page in our web browser default from terminal, just type:
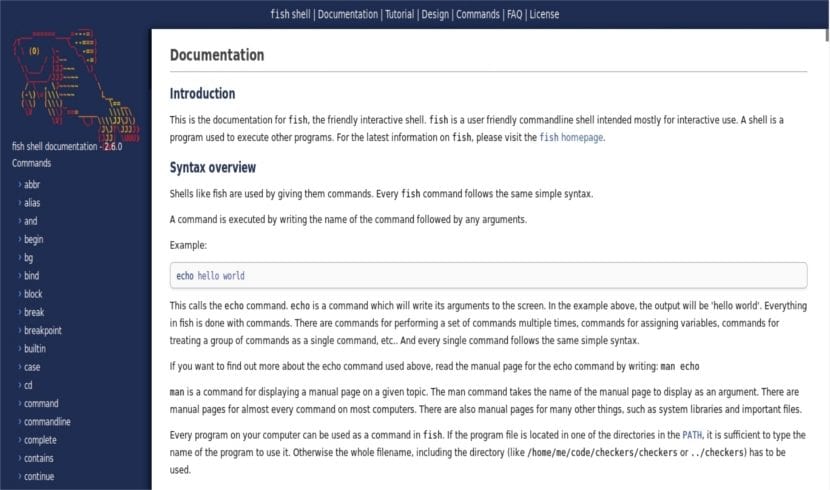
help
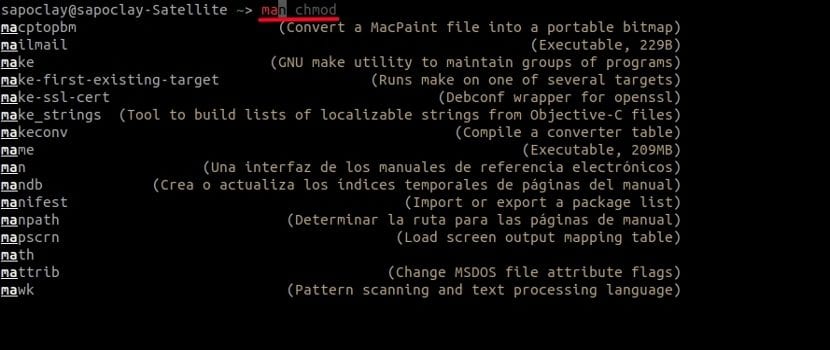
The official documentation will open in our default browser. What's more, we can use man pages to display the help section for any command.
Set Fish as the default shell
If you liked this shell, you can set it to be your default shell. To do this, use the chsh command:
chsh -s /usr/bin/fish
Here, / usr / bin / fish It is the path to the Fish route. If you don't know the correct path, the following command will help you:
which fish
When finished, log out and restart the session to use the new default shell.
Remember some scripts written for bash may not be fully compatible with Fish.
In the case of wanting to go back to Bash, just run:
bash
If you want Bash as your default shell permanently, run:
chsh -s /bin/bash
And that's all, for now. With what you've read here, you may already have a basic idea of what you can do with this shell. If you are looking for Bash alternatives, this might be a good option.
How can I clean the autocomplete? I wrote rm 11, then I gave it enter, and I wanted to delete several files that start with the number 1, and when I put rm again I get autocomplete with the number 11, how do I clean that?
From the configuration web with the command `fish_config`
There is a section that is the command history. I have not tried but surely I get them from `history`, I imagine that if you delete it from one site it will delete it from the other.
How are aliases configured?