
In the next article we are going to take a look at Gnome Shell Screen Recorder. It is little known, but there is a built-in screen grabber in Ubuntu. Do you want to record your Ubuntu desktop, but don't know which desktop program to use? Fortunately, there are a lot of applications to burn the desktop in Gnu / Linux. Among them we could include Green Recorder, SimpleScreenRecorder or Kazam. A colleague wrote an article on this blog some time ago, in which he showed us some other options to record our desktop in Ubuntu.
It must be said that if you are an advanced user, you are likely to find Ubuntu's built-in screen recording tool too lazy to be of use. There is no export or encoding control, neither will we find an option for audio recording in it, and the tool can only be used to record the entire desktop, not on a specific window, desktop or monitor.
This desktop recorder is included as part of the GNOME Shell desktop. It integrates well, but is also well hidden from everyone's eyes. There is no launcher included for it, there is no input and no quick button to turn it on or off. If we want use the GNOME Shell screen recorder, we will have to press one key combination. Which means that if you don't know these keys, you probably never know that this option is there.
First of all, it must be clarified that it is a screen recorder, plain and simple. Gnome Shell Screen Recorder offers basic screen recording. It will only allow us burn the entire desktop. Nothing more than that. We will not be able to record a window or a specific section of the desktop. It also doesn't record audio and doesn't allow you to set frame rate, encoding format, or any other feature.
But if all you want is take a quick screenshot to share or attach to a bug report and you do not want or do not have time to install another application, such as Peek. This tool will be perfect for your interests, since you already have it at hand.
The desktop screenshot works perfectly in GNOME Shell from Ubuntu, Fedora, and other Gnu / Linux distributions that use the GNOME Shell desktop environment.
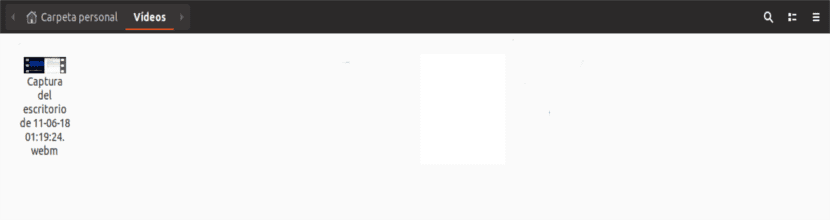
Once they are done, the screencasts will be automatically saved in the Videos folder with .WebM format. The video file name includes the date and time the capture was made. This is useful if we are going to make several successive recordings.
Record your desktop in Ubuntu with Gnome Shell Screen Recorder
To record your full Ubuntu desktop screen and save it as a video, just press the following key combination:
Ctrl+Alt+Shift+R
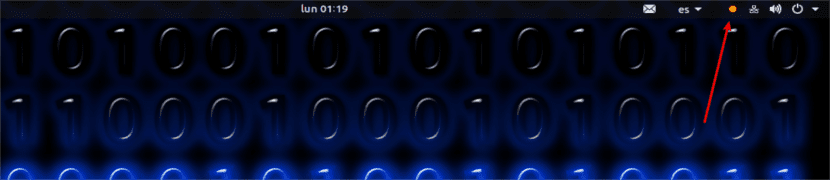
The recording will start instantly. You will be able to see that a screen recording is in progress because a small colored dot will appear. This is located in the system tray area, as can be seen in the following screenshot:
Recording will stop automatically after 30 seconds. But it can stop recording at any time, for this we will only have to press the combination of keys that we use to start the recording:
Ctrl+Alt+Shift+R
After stopping recording, this is automatically saved in the Videos folder, inside your personal folder.
Increase the length of your videos
At just 30 seconds, the default duration may not suit what you're looking for. Especially if you plan to make a more or less long video. This has a solution. it's possible increase the duration of recordings manually. We will have to modify it using the following sequence of gsettings. To use it, we open a terminal (Ctrl + Alt + T) and type:
gsettings set org.gnome.settings-daemon.plugins.media-keys max-screencast-length 60
It can replace the value '60' with the length you need. With the previous command we will establish the time of the recorded video in one minute. The value is set in seconds. And this is all we can configure.
Why do these people of fedora know that it is a useful tool, they do not assign you in the configuration window an access to change the recording time. That gives much to be desired as if their brain ached to include an access to change this configuration and fix the error that it does not open file, an error so old that they have not even been able to fix