
In the next article we are going to take a look at LightZone. This is one non-destructive image processing tool raw. It is a multiplatform program, it already works on Windows, MacOS and Gnu / Linux. It is compatible with JPG and TIFF images among others.
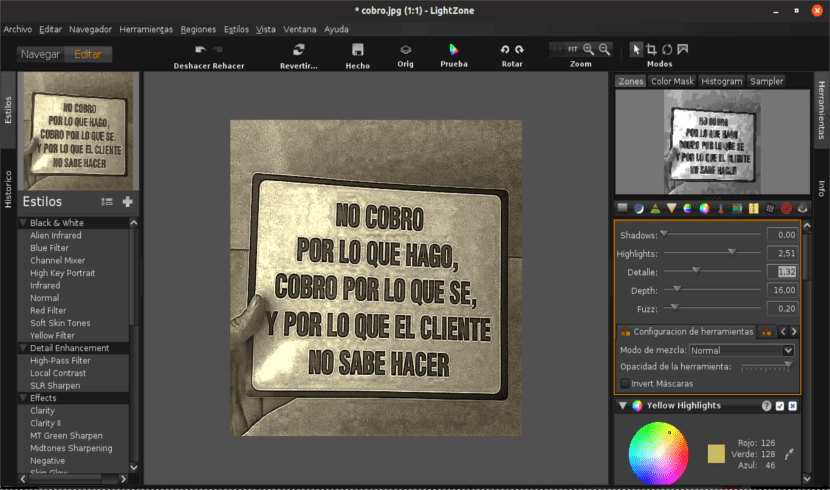
The program started life in 2005 as a proprietary image processing tool, which was later converted into an open source project under a BSD license. Image modifications are made using stackable tools, instead of filters as in most image editing applications. Tool stacks can be rearranged or deleted, as well as saved and copied to a batch of images. You can also edit certain parts of an image using a vector tool or by selecting pixels based on color or brightness.
It is a completely non-destructive editor, where any of the tools can be readjusted or modified later, even in a different edit session.
General features of LightZone
Some of the general characteristics of this program are:
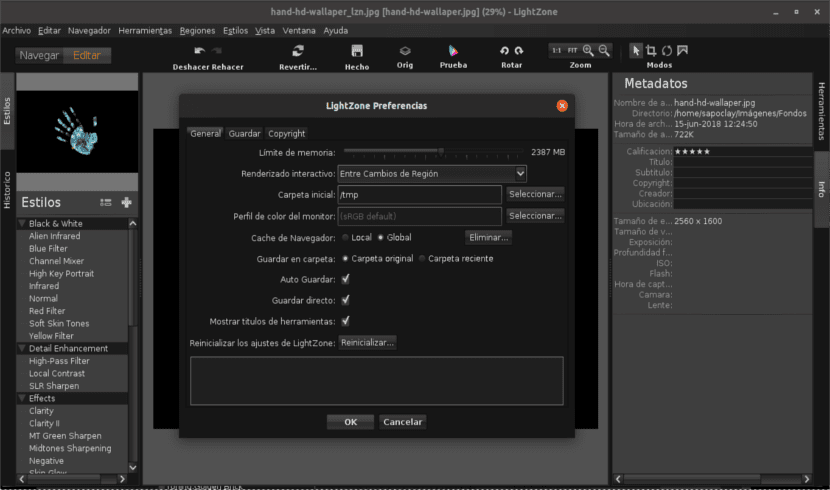
- The program has the capacity to read RAW files and display the metadata (for example, exposure, ISO, flash, etc.).
- We will be able rate images from one to five stars.
- Batch processing of files.
- Rank of style filters available (for example, Alien Infrared, Skin Glow, Polarizer, etc.).
- Non-destructive tools including relight, sharpness, Gaussian blur, hue / saturation, color balance, white balance, black and white, noise reduction, clone, spot, red eye.
- The edit modes include trimming, rotating, and modifying the region tone curve
Install LightZone on Ubuntu
We will be able to install this program in Ubuntu and derivatives either by using its PPA or by downloading the corresponding .deb package.
Install from PPA
For install LightZone on Ubuntu and derivatives using a repository, we are going to open a terminal (Ctrl + Alt + T) and write the following command in it:
sudo add-apt-repository ppa:lightzone-team/lightzone
Next we update the software list with the command:
sudo apt update
The update will not be necessary in Ubuntu 18.04, but there it is. Once the update is finished, we install the application using the command in the same terminal:
sudo apt install lightzone
Installation with .DEB file
If we do not want to add the repository or we want to install this application in another Debian-based distribution, we will be able to download the DEB file of the program in the following link and install it manually. The installation can be done by double clicking on the downloaded file or using the terminal.
If we choose the installation from the terminal (Ctrl + Alt + T) we will open one and we will check if our system is 32 bit or 64 bit. To do this, we use the following command in the terminal:
uname -m
Si tu system is 32 bit, use the following command to download the program:
wget https://launchpad.net/~otto-kesselgulasch/+archive/ubuntu/lightzone/+files/lightzone_4.1.5.90-0x0~ppa_i386.deb -O lightzone.deb
If your system is 64 bit, use this other command to download the program:
wget https://launchpad.net/~otto-kesselgulasch/+archive/ubuntu/lightzone/+files/lightzone_4.1.5.90-0x0~ppa_amd64.deb -O lightzone.deb
Once we have downloaded the .deb file, we can now install it. We will do this in the same terminal by typing:
sudo dpkg -i lightzone.deb
If during installation problems with dependencies appear, we can solve it with the command:
sudo apt install -f
Remember that when you choose to install by downloading the .DEB file, we will not receive any updates to the program and it is a slightly older version than the one we will obtain using the PPA.

After the installation, when we want to start the program, we can do it either by searching our computer or by typing lightzone in the terminal.
Uninstalling LightZone on Ubuntu and derivatives
To uninstall LightZone in Ubuntu and derivatives, we are going to open a terminal (Ctrl + Alt + T) and we will delete the repository (in case we opt for this installation) writing in it:
sudo add-apt-repository ppa:lightzone-team/lightzone --remove
Now we will remove the program typing in the same terminal:
sudo apt-get remove lightzone --auto-remove
Any user can get more information about this app in the project website, in their forums or by accessing its source code at GitHub.