La virtualization It has added many possibilities, and the benefits have reached all the fields in which it is used. Something that is understandable if we consider that we can take advantage of the powerful hardware that we can have today (at much cheaper prices than in previous times) to use more than one platform, sometimes for convenience, sometimes for teaching / learning, and sometimes simply out of necessity, as can be the case with large companies.
Now, one thing is to test virtual machines on a work computer and another to do it on a Remote server, especially if this is a so-called headless, that is, it does not offer a graphical interface to carry out certain tasks. For example, in the case of virtualization we are talking about creating, editing or deleting virtual machines, and for this the command line can become demanding even for the most knowledgeable due to the large number of parameters that we have to handle, although luckily in the case of VirtualBox we have a tool like RemoteBox.
It is a GTK + based graphical interface and with a design very similar to the original interface of VirtualBox, that allows us manage virtual machines remotely, both hosts and guests and without the need to use Webserver. In addition, it is very fast and thanks to the fact of being based on Perl it does not require compilation, so it is one less aspect to complicate ourselves if we are going to download and use from the source code because we do not have packages for our distribution.
With RemoteBox CAN configure absolutely every aspect of a virtual machine from its creation, from the most basic such as the type of processor, RAM; I / O ports, input devices, Network Configuration, storage devices and shared folders up to the most advanced such as virtual memory page definitions, HPET, CPU speed settings, connectivity features and more.
Of course, to use or rather take advantage of RemoteBox we have to count on VirtualBox on a server. And prior to the installation we are going to properly configure the Oracle virtualization tool. We open the configuration file:
# vi / etc / default / virtualbox
We add the following (of course modifying 'password' for something more secure, and then we save:
VBOXWEB_USER = userremotebox
VBOXWEB_PASSWD = password
VBOXWEB_TIMEOUT = 0
VBOXWEB_HOST = 192.168.1.100
Then we start Virtualbox:
# /etc/init.d/vboxweb-service start
Now we can install Remotebox, for which previously we will have to add the GetDeb repository:
# wget http://archive.getdeb.net/install_deb/getdeb-repository_0.1-1~getdeb1_all.deb
sudo dpkg -i getdeb-repository_0.1-1 ~ getdeb1_all.deb
# wget -q -O- http://archive.getdeb.net/getdeb-archive.key | sudo apt-key add -
Then we install:
# apt-getupdate
# apt-get install remotebox
That's it, now we are ready to use RemoteBox, and for this we first have to launch the tool from the Ubuntu Dash, entering remote box in the text box that it offers us. When the main window opens before us, we click on the button Connect, which is in the toolbar, on the left, and we enter the requested data: URL (here is the server's IP address, followed by port 18083), username and password, all data that we have left established at the time of configure VirtualBox on the server.
By doing that already we enter the Virtualbox interface, from which we can do everything pertinent to virtual machines: create, edit, delete and others. For example, to create a virtual machine we click on the button 'New', we select the type of operating system and version (32 or 64 bits), we give it a name to identify it and the RAM it will have, in addition to specifying the image format that we are going to use for this virtual machine. Once that is finished we click on the button 'Create' (Bottom right).
We are almost finished, now we have to right click on the virtual machine that we have created and then go to the contextual menu that is offered to us: Settings -> Display -> Remote display, where we have to check the checkbox next to 'Enable RDP (Remote Display Server). Click on 'OK', we go out and we will File -> Virtual Media Manager -> Optical Disks, where we click on the 'Add CD / DVD button and select the ISO from which we are going to create this virtual machine.
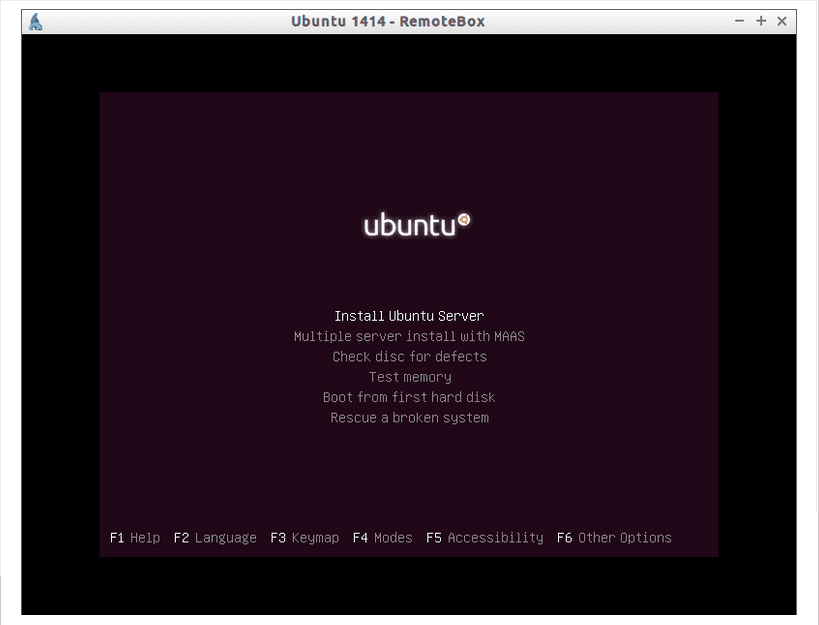
To finish, we right click on the virtual machine again and we will Settings -> Storage; we click on Add a storage medium and select the path to the ISO file. That's it, and now with a click on 'Start' the virtualization image opens before us from which we will be able to install as we usually do on our computer, but this time in the virtual machine.
Another very similar alternative is phpvirtualbox.
It presents the same characteristics I think, with the addition that you can access your machines from a browser, from anywhere
Hello Jesus:
Thanks for the contribution, we know about phpVirtualBox but we wanted to talk about this lightweight frontend based on GTK +
Maybe at some point we will do a tutorial on the tool you mention, which I have tried a few times and it works very well.
Regards!